

Warm Fridge, Cold Sweat
Few household failures inspire panic like a refrigerator that stops cooling — hundreds of dollars of food are on the clock. But before you assume the worst (or buy a new fridge), know that many “not cooling” problems are simple: dirty coils, blocked vents, bad door seals, or wrong settings. Work through these seven checks in order. You’ll either fix it yourself or at least know exactly what’s wrong before calling for service.
First: The 5-Minute Quick Checks
Rule out the embarrassingly simple before grabbing tools:
- Thermostat settings: ideal is 37–40°F for the fridge, 0°F for the freezer. Kids, cleaning, and accidental bumps change these more often than you’d think.
- Blocked interior vents: overpacking blocks the vents that circulate cold air — especially the freezer vents feeding the fridge compartment. Rearrange so vents breathe.
- Power: check the breaker and that the plug is fully seated (cleaning crews nudge plugs loose).
- Recent changes: new fridge in a hot garage? Fridges in 90°F+ ambient temperatures struggle — they’re designed for climate-controlled rooms.
Check 1: Clean the Condenser Coils
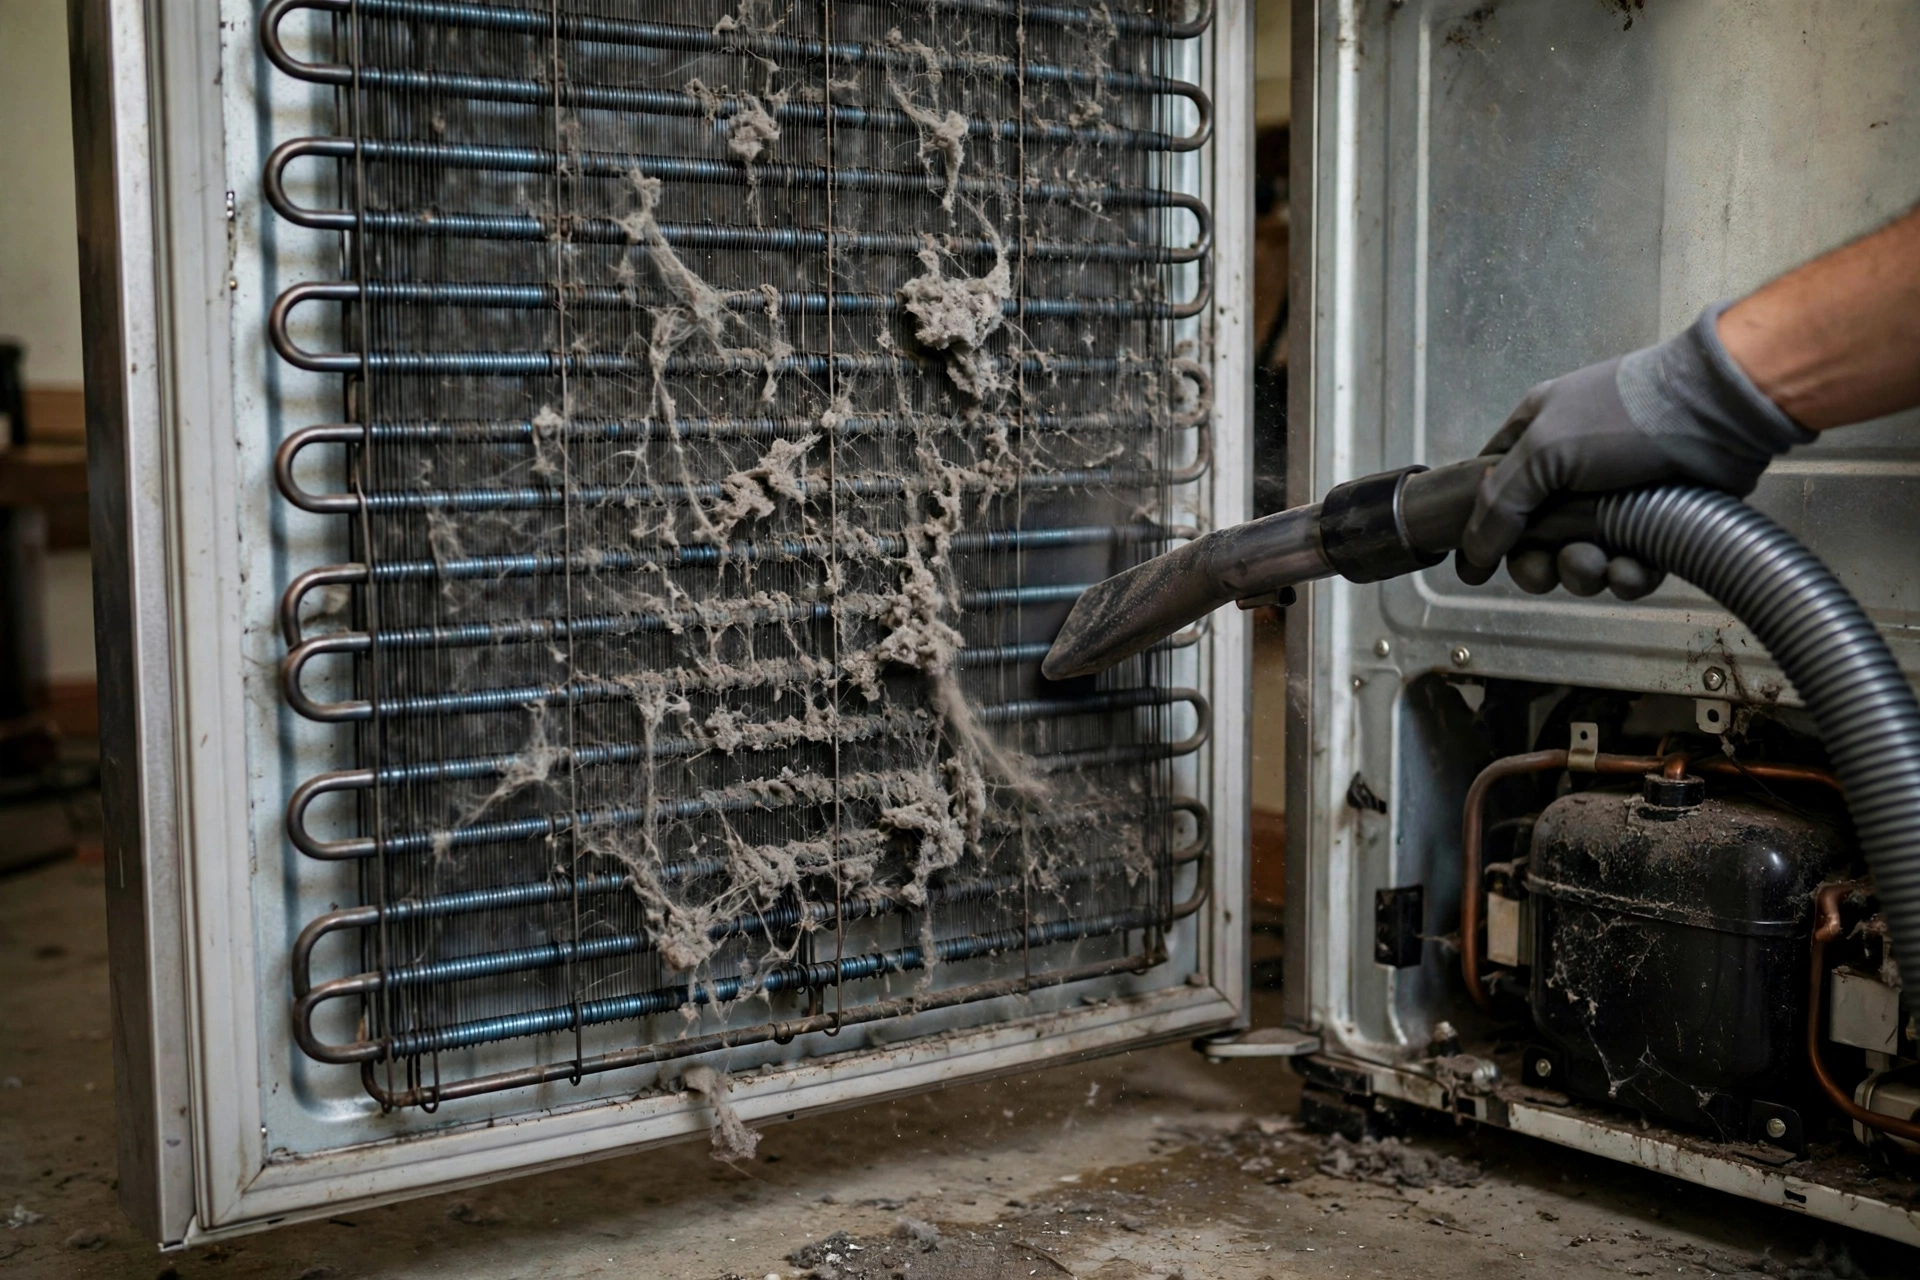
The #1 cause of gradual cooling loss. Condenser coils (underneath or on the back) release heat — when caked in dust and pet hair, the fridge can’t shed heat and runs constantly while cooling poorly.
- Unplug the fridge.
- Locate the coils: pull off the front kickplate (bottom-front) or pull the fridge out for rear coils.
- Vacuum with a brush attachment, then use a $10 coil brush for what the vacuum misses.
- Plug back in and give it 24 hours — improvement is often dramatic.
Do this every 6–12 months (every 6 if you have shedding pets). It’s the single highest-value fridge maintenance there is.
Check 2: Test the Door Seals
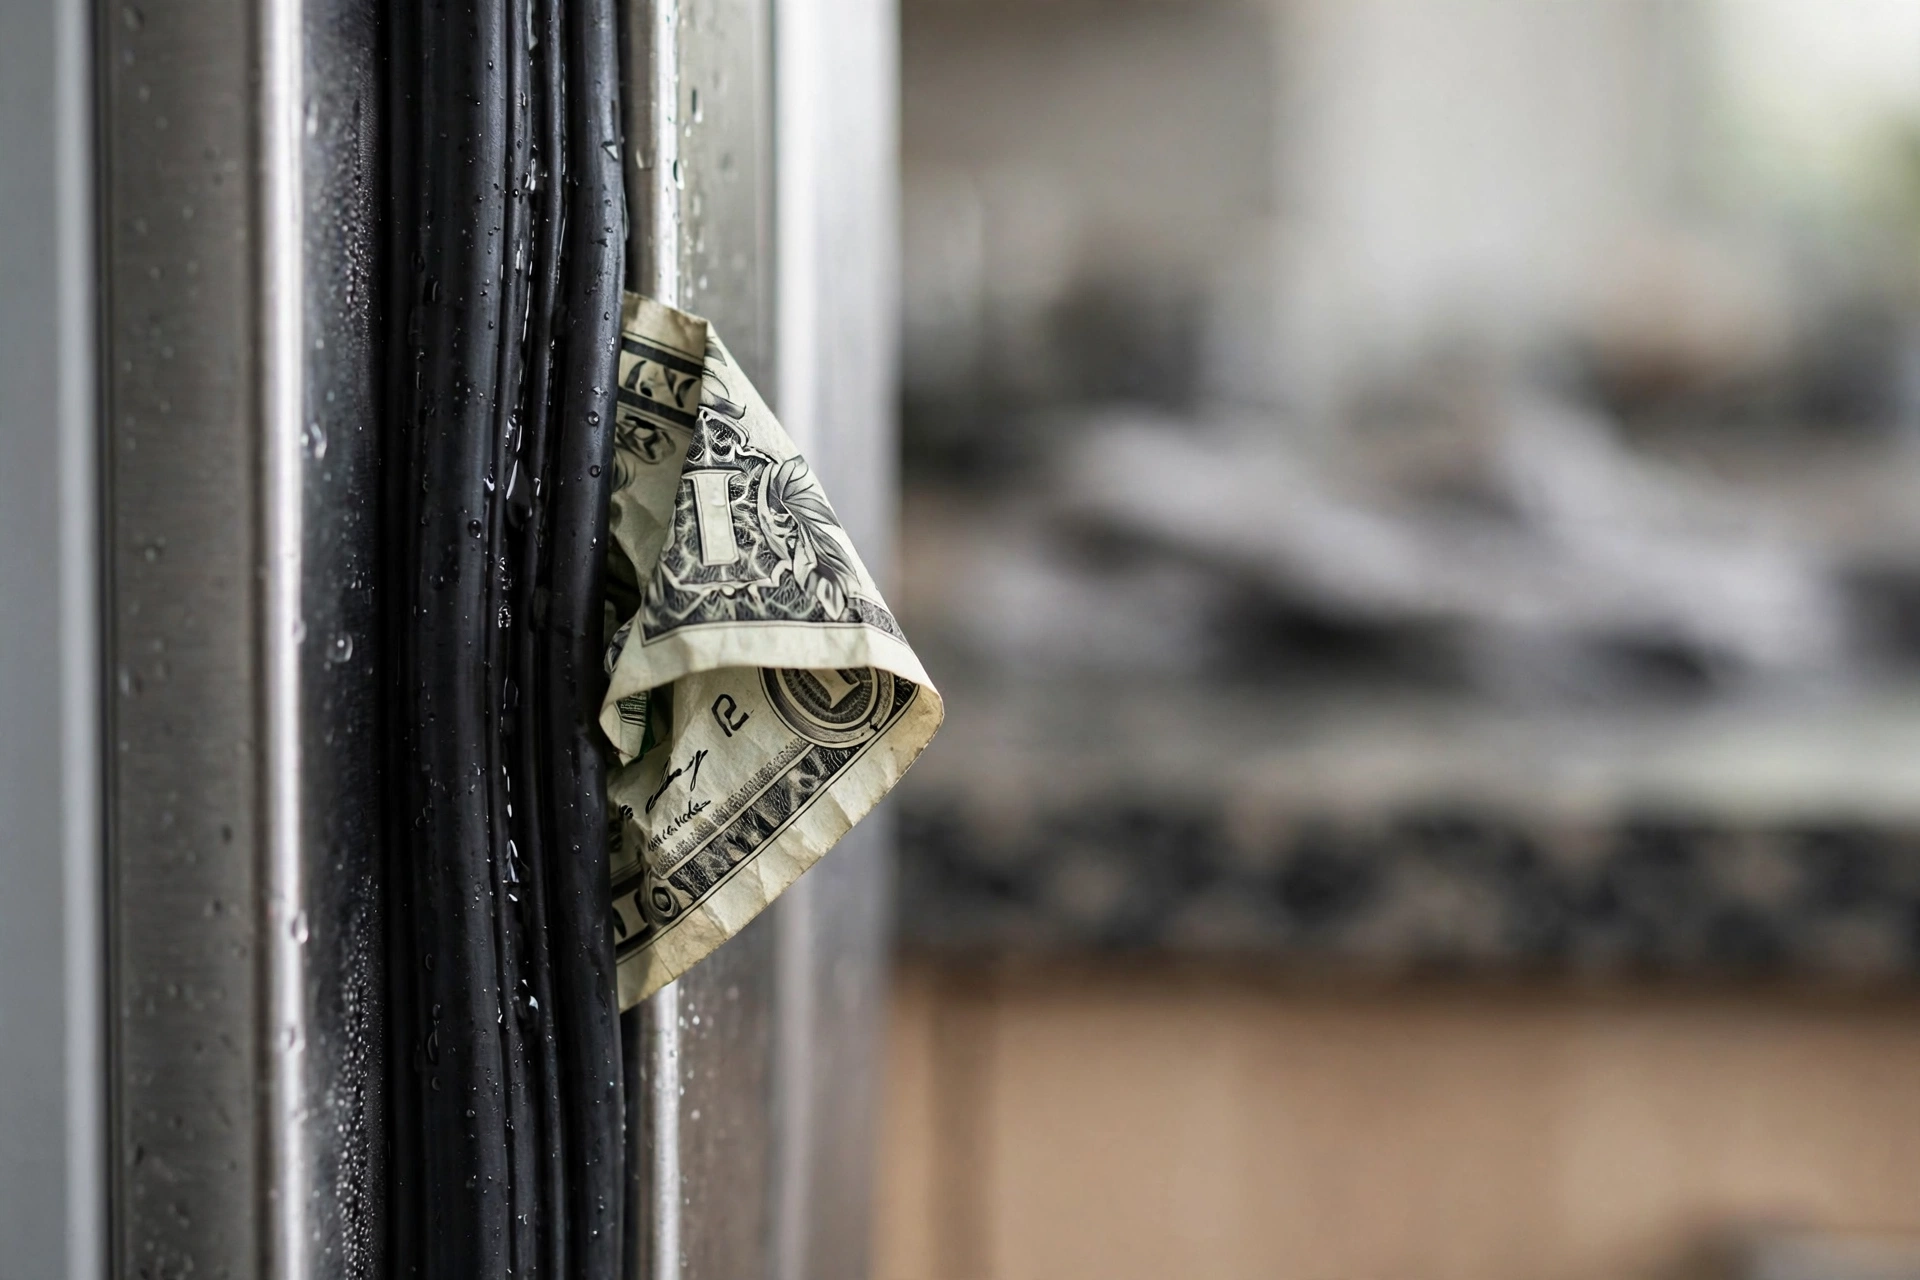
Worn gaskets let cold air pour out 24/7. The dollar-bill test: close a bill in the door at several points around the seal — if it slides out easily, that section isn’t sealing. Also inspect for tears, mold, and sections pulling away. Clean seals with warm soapy water (grime prevents sealing), and replace gaskets that fail the test — most are $50–$100 and install with screws or push-in channels, no pro needed.
Check 3: The Evaporator Fan
The evaporator fan circulates cold air from the freezer coils through the fridge. Symptom of failure: freezer stays cold but the fridge warms up. Listen: open the freezer door — you should hear the fan running (many stop when the door opens, so hold the door switch). No sound + warm fridge = suspect fan motor ($30–$80 part, moderate DIY). Also check for ice blocking the fan blades.
Check 4: The Condenser Fan
Near the compressor at the bottom-rear, this fan cools the condenser coils and compressor. If it’s seized or blocked by debris, the compressor overheats and cooling fades. Unplug, spin it by hand — it should turn freely. Clean away dust and pet hair. A failed motor is a $30–$60 part.
Check 5: Start Relay and Compressor
The start relay helps the compressor kick on. If you hear clicking every few minutes but the compressor never runs (no humming/vibration), the relay is the likely culprit — it’s a $15–$30 plug-in part on the compressor’s side, one of the easiest fridge repairs. If the compressor runs but there’s no cooling at all, you may have a sealed-system problem (refrigerant leak) — that’s pro-only territory ($300–$600+) and often the point where replacement makes more sense.
Check 6: Defrost System Failure
Frost-free fridges melt coil frost on a timer. When the defrost heater, thermostat, or timer fails, ice chokes the evaporator coils until air can’t circulate. Telltale sign: thick frost on the freezer’s back wall plus a warming fridge. The temporary fix — unplug for 24 hours with doors open to fully defrost — restores cooling for a week or two, confirming the diagnosis. Then replace the failed defrost component ($20–$60 in parts).
Check 7: Damper Control
The damper is a small door regulating cold airflow from freezer to fridge. If stuck closed (or its motor failed), the fridge warms while the freezer stays arctic. It’s usually behind a vent cover in the fridge compartment — check that it opens and closes, and that nothing’s blocking it.
Freezer Fine, Fridge Warm: The Classic Split
This specific pattern — freezer at 0°F, fridge at 50°F+ — narrows the suspects dramatically. Cold is made in the freezer and shared with the fridge, so the problem is almost always in the sharing, not the making:
- Blocked vents between compartments (most common — rearrange food first).
- Failed evaporator fan (no circulation; Check 3 above).
- Stuck damper (Check 7 above).
- Defrost failure icing the evaporator (Check 6 above).
If both compartments are warm, suspect the bigger systems: coils, compressor, start relay, or sealed system. This one distinction saves hours of misdiagnosis.
What Your Fridge’s Noises Mean
Fridges talk — learn the language:
- Occasional humming/buzzing: normal compressor cycling.
- Clicking every few minutes: start relay struggling — replace it soon (Check 5).
- Loud rattling/buzzing: often just the fridge touching the wall or an unbalanced drain pan — pull it out slightly and check.
- High-pitched whine: evaporator or condenser fan bearings wearing out.
- Gurgling/hissing: normal refrigerant flow — unless it’s new and loud, don’t worry.
- Sudden silence after years of humming: compressor not running — check power, then the start relay.
When to Call a Pro vs. Replace
- DIY confidently: coil cleaning, seals, settings, vents, start relay, defrost components, fans.
- Call a pro ($150–$350): sealed-system issues, compressor replacement, electrical faults you’re unsure about.
- Replace the fridge if: it’s 12–15+ years old AND needs a $300+ repair (the 50% rule: if repair costs half the price of new, buy new), the sealed system failed on an older unit, or it’s an energy hog — modern fridges use far less electricity. For perspective on big kitchen investments, see our 2026 kitchen remodel cost guide.
Save Your Food During the Outage
While diagnosing: keep doors closed (an unopened fridge holds safe temps ~4 hours; a full freezer ~48 hours), move perishables to coolers with ice, and when in doubt throw it out — the USDA rule is 2 hours above 40°F for perishables. A $10 fridge thermometer (keep one inside permanently) removes all guesswork next time.
Garage Fridges: Why They Struggle
The second fridge in the garage is a classic headache — and physics explains why. Standard fridges are designed for 60–90°F ambient rooms. In a freezing garage, the thermostat thinks “all good” and rarely runs the compressor — but the freezer then warms above 0°F and food partially thaws. In a 100°F summer garage, the compressor runs nonstop and still can’t keep up. Fixes: a garage-ready model (rated for 0–110°F, $100–$200 more), a simple appliance thermometer with an alarm, or in winter, a “garage heater kit” — a small aftermarket heater that tricks the thermostat into running the compressor. If your garage fridge is old and struggling, moving a new primary fridge’s predecessor to the garage is often the most economical upgrade path.
Buying a Replacement: What to Look For
If the 50% rule points to replacement, buy smart:
- Measure everything: width, height (including hinges), depth with doors open 90°, and every doorway and hallway on the delivery path. The #1 fridge-buying mistake is a unit that doesn’t fit through the front door.
- Energy Star: certified models use ~15% less energy than minimum standard — worth $50–$100/year on the power bill for large units.
- Configuration: French-door for wide fresh-food access, side-by-side for narrow kitchens, top-freezer for budget and reliability (fewer parts to break).
- Ice/water dispensers: convenient but the #1 repair item on modern fridges. If reliability is your priority, skip them.
- Check the warranty: 1 year full parts/labor is standard; sealed-system coverage of 5–10 years is a good sign.
- Keep the old one running until delivery day — and arrange haul-away; many retailers recycle old units free (and some utilities pay $50 rebates for recycling).
Preventing the Next Breakdown
- Clean condenser coils every 6–12 months.
- Check door seals yearly with the dollar-bill test.
- Keep the fridge 2–3 inches from the wall for airflow.
- Don’t overpack — air must circulate.
- Set correct temps (37–40°F fridge, 0°F freezer) and verify with a thermometer.
- Replace the water filter on schedule (a clogged filter strains the ice/water system).
If your refrigerator is acting up alongside other kitchen issues, our 2026 kitchen remodel cost guide helps you weigh repair against replacement in the bigger budget picture.
The Bottom Line
Coils, seals, vents, fans — in that order. Most “dead” fridges are just dirty, misadjusted, or wearing a $30 part. Check the simple stuff first and you’ll save the service call more often than not.
