

Why Winterizing Outdoor Water Matters
Every fall, the same story plays out across the country: the first hard freeze hits, water trapped in outdoor pipes expands, and something bursts — a hose bibb, a sprinkler line, sometimes a pipe inside the wall. The repair bill runs $500–$2,000, and the water damage can be far worse. The frustrating part? It takes about an hour and almost no money to prevent. With October here, now is the time to winterize your outdoor faucets and sprinkler system.
Step 1: Disconnect and Drain Garden Hoses
This is the single most important step. A hose left connected traps water in the faucet and the first few feet of pipe. When that water freezes, it expands back into the pipe — even a “frost-free” sillcock can burst if a hose is attached.
- Disconnect every hose from every outdoor faucet.
- Drain hoses completely, coil them, and store them in the garage or shed — freezing shortens hose life too.
- If you have a hose reel, drain that as well.
Step 2: Shut Off and Drain Outdoor Faucets
Most homes have an interior shut-off valve for each outdoor faucet, usually in the basement or crawl space near where the pipe exits the house.
- Close the interior shut-off valve (turn clockwise).
- Go outside and open the faucet fully to let water drain out.
- Leave the outdoor faucet open at a 45-degree angle through winter — this gives any residual water room to expand without cracking the pipe.
- If your interior valve has a small drain cap (bleeder), open it to drain the line between the valve and the outdoor faucet, then close it again.
If your outdoor faucet drips even when “off,” fix it before winter — our dripping faucet guide walks through the repair, and the same worn-washer culprits apply outdoors. A spigot that won’t fully shut is a freeze waiting to happen; see also our hose spigot repair guide.
Step 3: Insulate Exposed Faucets and Pipes
For faucets on exterior walls (especially north-facing ones), add protection:
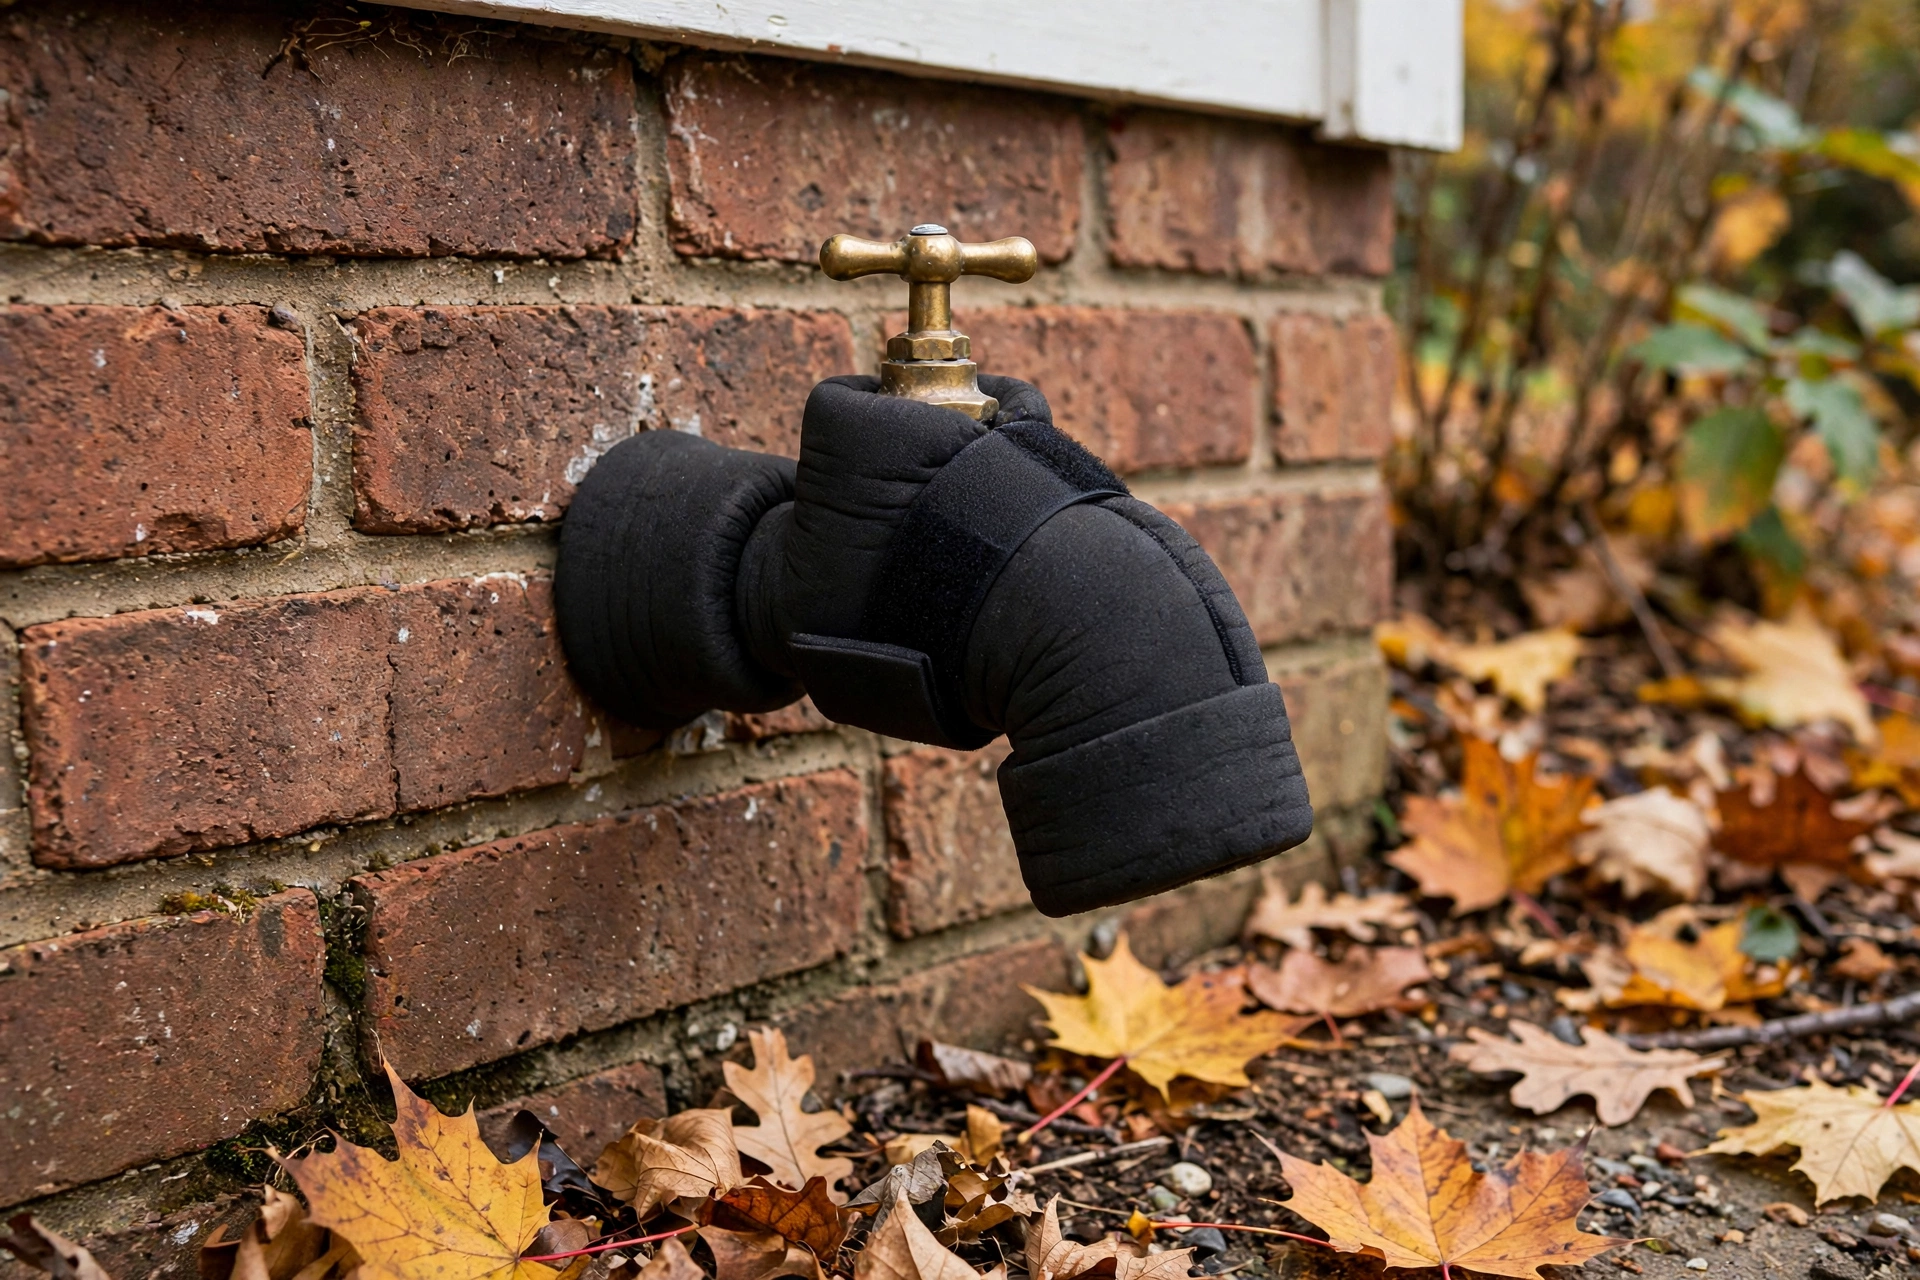
- Foam faucet covers ($3–$8 each) — slip over the bibb and tighten. Cheap insurance.
- Insulated pouches — an alternative that cinches around the faucet.
- Pipe insulation sleeves on any exposed supply pipes in unheated garages, crawl spaces, or along exterior walls.
Note: frost-free sillcocks (the long-stem type) are designed to shut water off 8–12 inches inside the warm wall — but they only work if the hose is disconnected and the pipe slopes slightly downward toward the outside.
Step 4: Winterize the Sprinkler System
In-ground sprinklers hold water in every low spot. The proper method is a blowout with compressed air:
- Shut off the main sprinkler supply valve and open the manual drain valves if your system has them.
- Connect an air compressor (regulated to 40–80 PSI for PVC, up to 80 for polyethylene — never exceed the pipe rating) to the blowout port.
- Activate zones one at a time, blowing each until only mist comes out — about 2 minutes per zone.
- Leave the controller in rain mode or unplug it for winter; drain any above-ground backflow preventer and wrap it with insulation.
No compressor? Many irrigation companies do blowouts for $75–$150 — money well spent compared to replacing cracked heads and split lines in spring.
Step 5: Don’t Forget the Rest of the House
Outdoor plumbing is just one part of cold-weather prep. While you’re at it, walk through our whole-home winterizing checklist — sealing air leaks and checking insulation now saves real money all winter.
Spring Reversal Checklist
When freezing nights are reliably past: close outdoor faucets, slowly reopen interior shut-off valves, check for leaks at every connection, reconnect hoses, and pressurize the sprinkler system zone by zone while watching for geysers (a geyser means a cracked head — replace it before it wastes water all summer).
The Bottom Line
Disconnect hoses, shut off and drain outdoor lines, cover the bibbs, blow out the sprinklers. One October afternoon protects you from the most common — and most preventable — winter plumbing disaster.
