

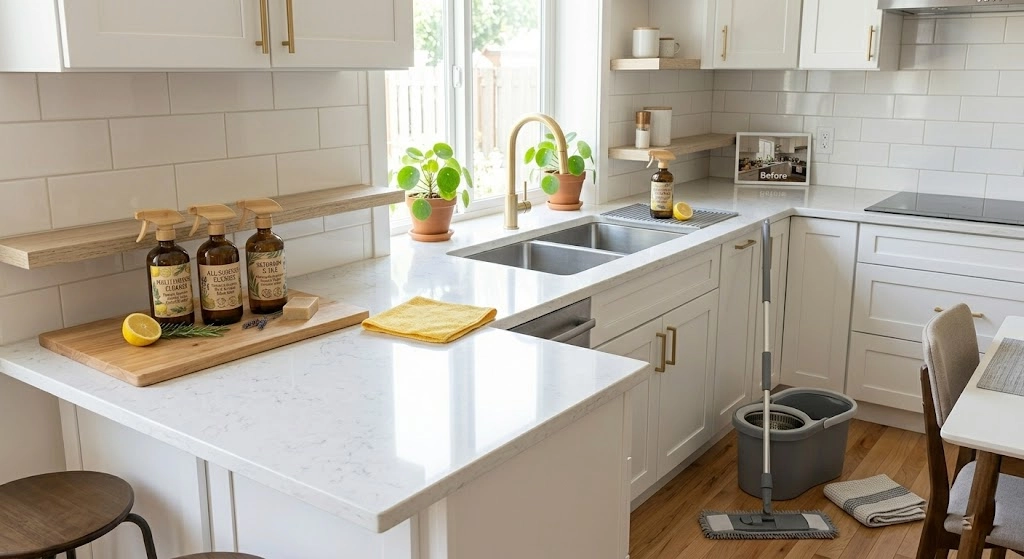
How to Deep Clean Your Kitchen in 1 Hour
To deep clean your kitchen in 1 hour, work top to bottom. Start by clearing clutter, then spray surfaces with cleaner and let it sit. Clean appliances, scrub the stovetop, wipe countertops and cabinets, deep-clean the sink, and finish by sweeping and mopping the floors.
Yes, you can absolutely deep clean your kitchen in 1 hour — and no, you don’t need to spend the whole weekend doing it. Most people put off kitchen deep cleaning because it feels like an all-day job. But with the right order of operations and a little focus, sixty minutes is genuinely enough time to tackle the grease, grime, and clutter that builds up between regular cleanings.
This guide walks you through every step, from gathering your supplies to mopping the floors, so nothing gets missed and nothing gets re-done.
What You Need Before You Start
Before the clock starts, gather everything in one place. Running back and forth hunting for a scrub brush is a fast way to burn through your hour doing nothing useful.
Here is what you need: an all-purpose cleaner, a degreaser for the stovetop, microfiber cloths, a scrubby sponge, baking soda, white vinegar, dish soap, a mop and broom or vacuum, and a trash bag.
Having these items within arm’s reach from the start is the difference between a 60-minute clean and a 90-minute one. Professional cleaners call this “staging” — and it works every time.
The Golden Rule: Work Top to Bottom
This one rule will save you more time and frustration than any cleaning hack out there. Gravity is real. When you wipe cabinet doors and dust light fixtures first, the crumbs and debris fall to the floor. If you mop first and then wipe the counters, you’re cleaning the floor twice.
Start at the highest point in the kitchen — light fixtures, the tops of cabinets, the range hood — and work your way down to the floor last. Every professional cleaner follows this exact system.
The 60-Minute Deep Clean Plan
Here’s how to break down the hour. Think of it as four focused blocks of time, not one overwhelming task.
Minutes 0–5: Clear the Clutter and Start the Dishwasher
Before you can clean anything, you need to be able to see and reach it. Take everything off the countertops that doesn’t belong there. Load dirty dishes into the dishwasher and hit start. If you don’t have a dishwasher, fill the sink with hot soapy water and let those dishes soak while you work on everything else.
This step does two things at once: it clears your workspace and gets the dishes moving without you having to stand at the sink for 15 minutes.
Minutes 5–10: Spray Your Big Surfaces Now
This is the pro move that most people skip, and it makes a dramatic difference. Before you clean anything else, spray your stovetop, countertops, and the inside of the microwave with cleaner or a vinegar-water solution. Then walk away.
Let the product sit and do its job while you tackle the upper zones. Cleaning experts call this “dwell time” — the cleaner breaks down grease and kills bacteria without you scrubbing a single thing yet. When you come back to these surfaces in 15 to 20 minutes, they’ll wipe clean in half the time.
Minutes 10–25: Clean Appliances and Upper Surfaces
Now work from top to bottom through your appliances and upper surfaces.
The microwave is first. After the vinegar-water steam has been sitting, it should wipe out easily with a damp cloth. If you want a quicker steam method, place a microwave-safe bowl with equal parts water and white vinegar inside, run it for two minutes, and let it sit for another three. The steam loosens everything — dried sauce, splattered soup, all of it.
The range hood and cabinet fronts come next. Wipe down the outside of the range hood and tackle any greasy cabinet doors with your degreaser. These get touched a hundred times a week and collect a layer of invisible grime that is genuinely satisfying to wipe away.
Small appliances like the toaster, coffee maker, and air fryer get a quick exterior wipe. Dump the toaster crumb tray into the trash. If your coffee maker is due for a clean, run a half-water, half-vinegar cycle through it — it can run on its own while you keep moving.
Minutes 25–40: Stovetop, Countertops, and Backsplash
By now the cleaner you sprayed earlier has had time to work. This section moves fast because of that.
The stovetop is usually the dirtiest spot in the kitchen. Remove the grates if you have a gas stove and set them in the soapy sink water to soak. Wipe down the stovetop surface with a degreaser and a non-scratch sponge. For stubborn, baked-on spots, a paste of baking soda and a few drops of dish soap applied directly and left for five minutes will lift most of them without scratching the surface.
Countertops should now wipe clean in seconds since the cleaner has been sitting. Use a clean microfiber cloth and work from the back of the counter to the front so crumbs fall to the floor rather than back onto the clean surface. Wipe in one direction rather than back and forth to avoid spreading grime.
The backsplash is one of the most overlooked parts of a kitchen deep clean. It catches every spatter from the stove and cooking pots, and it shows it. Spray it down and wipe with a damp cloth. For tile with grout, a small brush and a baking soda paste will tackle any dark spots quickly.
Minutes 40–50: Sink Deep Clean and Refrigerator Exterior
The sink comes last in the wet zone because all your dirty cloths and rinsing end up here.
Sprinkle baking soda generously into the basin and scrub with a sponge. Follow with a spray of white vinegar — it will fizz up and help loosen mineral buildup and soap scum around the drain and faucet base. Rinse with hot water and then dry the basin completely with a clean cloth. Drying prevents new water spots from forming, and a dry sink always looks dramatically cleaner than a wet one.
If you have a garbage disposal, drop in a few lemon or lime wedges, run cold water, and turn it on for 30 seconds. The citrus cuts through odors and leaves the kitchen smelling genuinely fresh rather than just “cleaned.”
While you’re in the area, wipe down the outside of your refrigerator and dishwasher. Use a stainless steel cleaner if you have stainless appliances — a quick buff with a microfiber cloth removes fingerprints and leaves a streak-free finish.
Minutes 50–60: Floors
You’ve saved the floors for last, and now all the crumbs from wiping counters and appliances have collected there. Start by sweeping or vacuuming, paying attention to the corners and the area under the kick plates of your cabinets. Crumbs tend to gather in these spots and get ignored.
Follow with a mop using warm soapy water or a floor-appropriate cleaner. Work backward from the farthest corner toward the kitchen exit so you don’t walk over what you’ve just cleaned. If you’re short on time, spot-mop any visible stains and save a full mop for another day.
Set Realistic Expectations
Here is something worth saying plainly: the results of this 60-minute clean depend heavily on how long it has been since your last one. If your kitchen gets a thorough wipe-down every week or two, one hour is very comfortable. If it has been a few months, you might get through most of it but leave a few things — like cleaning inside the fridge or scrubbing the oven — for a follow-up session.
That is completely fine. The goal is progress, not perfection.
How to Keep Your Kitchen Clean Between Deep Cleans
The best way to make your next 60-minute clean even faster is to stay ahead of the mess between sessions.
Wiping down the stovetop after every meal takes less than two minutes and prevents grease from baking on. Cleaning spills in the microwave while they are fresh means you never need to scrub that steam-and-vinegar trick again. Clearing the counters of non-kitchen items every evening keeps the visual clutter manageable.
These small habits add up to a kitchen that practically maintains itself. Your next deep clean becomes lighter every time you do it consistently.
Conclusion
Deep cleaning your kitchen doesn’t have to eat up your entire Saturday. With a clear plan, the right supplies, and the top-to-bottom method, you can deep clean your kitchen in 1 hour and actually feel good about the result.
Start with clutter, let your cleaners do the heavy lifting while you work on other areas, and save the floors for last. Do it regularly, and it only gets easier from here. Your kitchen will thank you — and so will anyone who walks into it.
