

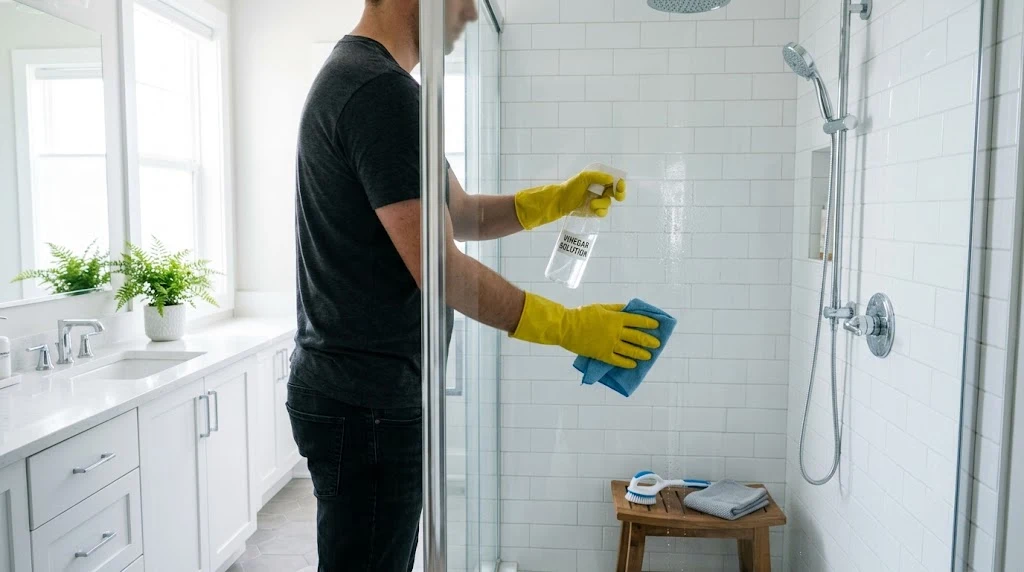
Spray a mix of equal parts white vinegar and water on dry tiles, let it sit for five to ten minutes, then scrub with a soft brush or microfiber cloth and rinse well. For grout, use a baking soda paste and a stiff brush. Skip vinegar on natural stone tile.
Why Shower Tiles Get Dirty So Fast
Your shower deals with more daily abuse than almost any other surface in your home. Hot water, soap, shampoo, and body oils hit the tile every single day. Add humidity that never fully clears, and you get the perfect setup for grime.
Soap scum is the biggest culprit. It forms when the fatty acids in soap react with calcium and magnesium in your water. That reaction creates a chalky film that clings to tile and glass. If you live in a hard water area, this process happens even faster.
Hard water stains are a different problem. These come from mineral deposits left behind after water evaporates. They feel rough and powdery, unlike the slippery texture of soap scum. Knowing which one you’re dealing with helps you pick the right cleaner instead of guessing.
Mold and mildew round out the list. Grout lines stay damp longer than tile, so they become a magnet for dark spots and musty smells. Left alone, this buildup makes your whole bathroom look tired even if the rest of your home is spotless.
What You Need Before You Start
You don’t need a cabinet full of products to get real results. A spray bottle, white vinegar, baking soda, a soft-bristled brush, and a couple of microfiber cloths will handle most jobs. A narrow grout brush helps you get into tight lines without damaging the surface around them.
If your water is especially hard, a mineral-removal spray made for bathrooms can save you time. A squeegee is also worth keeping by the shower door. Running it over the walls after every shower takes less than two minutes and stops buildup before it starts.
For larger bathrooms or textured tile, a drill-mounted scrub brush can save your arms a lot of effort. These attachments spin at a steady pace and reach into grout lines faster than hand scrubbing. If you prefer to skip chemicals entirely, a steam cleaner is another solid option. The heat loosens grime and kills mold spores without needing a single spray bottle.
Before you touch any cleaner, figure out what kind of tile you have. Ceramic and porcelain handle most cleaning products without issue. Natural stone, like marble or travertine, is a different story. Acidic cleaners such as vinegar will etch and dull stone permanently, so stick to pH-neutral cleaners or mild dish soap on those surfaces.
Step-By-Step Cleaning Process
Start by rinsing the tiles with warm water. This loosens loose dirt and softens any soap residue so your cleaner works faster once you apply it.
Next, spray your cleaning solution evenly across the tile. For ceramic or porcelain, mix equal parts white vinegar and water in a spray bottle. Coat the surface generously, focusing on areas with visible film or discoloration.
Let the solution sit for five to ten minutes. This dwell time matters more than how hard you scrub. The acid in the vinegar needs time to break down mineral deposits and soap residue. For heavy buildup, you can extend this to fifteen or twenty minutes, but avoid leaving it on for hours, since prolonged exposure can affect grout color.
Once the time is up, scrub gently in circular motions using a soft brush or microfiber cloth. You shouldn’t need to press hard. If the grime lifts easily, you’re using the right amount of dwell time. If it doesn’t budge, repeat the spray step instead of scrubbing harder, which can wear down grout over time.
Rinse the entire area thoroughly with clean water. Any leftover cleaner will attract more dust and residue if it’s not fully removed. Finish by wiping the tiles dry with a microfiber cloth. This last step prevents water spots and keeps glass doors and fixtures looking clear.
How To Clean Grout Without Damaging It
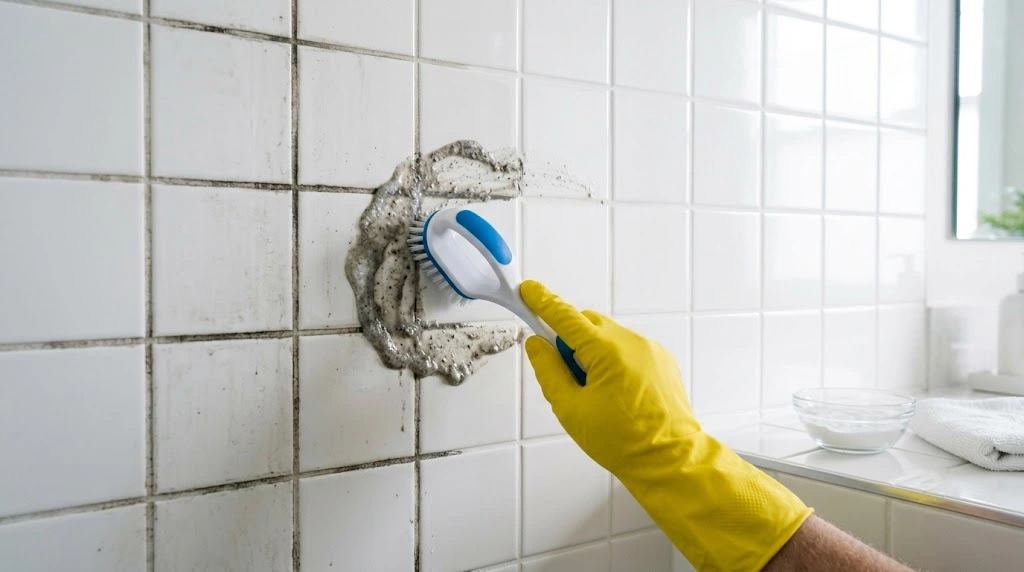
Grout is porous, which means it soaks up moisture, soap, and dirt far more easily than the tile around it. That’s why grout lines often look darker or dingier than the tile itself, even when you clean regularly.
Make a paste using baking soda and a small amount of water until it reaches a thick, spreadable consistency. Apply the paste directly onto the grout lines with a damp sponge or an old toothbrush. Let it sit for about fifteen minutes.
Scrub the grout using a stiff, narrow brush. Work in small sections so you can apply steady pressure without missing spots. For stubborn stains, add a few drops of hydrogen peroxide to the baking soda paste before applying it. This combination lifts discoloration without the harsh smell of bleach.
Rinse the grout well with warm water, checking that no paste residue remains in the lines. Once the grout is clean and dry, consider applying a grout sealer. Sealing creates a barrier that repels moisture and makes future cleaning much easier.
Cleaning Different Tile Types Safely
Ceramic and porcelain tile are the easiest to maintain. Their non-porous surface resists staining, and they hold up well against vinegar, baking soda, and most oxygen-based cleaners. If you’re dealing with everyday soap scum on these tiles, the vinegar method covered earlier works reliably.
Natural stone tile needs a gentler touch. Marble, travertine, limestone, and granite are all vulnerable to acid, so avoid vinegar, lemon juice, and any cleaner labeled as acidic. Instead, use a pH-neutral stone cleaner or a small amount of mild dish soap mixed with warm water. Wipe the surface with a soft cloth and rinse promptly so moisture doesn’t sit on the stone.
Glass shower doors respond well to the same vinegar and water spray used on ceramic tile. Spray the solution, let it sit for about ten minutes, then wipe with a microfiber cloth for a streak-free finish. Avoid abrasive powders or scrubbing pads on glass, since they can create fine scratches that trap even more residue over time.
Fiberglass and acrylic surfaces are common in prefabricated shower enclosures. These materials scratch easily, so skip anything abrasive, including powder cleansers and metal scouring pads. A soft cloth with a vinegar and water mix, or a dedicated fiberglass-safe cleaner, will keep these surfaces looking new without risking damage.
Removing Mold And Mildew From Tile
Mold thrives in warm, damp environments, which makes your shower one of its favorite spots. You’ll usually spot it in grout lines, corners, and around caulking where moisture lingers longest.
For light mold spots, the baking soda paste used for grout cleaning often does the job. Apply it directly to the affected area, let it sit, then scrub with a stiff brush and rinse well.
For more stubborn mold, mix one part hydrogen peroxide with two parts water in a spray bottle. Apply it to the moldy area and let it sit for ten minutes before scrubbing and rinsing. Hydrogen peroxide works as a natural disinfectant without the strong fumes of bleach, making it a safer option if your bathroom doesn’t ventilate well.
Improving airflow is just as important as the cleaning itself. Run your exhaust fan during and after every shower, or crack a window if you have one. Wiping down tile and grout with a towel after use also cuts down on standing moisture, which gives mold far less opportunity to take hold.
Keeping Shower Tiles Clean Longer
The single best habit for reducing buildup is squeegeeing your shower walls after every use. It takes less than two minutes and removes most of the water and soap residue before it has a chance to dry and harden into scum.
A daily shower spray, applied after your last rinse, can also slow down mineral buildup between deep cleans. These no-rinse formulas are designed to sit on the surface and prevent scale from forming, so you spend less time scrubbing later.
Switching from bar soap to a liquid body wash can make a noticeable difference too. Bar soap tends to leave behind more residue, especially in hard water areas, while liquid soap rinses away more completely.
Set a simple weekly and monthly rhythm. Squeeze in a quick wipe-down with your squeegee after most showers, do a full vinegar clean once a week, and give the grout a deeper baking soda treatment once a month. If your water is especially hard, you may want to shorten that grout schedule to every two weeks.
Consistency beats intensity here. A shower cleaned lightly and often will always look better than one cleaned aggressively once every few months, and you’ll protect your grout and tile finish in the process.
When Tiles Still Look Dull After Cleaning
Sometimes you follow every step and the tile still looks cloudy or dingy. Before you assume the tile is damaged, check whether you’re dealing with layered buildup instead. Years of soap scum and mineral deposits can stack up in thin coats, and one cleaning session often isn’t enough to strip it all away.
Repeat the vinegar treatment two or three times over consecutive days rather than scrubbing harder on a single pass. Aggressive scrubbing can scratch ceramic glaze or dull stone, which creates a rough texture that actually attracts grime faster than before. Patience and repetition work better than force.
If the dullness persists after several rounds of cleaning, the tile finish itself may be worn down from years of abrasive cleaners or scouring pads. At that point, a professional grout and tile restoration service can assess whether resealing or refinishing makes sense. This is far less common than simple buildup, so rule out the easy explanation first.
Final Thoughts
Clean shower tiles come down to using the right product for your tile type, giving cleaners enough time to work, and staying consistent with light maintenance between deep cleans. Skip the guesswork by identifying whether you’re facing soap scum, hard water stains, or mold, then match your method to the problem. With a squeegee habit and a weekly wipe-down, your shower will stay bright without demanding hours of scrubbing every month.
