

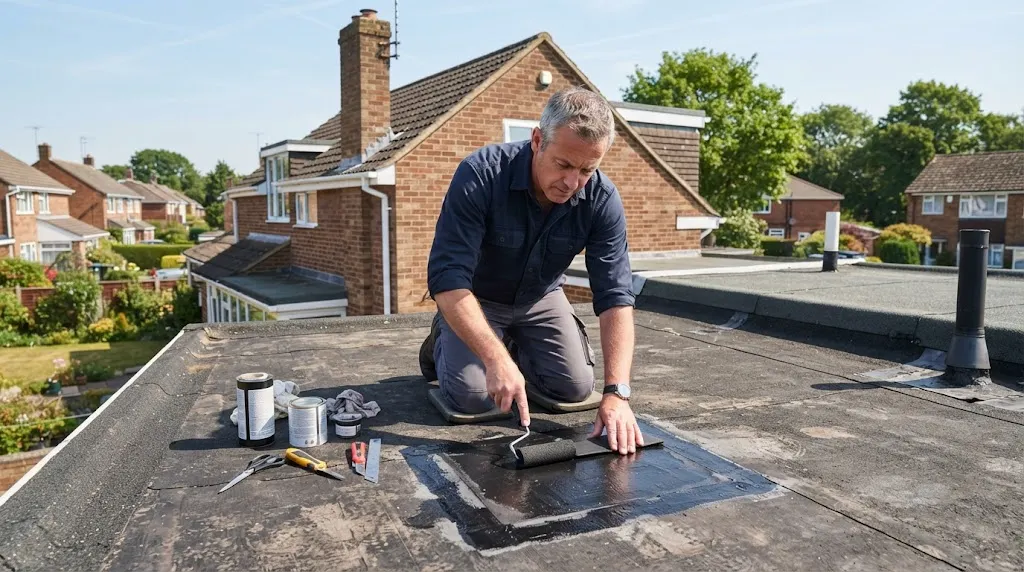
Skill Level: Easy (1 out of 5) — requires careful prep work, but the repair itself is simple Cost: $50–$100 Time Needed: 2–4 hours
Flat and low-slope roofs face a unique problem: they don’t shed water as fast as sloped roofs, which makes them more prone to leaks and water damage over time. The good news is that if your home has a rubber roof, most leaks are easy — and cheap — to fix yourself. With a handful of basic tools and the right materials, you can patch a leaking rubber roof in an afternoon and add years back onto its lifespan.
This guide walks you through everything you need to know: how rubber roofs work, why they leak, how to track down the source of a leak, and exactly how to patch it for a watertight, long-lasting repair.
What Is a Rubber Roof, and Why Do People Use Them?
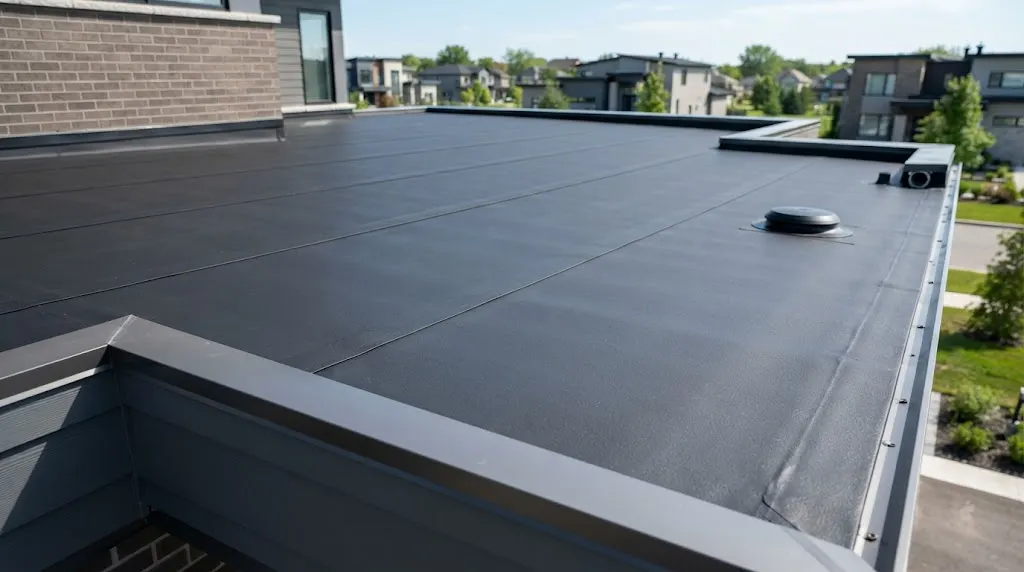
Rubber roofing, technically known as EPDM (ethylene propylene diene monomer), is a synthetic rubber membrane widely used on flat and low-pitch roofs. It’s a favorite among homeowners and contractors for a few solid reasons:
- Affordable compared to other flat-roof materials like TPO or built-up roofing
- Durable, with a lifespan of up to 30 years when properly installed and maintained
- Flexible, which allows it to handle temperature swings and minor structural movement without cracking
- Easy to repair, since damaged sections can be patched rather than fully replaced
Despite these advantages, EPDM roofs aren’t maintenance-free. Over time, exposure to sun, weather, and everyday wear can create weak spots that let water in.
Common Causes of Rubber Roof Leaks
Understanding why your roof is leaking can help you prevent the same issue from happening again. The most frequent culprits include:
- Age-related deterioration — UV exposure and temperature cycling break down the rubber over decades
- Foot traffic damage — Walking on the roof for maintenance or cleaning gutters can weaken the membrane
- Improper installation — Poorly sealed seams or incorrect adhesive application can fail early
- Punctures from debris — Falling branches, hail, or dropped tools can puncture the surface
- Seam separation — The joints between rubber sheets are the most vulnerable points on the entire roof
Most leaks caused by punctures, small tears, or seam separation are well within a confident DIYer’s skill level. The key first step is locating exactly where the water is getting in.
Homeowner Insight: According to the 2026 This Old House Roofing Survey, active leaks were the main reason about 24% of homeowners replaced their roof, while weather or storm damage prompted roughly 41% of replacements. Catching and patching small leaks early can help you avoid becoming part of that statistic.
How to Find the Source of a Rubber Roof Leak
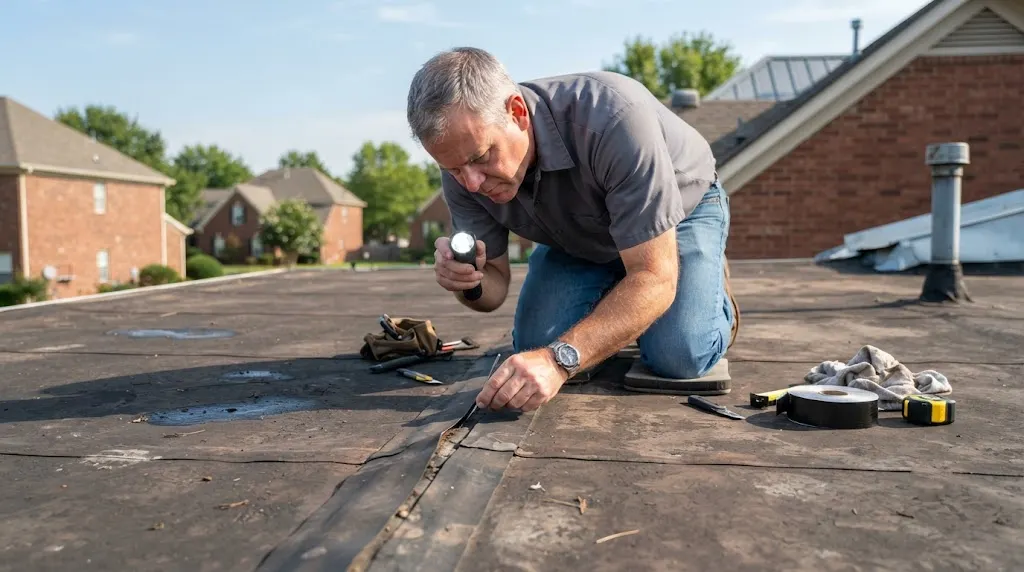
Before you patch anything, you need to know exactly where the leak is coming from — and that’s not always as obvious as it sounds. Water often travels along the underlayment before dripping down somewhere far from the actual hole, so a careful, methodical inspection saves you from patching the wrong spot.
Step 1: Inspect the Roof Surface
Walk the roof (carefully, and only in dry conditions) and look closely for:
- Cracks or tears in the rubber membrane
- Loose, lifted, or separated seams
- Visible punctures or small holes
- Pooling or standing water, which can signal both a leak point and poor drainage
Step 2: Check Inside the House
Head to your attic or the room directly beneath the roof and look for these telltale signs:
- Damp or discolored insulation
- Mold or mildew growth
- Water stains or bubbling paint on ceilings and walls
Keep in mind that interior damage doesn’t always sit directly under the leak — water can travel several feet before it drips down. Use interior clues as a starting point, then trace upward and outward from there. If you search thoroughly and still can’t pinpoint the source, it’s worth calling in a professional roofer rather than guessing.
Tools and Materials You’ll Need
Once you’ve located the leak, gather everything before you climb up. Having all your materials on hand keeps the repair efficient and reduces the time your roof is exposed and open.
Tools
- 3-inch paint brush
- 3-inch paint roller
- Caulk gun
- Drill/driver
- Framing square
- Measuring tape
- Utility knife
Materials
- EPDM rubber roofing material
- High-density fiberboard substrate
- Lap sealant
- Membrane cleaner
- Rubber-to-rubber contact cement
- Screws and metal washers
Roof Safety Tips
Working at height always carries risk, so take these precautions seriously:
- Have someone hold the ladder steady while you climb up and down
- Never work on the roof in wet, icy, or windy conditions — even a light drizzle makes rubber roofing dangerously slippery
- Cover skylights with plywood so you can’t accidentally step through one
- Wear gloves to protect your hands from sharp tools, screws, and adhesive
- Wear rubber-soled shoes for better grip, and avoid working alone if possible
Step-by-Step: How to Patch a Leaking Rubber Roof
With your materials ready and the leak located, it’s time to make the repair. One important rule throughout this process: only cut roofing material off the roof or on a piece of scrap fiberboard. Cutting directly on the existing roof surface, beyond your marked repair area, risks creating a brand-new leak.
- Cut around the damaged area. Using a utility knife and a framing square as a guide, cut a clean square or rectangle in the rubber membrane around the damaged spot.
- Remove the old roofing. Peel back the cut section of rubber to expose the substrate underneath.
- Inspect and replace the substrate. If the fiberboard underneath is wet, soft, or damaged, unscrew the metal washers holding it down and remove it. Cut a new piece of high-density fiberboard to fit the opening exactly.
- Install the new substrate. Set the fresh fiberboard into place and secure it firmly with screws and metal washers.
- Cut your patch. Measure and cut a piece of EPDM rubber roofing that extends about 12 inches beyond the repair area on every side. A generous overlap ensures a strong, lasting bond.
- Clean both surfaces. Apply membrane cleaner to the roof area around the repair and to the underside of the rubber patch. This step is easy to rush, but it’s critical — dirt, dust, or oils on either surface will weaken the adhesive bond.
- Apply contact cement to the first half. Using a paint roller, coat half of the repair area and half of the patch’s underside with rubber-to-rubber contact cement. Let it sit for about 10 minutes, or until it becomes tacky but not wet.
- Position and press the patch. Line up the patch carefully over the repair area and press it down firmly. Avoid stretching the rubber as you do this — stretched rubber tends to pull loose over time.
- Finish the second half. Fold back the unglued half of the patch, apply contact cement to the remaining surfaces, let it dry, and then press the second half firmly into place.
- Seal the edges. Run a continuous bead of lap sealant around the entire perimeter of the patch using a caulk gun. This locks out water and protects the seam from future separation.
Tips for a Long-Lasting Repair
- Press with firm, even pressure across the whole patch to push out any trapped air bubbles.
- Never stretch the rubber patch while applying it — tension left in the material can cause it to peel later.
- Clean both bonding surfaces thoroughly; adhesive only works as well as the surface it’s applied to.
- Choose a calm, dry day for the repair. Humidity and moisture interfere with proper curing of contact cement.
- Give the contact cement the full recommended drying time before pressing surfaces together — rushing this step is one of the most common reasons DIY patches fail early.
How to Maintain Your Rubber Roof Long-Term
A patch will only last as long as the roof around it is cared for. Regular maintenance is what actually gets you that 20- to 30-year lifespan EPDM roofing is known for.
Cleaning and Upkeep
- Wash the surface periodically with mild detergent and water to clear away dirt, algae, and organic buildup.
- Inspect the roof twice a year, plus immediately after any major storm.
- Keep the surface clear of leaves, branches, and other debris that can puncture or trap moisture against the membrane.
- Reapply lap sealant to seams and edges every few years, since sealant naturally breaks down with UV exposure.
- Trim back any overhanging tree branches that could scrape the surface or drop debris.
Seasonal Inspection Checklist
- Spring: Check for damage caused by winter ice, snow buildup, or freeze-thaw cycles.
- Fall: Clear fallen leaves and inspect for any wear from summer heat and storms.
- Year-round: Look for new cracks, brittleness, discoloration, or seams that have started to lift or separate.
- Annually: Hire a professional roofer for a thorough once-a-year inspection, especially if your roof is older or has a history of leaks.
Homeowner Insight: The 2026 This Old House Roofing Survey found that after completing a roofing project, homeowners most often reported improved peace of mind and improved home appearance (each cited by 53% of respondents) — ahead of financial motivators like property value or energy savings. In other words, staying on top of your roof pays off in comfort, not just dollars.
When to Call a Professional Instead
DIY patching works well for small, isolated leaks, but some situations call for an experienced roofing contractor. Consider calling a pro if you notice any of the following:
- Damage spread across a large section of the roof
- Multiple leaks or signs of a systemic problem, rather than a single isolated spot
- Visible structural damage to the roof deck itself
- A roof that’s 30 years old or older, since aging membranes may need full replacement rather than patching
You should also call a professional if you’re not comfortable working at height or don’t have the right tools on hand. When hiring, look for a licensed, insured contractor with specific experience repairing EPDM rubber roofs. Read reviews, ask for references, and get estimates from at least two or three contractors before committing.
Homeowner Insight: According to the 2026 This Old House Roofing Survey, one of the most common regrets among homeowners was not collecting enough quotes before hiring a contractor. Labor and materials were named the biggest cost drivers, cited by 65% and 64% of respondents, respectively. Comparing itemized estimates from multiple contractors is one of the simplest ways to avoid overpaying and make sure you understand exactly what you’re paying for.
Quick-Reference Tools & Materials List
| Item | Purpose |
|---|---|
| Utility knife | Cutting the damaged membrane and patch |
| Drill/driver | Securing substrate with screws |
| 3-inch paint brush | Applying cleaner or cement in tight spots |
| 3-inch paint roller | Spreading contact cement evenly |
| Caulk gun | Applying lap sealant to patch edges |
| Framing square | Marking clean, straight cut lines |
| Measuring tape | Sizing the repair area and patch |
Final Thoughts
A leaking rubber roof might sound like a big headache, but for most punctures, tears, and seam issues, it’s a manageable weekend project. The real keys to success are patience during the inspection phase, thorough surface cleaning before you apply any adhesive, and taking your time to avoid stretching the patch. Follow these steps carefully, and your repair should hold strong for years to come.
If the damage looks bigger than a simple patch job — or your roof is getting up in years — don’t hesitate to bring in a professional. A small investment now in either your own repair work or a qualified contractor can save you from a much costlier replacement down the road.
