

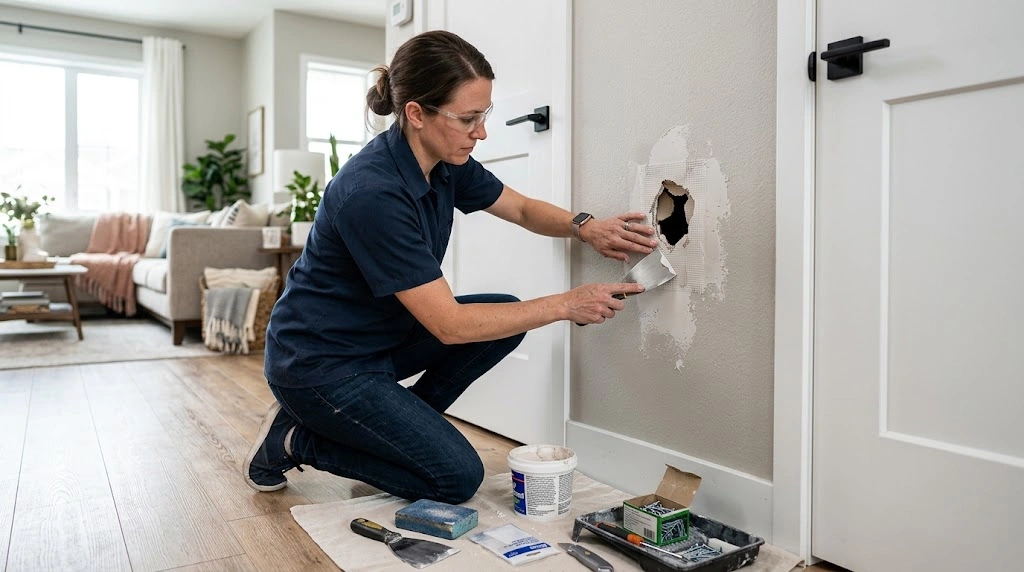
Whether caused by a door handle slamming into a wall, furniture shifting during a move, leftover holes from anchored wall shelving, or plumbing access cuts, damaged drywall is one of the most common issues homeowners face. While cracked, gouged, or punctured drywall looks unappealing, repairing drywall is a straightforward DIY project that yields flawless, invisible results when executed with the proper techniques.
Many DIY patching jobs fail because homeowners use the wrong spackling compound, skip reinforcement mesh tape, fail to feather out joint compound edges properly, or rush the sanding process. A poor patch leaves noticeable bulges, flashing paint spots, or hairline stress cracks that reappear months later.
In this exhaustive 2500+ word master guide, you will learn how to assess drywall damage, select the right patching materials, repair tiny nail holes, patch medium doorknob punctures using mesh screen patches, cut and install solid wood backing for large drywall blowouts, blend wall textures, and prime patches for a seamless finish.
Step 1: Assess Drywall Damage and Gather Materials
The size of your drywall damage dictates the repair method and materials required.
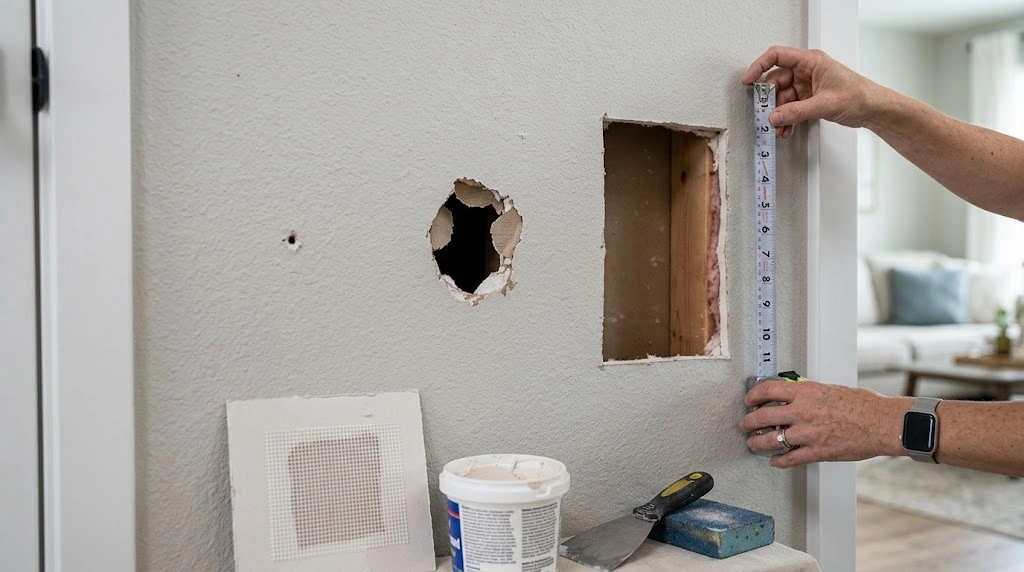
Damage Classification Matrix:
- Tiny Holes & Nail Dings (Under 1/2 inch): Small nail holes, picture hanging dings, and thin cracks. Repaired using standard spackling paste and a putty knife.
- Medium Holes (1 to 3 inches): Small door handle impacts, misplaced wall anchors, and cable wire holes. Repaired using self-adhesive mesh wire patches and joint compound.
- Large Blowouts & Cavities (3 to 12+ inches): Heavy impact damage, plumbing access cuts, or water-damaged drywall sections. Repaired using the “Dutch Patch” method or a custom-cut drywall patch backed by wooden support cleats.
Essential Patching Tools & Materials:
- Drywall Joint Compound: Ready-mixed all-purpose joint compound (mud) or fast-setting setting powder (“setting mud” like Easy Sand 45).
- Putty Knives: 2-inch flexible spackling knife, 6-inch taping knife, and 10-to-12-inch wide drywall feathering knife.
- Reinforcement: Self-adhesive mesh screen patches, fiberglass mesh tape, or paper drywall tape.
- Backing Lumber: 1×2 or 1×3 furring strips or wood scraps (for large holes).
- Sanding Tools: 120-grit and 220-grit fine sanding sponges or a dustless drywall sanding pad.
- Drywall Saw & Utility Knife: For squaring off damaged hole edges.
- Drywall Primer: PVA (Polyvinyl Acetate) drywall sealer/primer.
Step 2: Repairing Small Nail Holes and Scratches (Under 1/2 Inch)
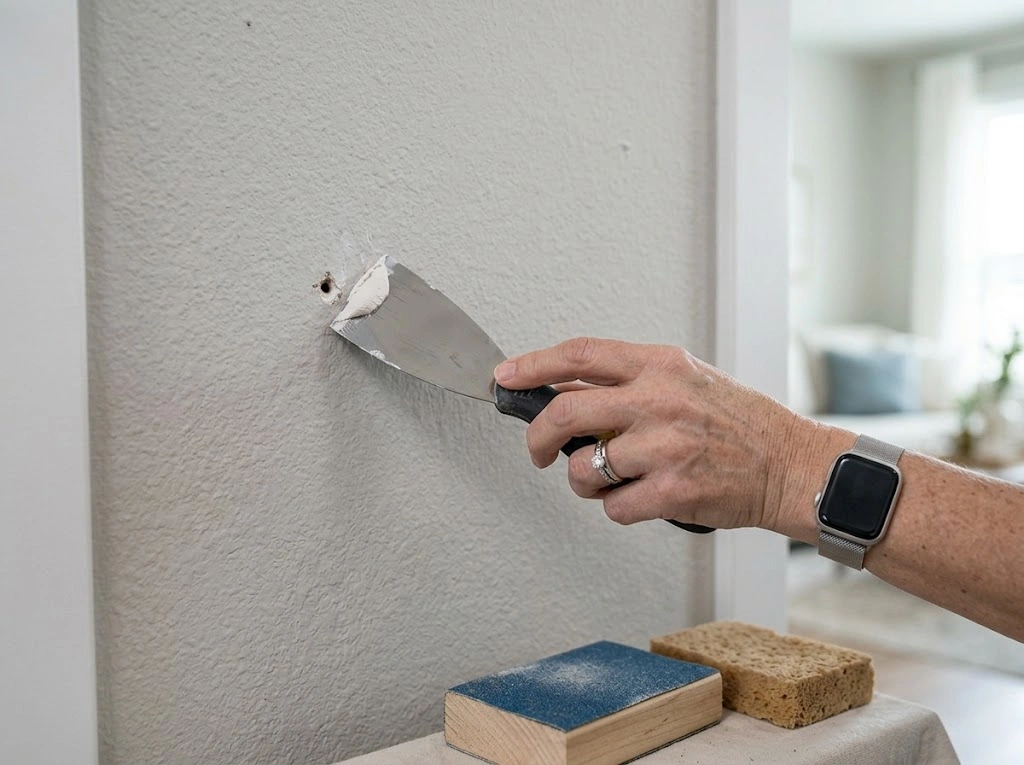
Small holes are the quickest to repair, requiring only basic filling and smooth feathering.
- Clean and Prep the Hole: Use a utility knife or the rounded handle of a putty knife to press loose paper fibers into the hole, creating a slight concave depression (“dimple”).
- Apply Spackling Compound: Scoop a small dab of joint compound onto a 2-inch putty knife. Press the compound firmly into the hole to fill the cavity completely.
- Scrape Flush: Hold the putty knife at a 45-degree angle against the wall and draw it across the hole in a smooth motion to remove excess spackle, leaving the patch flush with the surrounding wall.
- Sand and Paint: Let dry for 1 to 2 hours. Sand gently using a 220-grit sanding sponge until perfectly smooth, then apply touch-up primer and paint.
Step 3: Repairing Medium Holes Using Mesh Patches (1 to 3 Inches)
Door handles frequently puncture holes through hollow drywall cavities. Self-adhesive aluminum mesh patches provide structural reinforcement across these medium-sized openings.
- Trim Loose Paper and Debris: Cut away frayed paper edges around the hole perimeter using a utility knife.
- Apply Self-Adhesive Mesh Patch: Peel the backing off a self-adhesive mesh screen patch (such as a 4×4-inch aluminum mesh patch) and center it directly over the hole, pressing the adhesive edges firmly against the wall.
- Apply First Layer of Joint Compound: Scoop joint compound onto a 6-inch taping knife. Spread compound over the mesh patch, working from the center outward to force mud through the screen holes.
- Feather the Edges: Extend the joint compound 2 to 3 inches beyond the edges of the mesh patch, tapering (“feathering”) the compound paper-thin at the outer perimeter to blend into the surrounding wall.
- Apply Second Thin Coat: Let the first coat dry completely (4 to 12 hours). Lightly scrape away any ridges or bumps, then apply a second, broader coat using a 10-inch knife to eliminate any remaining outline outline.
Step 4: Repairing Large Holes (3 to 12+ Inches with Wood Backing)
Large drywall blowouts require solid structural wood backing so the patch does not push inward when touched.
Step-by-Step California/Dutch Patch Technique:
- Square Off the Hole: Draw a neat square or rectangle around the damaged hole using a level and pencil. Cut out the marked rectangle using a handheld drywall jab saw.
- Install Wood Support Cleats: Cut two pieces of 1×2 or 1×3 wood furring strips roughly 4 inches longer than the cutout hole. Insert the wood strips inside the wall cavity behind the opening, positioning them along opposite sides of the cutout.
- Secure Backing Cleats: Drive 1-1/4-inch drywall screws through the existing wall drywall into the wood backing strips above and below the hole, sinking screw heads slightly below the paper surface (“dimpling”).
- Cut a Matching Drywall Patch: Measure the square cutout opening and cut a replacement piece from a spare sheet of drywall matching your wall’s thickness (standard interior walls are 1/2 inch thick; garage/firewalls are 5/8 inch thick).
- Screw Patch to Backing: Fit the drywall patch into the cutout opening and secure it to the wood backing cleats using drywall screws.
- Tape Joints: Apply self-adhesive fiberglass mesh tape over all four perimeter seams of the patch.
- Mud and Feather (3 Coats):
- Coat 1: Apply joint compound over the tape seams with a 6-inch knife to fill all gaps.
- Coat 2: Apply a wider layer with an 8-to-10-inch knife, extending 4 inches past the seams.
- Coat 3: Apply a final thin skim coat with a 12-inch knife, feathering edges 6 to 8 inches onto the surrounding wall.
Step 5: Sanding and Blending Wall Textures
Proper sanding and texturing bridge the visual gap between a flat patch and the surrounding wall finish.
1. Dustless Wet-Sanding Technique
To avoid filling your home with fine drywall dust, use a damp high-density sponge. Rub the damp sponge in gentle circular motions over the dry patch edges to melt away high ridges without creating airborne dust.
2. Dry-Sanding for High Precision
Use a 120-grit fine sanding block to level out high spots, followed by a 220-grit sanding block to polish the patch surface glass-smooth. Use a bright flashlight held flat against the wall surface (“raking light”) to detect minor shadows or uneven spots.
3. Matching Wall Textures (Orange Peel & Knockdown)
Most modern homes feature textured walls rather than flat drywall.
- Orange Peel Texture: Spray a aerosol wall texture can (like Homax Orange Peel Texture) onto a test piece of cardboard to adjust nozzle spray pressure, then mist the texture onto your patch from 12 to 18 inches away.
- Knockdown Texture: Spray texture drops onto the patch, let it set up for 10 minutes until tacky, then drag a flat plastic taping knife lightly across the tops to flatten (“knock down”) the high spots.
Step 6: Priming and Touch-Up Painting (Preventing “Flashing”)
Painting directly over unprimed joint compound creates a dull, chalky blotch known as flashing—where porous drywall mud absorbs paint moisture differently than the surrounding wall.
- Apply PVA Drywall Primer: Seal the sanded patch with a coat of high-solids PVA drywall primer or stain-blocking primer (like KILZ or Zinsser). Let dry completely.
- Stipple the Paint: Instead of brushing flat across the patch, use a micro-fiber roller sleeve or lightly dab (“stipple”) paint with a brush tip to recreate the microscopic roller stipple texture of the surrounding painted wall.
- Corner-to-Corner Blending: If wall paint is old or faded, paint the entire wall section corner-to-corner to hide minor color mismatches seamlessly.
Quick Reference Summary Checklist
- Match patch methods to hole size: spackle for dings, mesh screen patches for medium holes, and wood cleats for large blowouts.
- Always bevel or dimple hole edges to prevent paper frays from sticking out of compound coats.
- Use a 10-to-12-inch drywall knife to feather compound 6 to 8 inches past patch edges.
- Match wall textures using aerosol spray texture cans before painting.
- Prime all patches with PVA drywall sealer to prevent chalky paint flashing blotches.
Final Thoughts
Repairing drywall holes is a valuable home maintenance skill that yields professional, invisible results with patience and practice. By reinforcing holes with proper mesh or wooden backing, applying multiple thin coats of joint compound, feathering edges wide, and sealing with primer before painting, you can restore your walls to pristine condition without hiring expensive trade professionals.
