

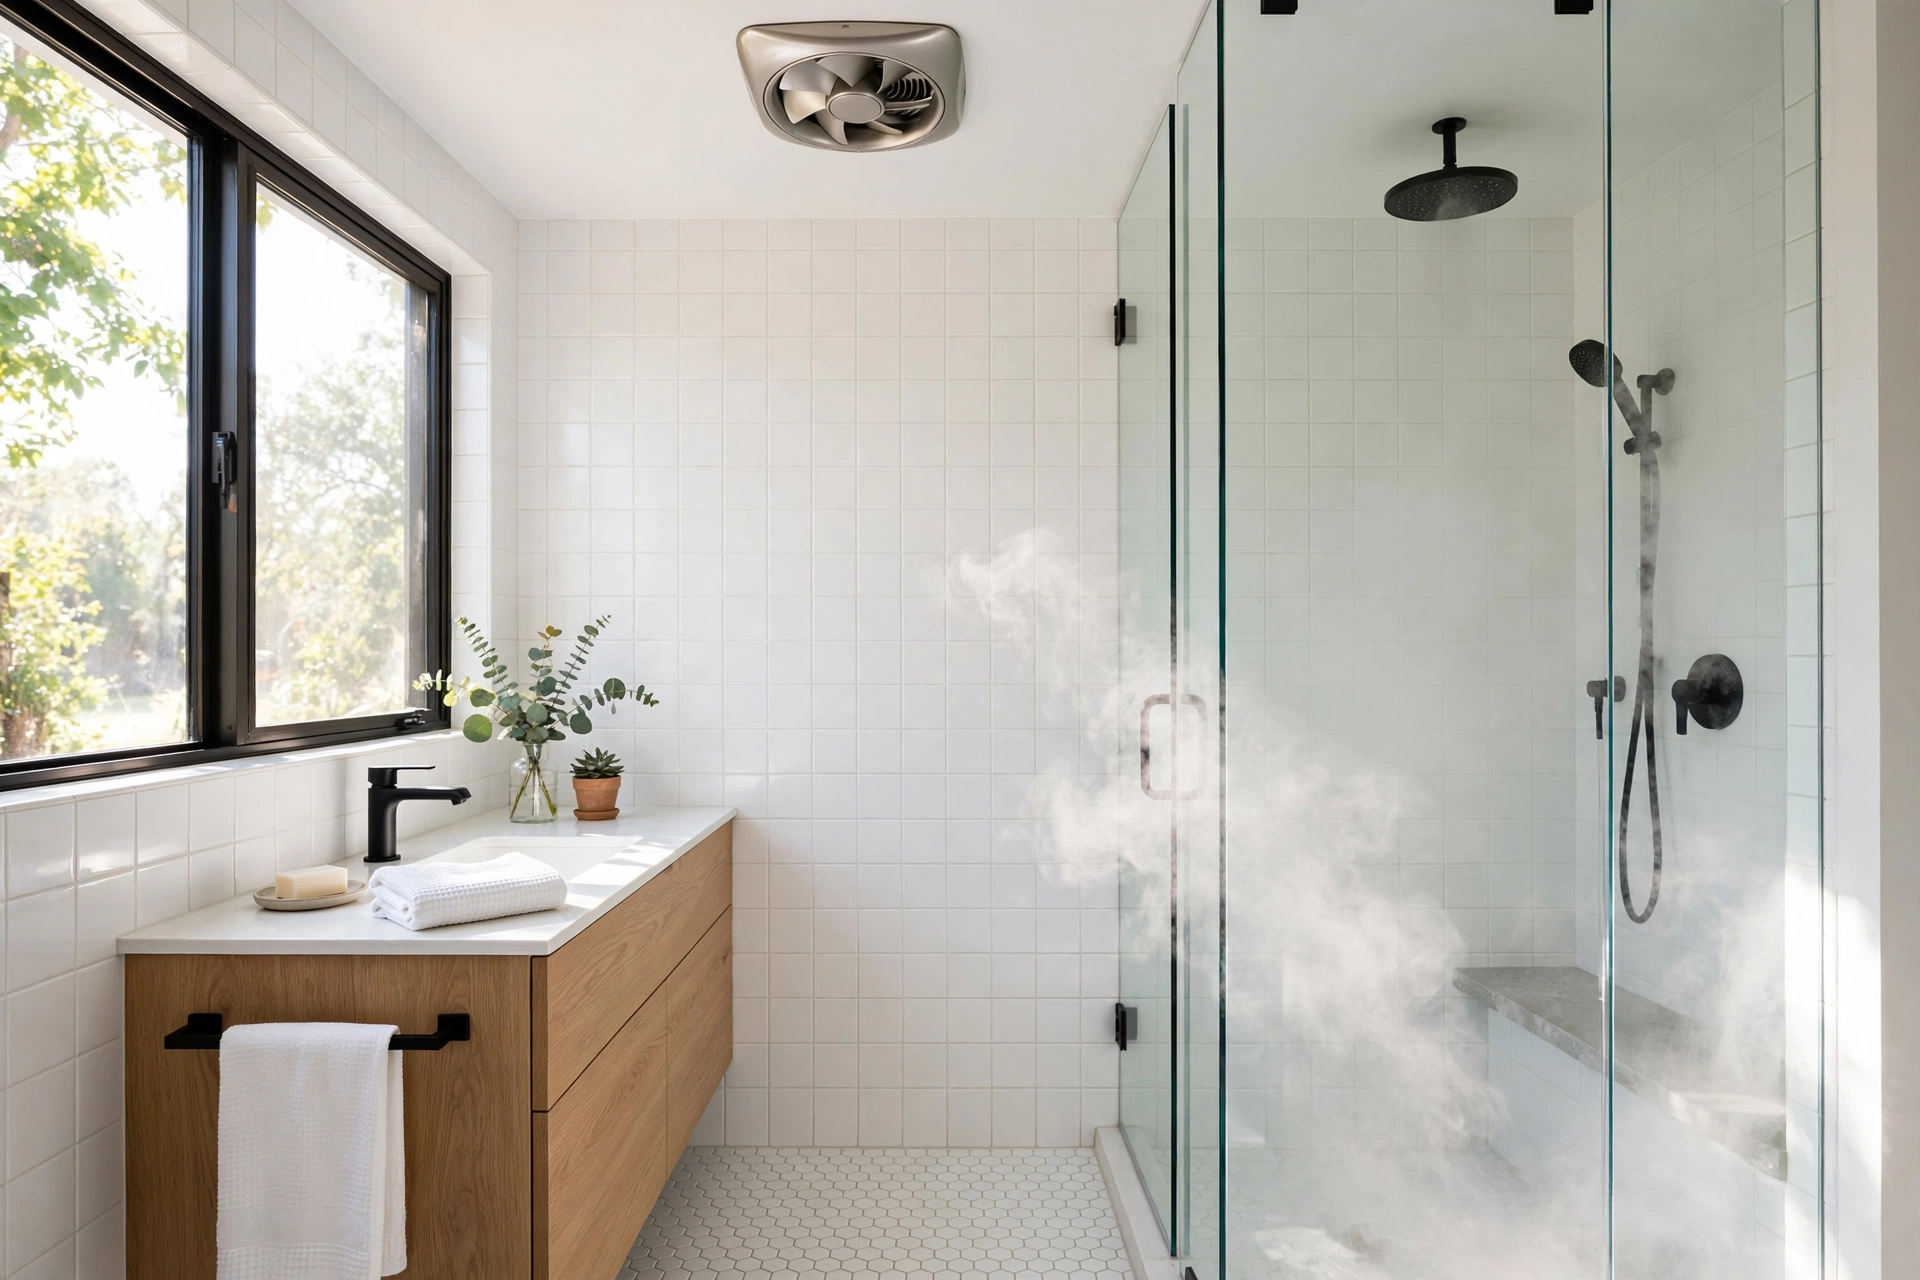
Why Bathroom Ventilation Matters More Than You Think
A hot shower can pump more than half a pint of moisture into the air in minutes. Without proper ventilation, that moisture soaks into drywall, condenses inside wall cavities, and feeds mold behind paint and tile. Peeling paint, a perpetually foggy mirror, and that musty smell that never quite leaves are all symptoms of an undersized — or missing — exhaust fan. Most building codes now require mechanical ventilation in any bathroom without an operable window, and even with a window, a fan does the job far better.
Sizing Your Fan: The CFM Rule
Fans are rated in CFM (cubic feet per minute) — how much air they move. The industry rule of thumb:
- 1 CFM per square foot of bathroom floor area. An 8×10 bathroom (80 sq ft) needs at least an 80 CFM fan.
- 50 CFM minimum, even for tiny powder rooms.
- For bathrooms over 100 sq ft, size by fixtures instead: 50 CFM each for the toilet, shower, and bathtub, plus 100 CFM for a jetted tub. A large bath with all four needs around 250 CFM.
When in doubt, go slightly bigger — an oversized fan on a timer is far better than an undersized one running constantly. Just don’t go absurdly large in a tiny room, or you’ll create uncomfortable drafts and backdrafting issues.
Understanding Sone Ratings (Noise Level)
Sones measure perceived loudness. Here’s what the numbers feel like:
- Under 1.0 sone — barely audible, like a whisper. Ideal.
- 1.0–2.0 sones — quiet background hum. Fine for most homes.
- 3.0–4.0 sones — clearly noticeable. The classic loud bathroom fan.
- 4.0+ sones — annoying enough that people avoid turning it on, defeating the purpose.
This matters more than people realize: a loud fan gets switched off early, which means moisture stays. Spend the extra $30–$50 for a fan rated under 1.5 sones and it will actually get used.
Placement: Location Is Half the Battle
Install the fan near the shower or tub, where moisture is generated — not over the door, where it just pulls in hallway air and short-circuits. In long bathrooms, consider two smaller fans rather than one large one. Keep the fan away from the supply air register so you’re exhausting humid air, not the fresh air you just paid to heat or cool.
Ducting Done Right (Where Most Installations Fail)
A great fan connected to bad ducting is a bad fan. Non-negotiable rules:
- Vent to the outside — through the roof, a gable wall, or a soffit. Never terminate a duct in the attic; you’re just relocating the mold problem.
- Keep runs short and straight. Every elbow and every extra foot of duct reduces actual CFM. Use rigid or semi-rigid duct, not flimsy flexible foil, which creates turbulence.
- Match the duct diameter to the fan’s outlet (usually 4 or 6 inches) — necking down chokes airflow.
- Insulate ducts running through unconditioned attics in cold climates, or condensation will form inside and drip back down.
- Install a proper exterior cap with a backdraft damper so cold air and pests don’t come in when the fan is off.
Controls: Timers and Humidity Sensors
Moisture lingers long after the shower ends, so the fan should run 20–30 minutes after you leave the bathroom. A simple countdown timer switch ($20–$30) solves this elegantly. Even better: a humidity-sensing switch that runs the fan automatically until moisture drops to normal levels — perfect for households where nobody remembers the timer. Both fit a standard switch box.
DIY Replacement or Call an Electrician?
Swapping an existing fan for a same-size unit is a very doable DIY project: kill the breaker, disconnect the old unit, and connect the new one to the existing wiring and duct. Installing a fan where none exists is a bigger job — new circuit wiring, cutting ceiling drywall, and routing ductwork through the attic. If you’re not comfortable with electrical work or attic acrobatics, this is a $300–$600 electrician/contractor job well spent.
Maintenance: Two Minutes a Year
Once a year, turn off the power, pop off the grille, and vacuum the dust off the grille and impeller blades. A dust-caked fan can lose a third of its airflow. While you’re up there, confirm the exterior cap’s damper still opens freely.
The Bottom Line
The right bathroom fan is sized to the room, quiet enough to actually use, ducted to the outdoors, and left running after the shower. Get those four things right and you’ll never fight mold, peeling paint, or a foggy mirror again.
