

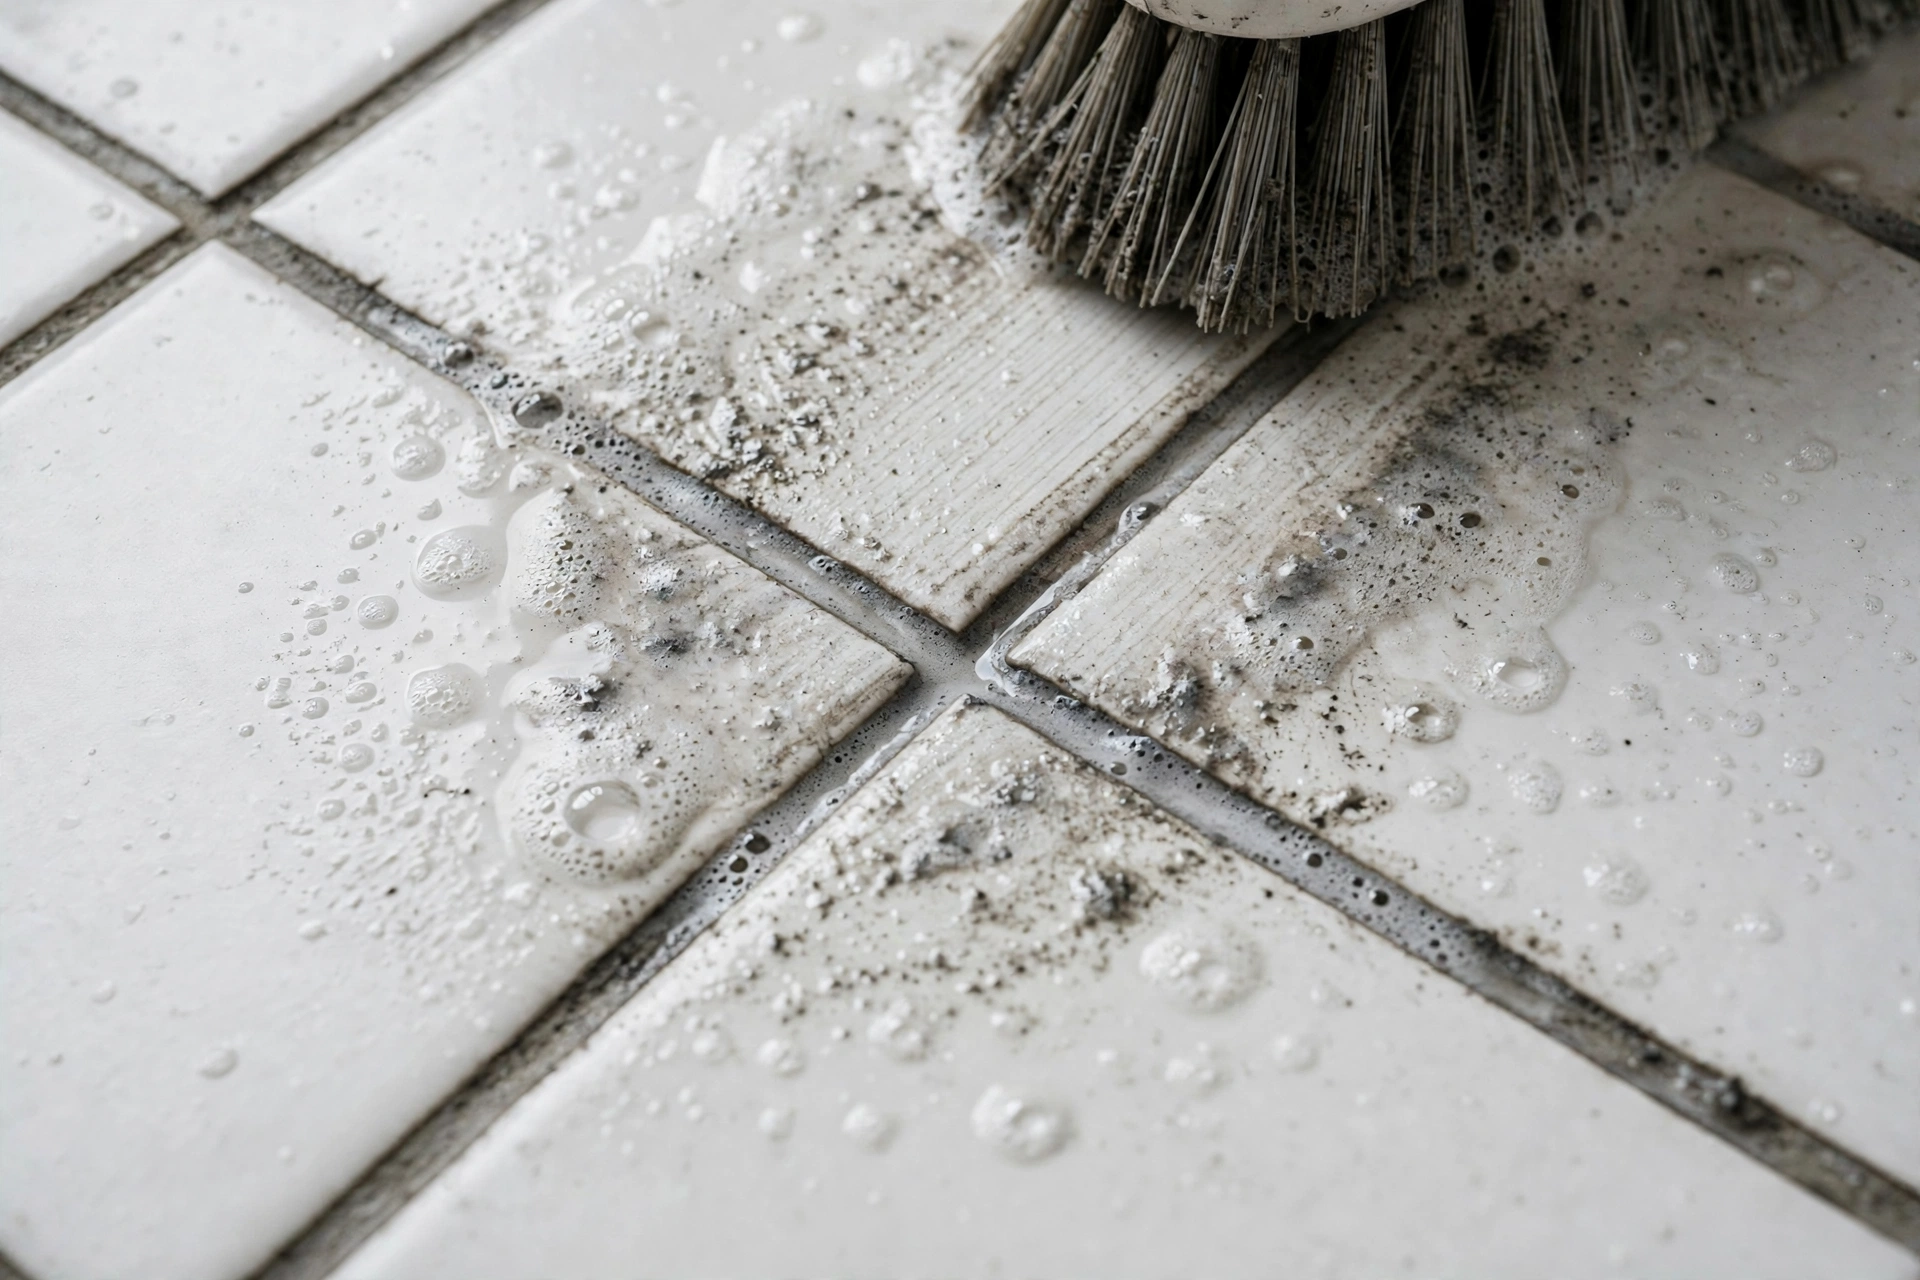
Why Grout Gets Dirty (And Why Mopping Isn’t Enough)
Tile itself is easy to clean — it’s non-porous, so dirt sits on the surface and wipes away. Grout is the opposite: it’s essentially porous cement, full of microscopic pits that trap dirt, soap scum, grease, and mildew. Regular mopping glides over those pits without touching what’s inside them, which is why your tile can look freshly mopped while the grout lines still look gray, yellow, or brown. The good news: with the right method, even years of buildup can be reversed in a single afternoon.
What You’ll Need
Before choosing a method, gather the basics. Most of these are already in your home:
- Baking soda and white vinegar (for the DIY method)
- Oxygen bleach powder (sodium percarbonate — not chlorine bleach)
- A stiff grout brush or an old toothbrush
- Spray bottle, bucket, and clean water
- Old towels or a wet/dry vacuum for rinse water
- Rubber gloves and eye protection
- Grout sealer (for after cleaning)
Method 1: Baking Soda Paste (Best for Light to Moderate Dirt)
This is the gentlest approach and the right starting point for most kitchens and entryways.
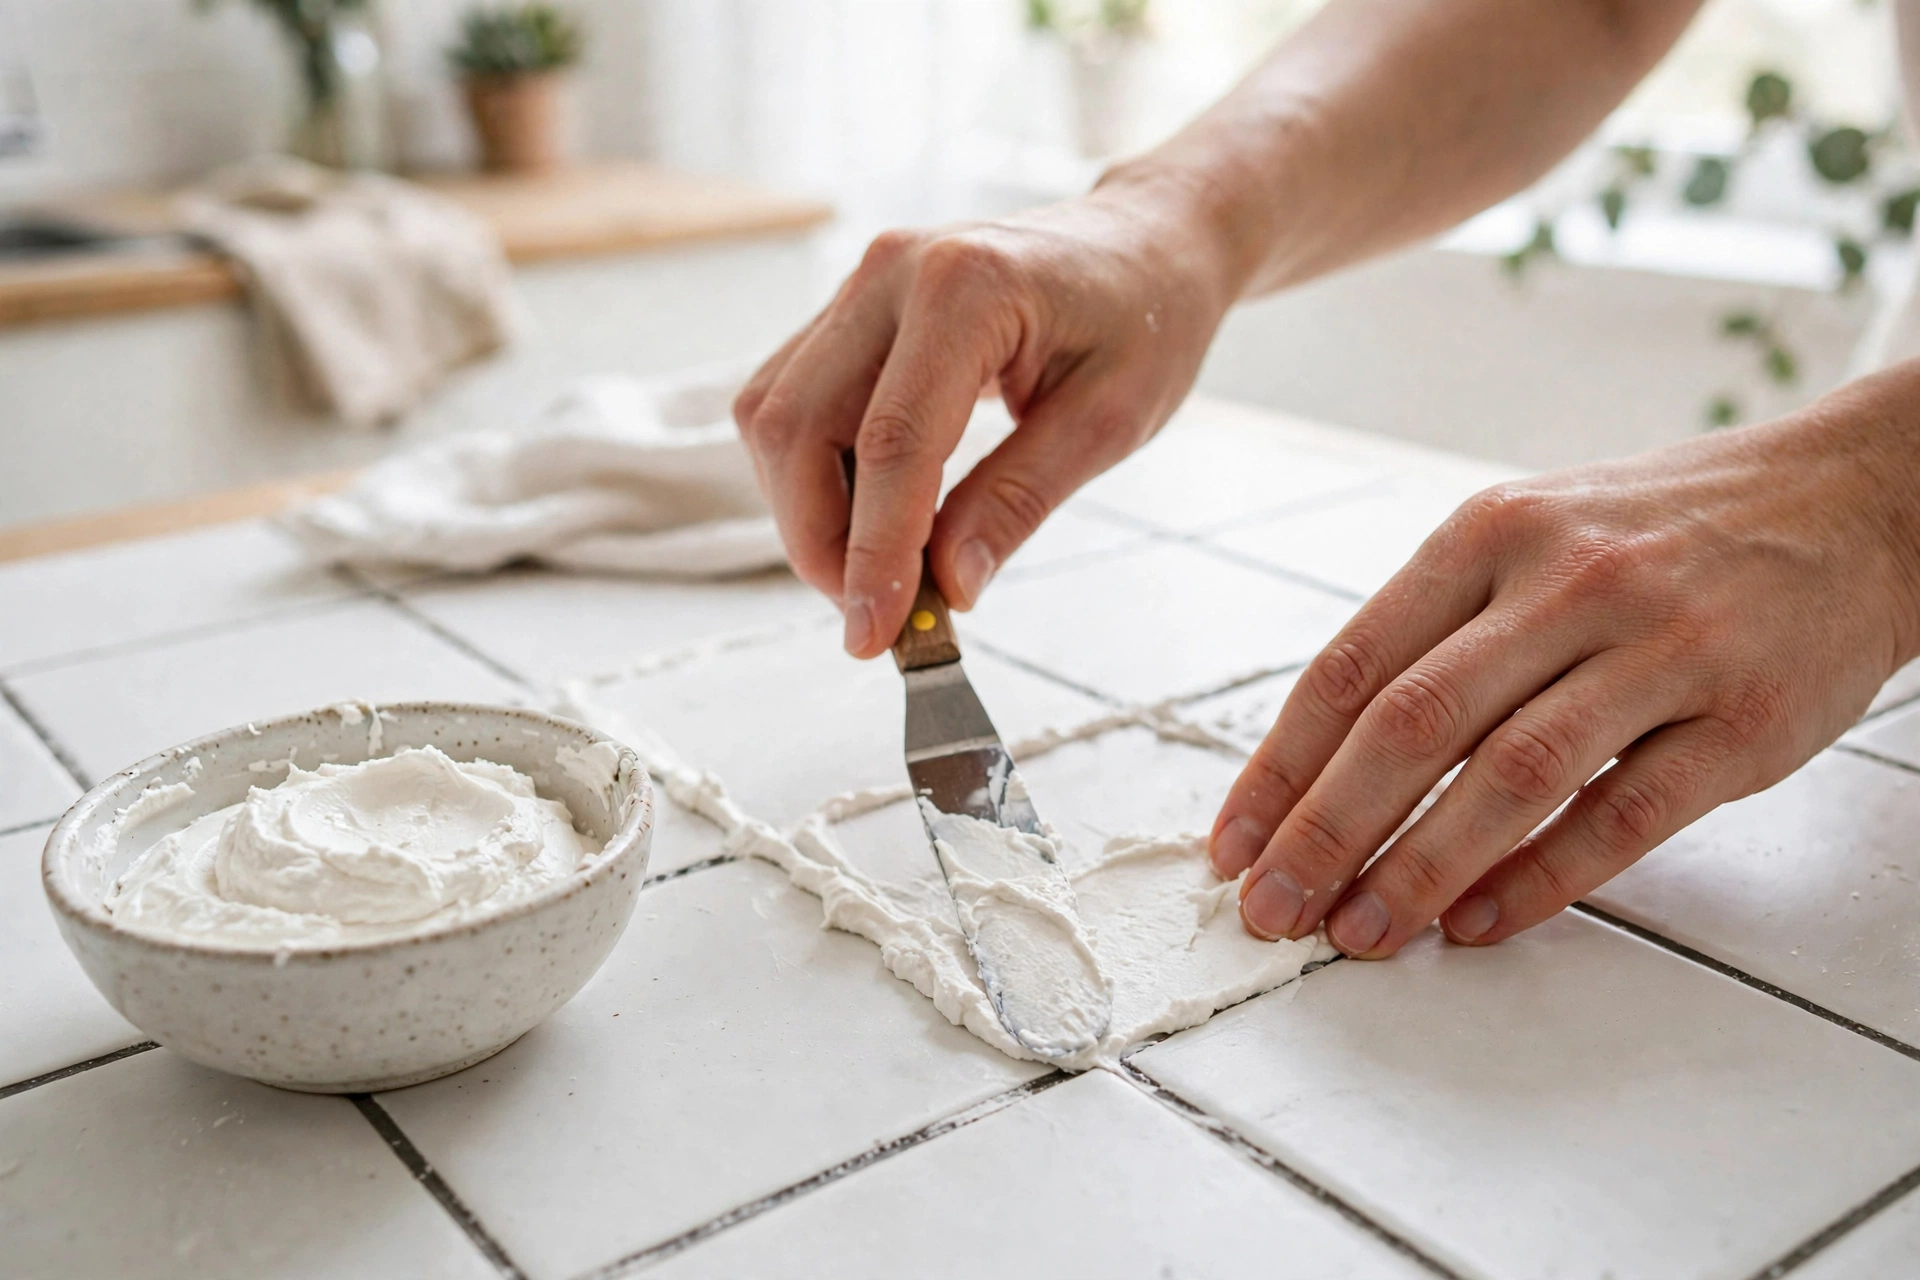
- Mix baking soda with just enough water to form a thick paste — roughly the consistency of toothpaste.
- Spread the paste over the grout lines with your fingers or a spoon, working in 3–4 foot sections so it doesn’t dry out.
- Spray or drizzle white vinegar over the paste. It will fizz — that reaction helps lift grime from the pores.
- Let it sit for 10–15 minutes, then scrub with a stiff grout brush using firm back-and-forth strokes along the grout line.
- Wipe up the residue with a damp cloth, then mop or rinse the area with clean water.
This method is safe for nearly all tile and grout, including natural stone — just keep the vinegar contact brief on marble or limestone, since acids can etch those surfaces.
Method 2: Oxygen Bleach Soak (Best for Heavily Stained Grout)
When baking soda isn’t enough, oxygen bleach (the active ingredient in products like OxiClean) is the heavy hitter. It releases oxygen bubbles that push stains out of grout pores without the harsh fumes or fabric damage of chlorine bleach.
- Dissolve 2–4 tablespoons of oxygen bleach powder per gallon of hot water in a bucket.
- Pour or mop the solution onto the grout and let it soak for 15–30 minutes. Don’t let it dry — reapply if needed.
- Scrub the grout lines with your brush, then rinse thoroughly with clean water.
- For vertical shower walls, apply with a spray bottle and keep the surface wet during the soak.
Oxygen bleach is color-safe for most grout and won’t yellow white grout the way chlorine bleach eventually does. It’s also far safer around kids and pets once rinsed.
Method 3: Steam Cleaning (Best Chemical-Free Option)
A steam cleaner with a grout brush attachment blasts 200°F+ vapor into grout pores, dissolving grease and killing mold and bacteria without any chemicals at all. It’s the fastest method for large floor areas — many people report their grout looking new in a single pass.
- Work slowly: hold the steam head on each grout line for a few seconds rather than waving it around.
- Wipe up the loosened grime immediately with a microfiber cloth — steam lifts dirt but doesn’t remove it.
- Avoid steam on cracked or missing grout, and use caution on natural stone.
If you don’t own a steam cleaner, they’re widely available to rent for around $30–$50 per day — worth it if you have a whole house of tile.
Method 4: Commercial Grout Cleaners (When DIY Isn’t Enough)
Store-bought grout cleaners fall into two camps: alkaline degreasers (good for kitchen grease) and acidic cleaners (good for soap scum and hard-water deposits). Alkaline products are the safer default. Acidic cleaners work fast but can etch grout and natural stone if left on too long — always follow the label’s dwell time exactly, ventilate the room, and wear gloves. Reserve chlorine-bleach-based cleaners for white grout only, and know they can weaken grout over repeated use.
Floor Grout vs. Shower Grout: Different Dirt, Different Approach
Kitchen and entryway floors collect grease and foot-traffic grime — alkaline cleaners or oxygen bleach work best. Shower grout battles soap scum and mildew — start with oxygen bleach, and for pink or black mildew spots, a targeted mold remover may be needed. For general bathroom upkeep, our DIY bathroom cleaner recipe handles the tile surfaces between deep grout sessions, and keeping the fan running matters too — see our bathroom exhaust fan guide for why moisture control prevents grout mildew in the first place.
Stubborn Stains: Mold, Rust, and Hard Water
- Black mold spots: scrub with oxygen bleach or a dedicated mold remover; if the mold returns in the same spot, moisture is getting behind the tile — check your shower door seals and caulking.
- Orange/rust stains: usually from iron in well water — use a rust-specific remover, not bleach (bleach sets rust stains permanently).
- White crusty deposits: that’s efflorescence (mineral salts wicking through the grout) — an acidic cleaner dissolves it, but recurring efflorescence means water is moving through the assembly and deserves investigation.
Seal Your Grout After Cleaning
Cleaning opens grout pores back up — sealing them is what keeps the grout clean. Once grout is fully dry (wait 24–72 hours after cleaning):
- Choose a penetrating sealer for most grout (it soaks in without changing the look); use a membrane-forming sealer only if you want a wet-look finish.
- Apply with a small brush or applicator bottle directly to the grout lines.
- Wipe excess off the tile faces within 5–10 minutes.
- Apply a second coat after the first cures, per the label.
Re-seal every 1–2 years in showers and every 2–3 years on floors. The water-drop test tells you when: if water soaks into the grout instead of beading up, it’s time.
Keeping Grout Clean Longer
- Squeegee shower walls after every use — 30 seconds prevents most soap-scum buildup.
- Mop tile floors with clean water (not dirty mop water, which deposits grime into grout).
- Use doormats at entries to cut the dirt tracked onto grout lines.
- Run the bathroom exhaust fan during and 20 minutes after showers.
- Spot-clean spills — especially coffee, wine, and grease — before they soak in.
The Right Tools Make All the Difference
Technique matters, but so does equipment. A standard toothbrush works in a pinch, but a dedicated grout brush — with stiff, narrow bristles angled to dig into grout lines — cleans dramatically faster and with less hand fatigue. For large floors, look for a brush on a long handle so you can scrub standing up; your knees and back will thank you. An old electric toothbrush is a surprisingly effective detail tool for corners and edges where a big brush can’t reach.
For rinse water, a wet/dry shop vacuum beats towels: it pulls dirty water straight out of the grout pores instead of pushing it around. If you’re doing a whole house, the vacuum alone can cut your time in half. And whatever method you use, change your rinse water frequently — mopping with gray water just redeposits grime into the lines you just cleaned.
How Often Should You Deep-Clean Grout?
Maintenance beats restoration. A realistic schedule:
- Weekly: mop tile floors with clean water and a pH-neutral cleaner; squeegee shower walls after use.
- Monthly: scrub high-traffic grout lines (entryways, in front of the stove and sink) with baking soda paste.
- Every 6–12 months: deep-clean all grout with oxygen bleach or steam, then check whether the sealer still beads water.
- Every 1–3 years: re-seal, depending on location and traffic.
Stick to this rhythm and you’ll never again face the multi-hour restoration project — each session stays short because buildup never gets a head start.
A Note on Colored Grout
Everything above assumes standard gray or white cement grout. If you have colored grout (charcoal, beige, terracotta), test every cleaner in a hidden spot first — oxygen bleach and especially acidic cleaners can lighten or shift some pigments. Epoxy grout, common in modern showers, is non-porous and resists staining far better than cement grout; it rarely needs more than a wipe-down, and aggressive scrubbing can dull its finish. When in doubt about your grout type, the gentle baking soda method is always the safe first step.
When Cleaning Isn’t Enough: Regrouting
If grout is crumbling, cracked, or permanently discolored even after oxygen bleach and steam, it’s time to regrout rather than re-clean. Removing the top 1/8 inch of old grout with a grout saw and applying fresh grout is a very doable weekend DIY — and it makes the tile look brand new. Full regrouting guides are worth following step by step, since proper mixing and curing determine how long the new grout lasts.
The Bottom Line
Start gentle with baking soda paste, escalate to oxygen bleach or steam for stubborn grime, seal when you’re done, and maintain with simple habits. Your grout lines can look dramatically better by tonight — no renovation required.
