

Baked-On Grease Meets Its Match
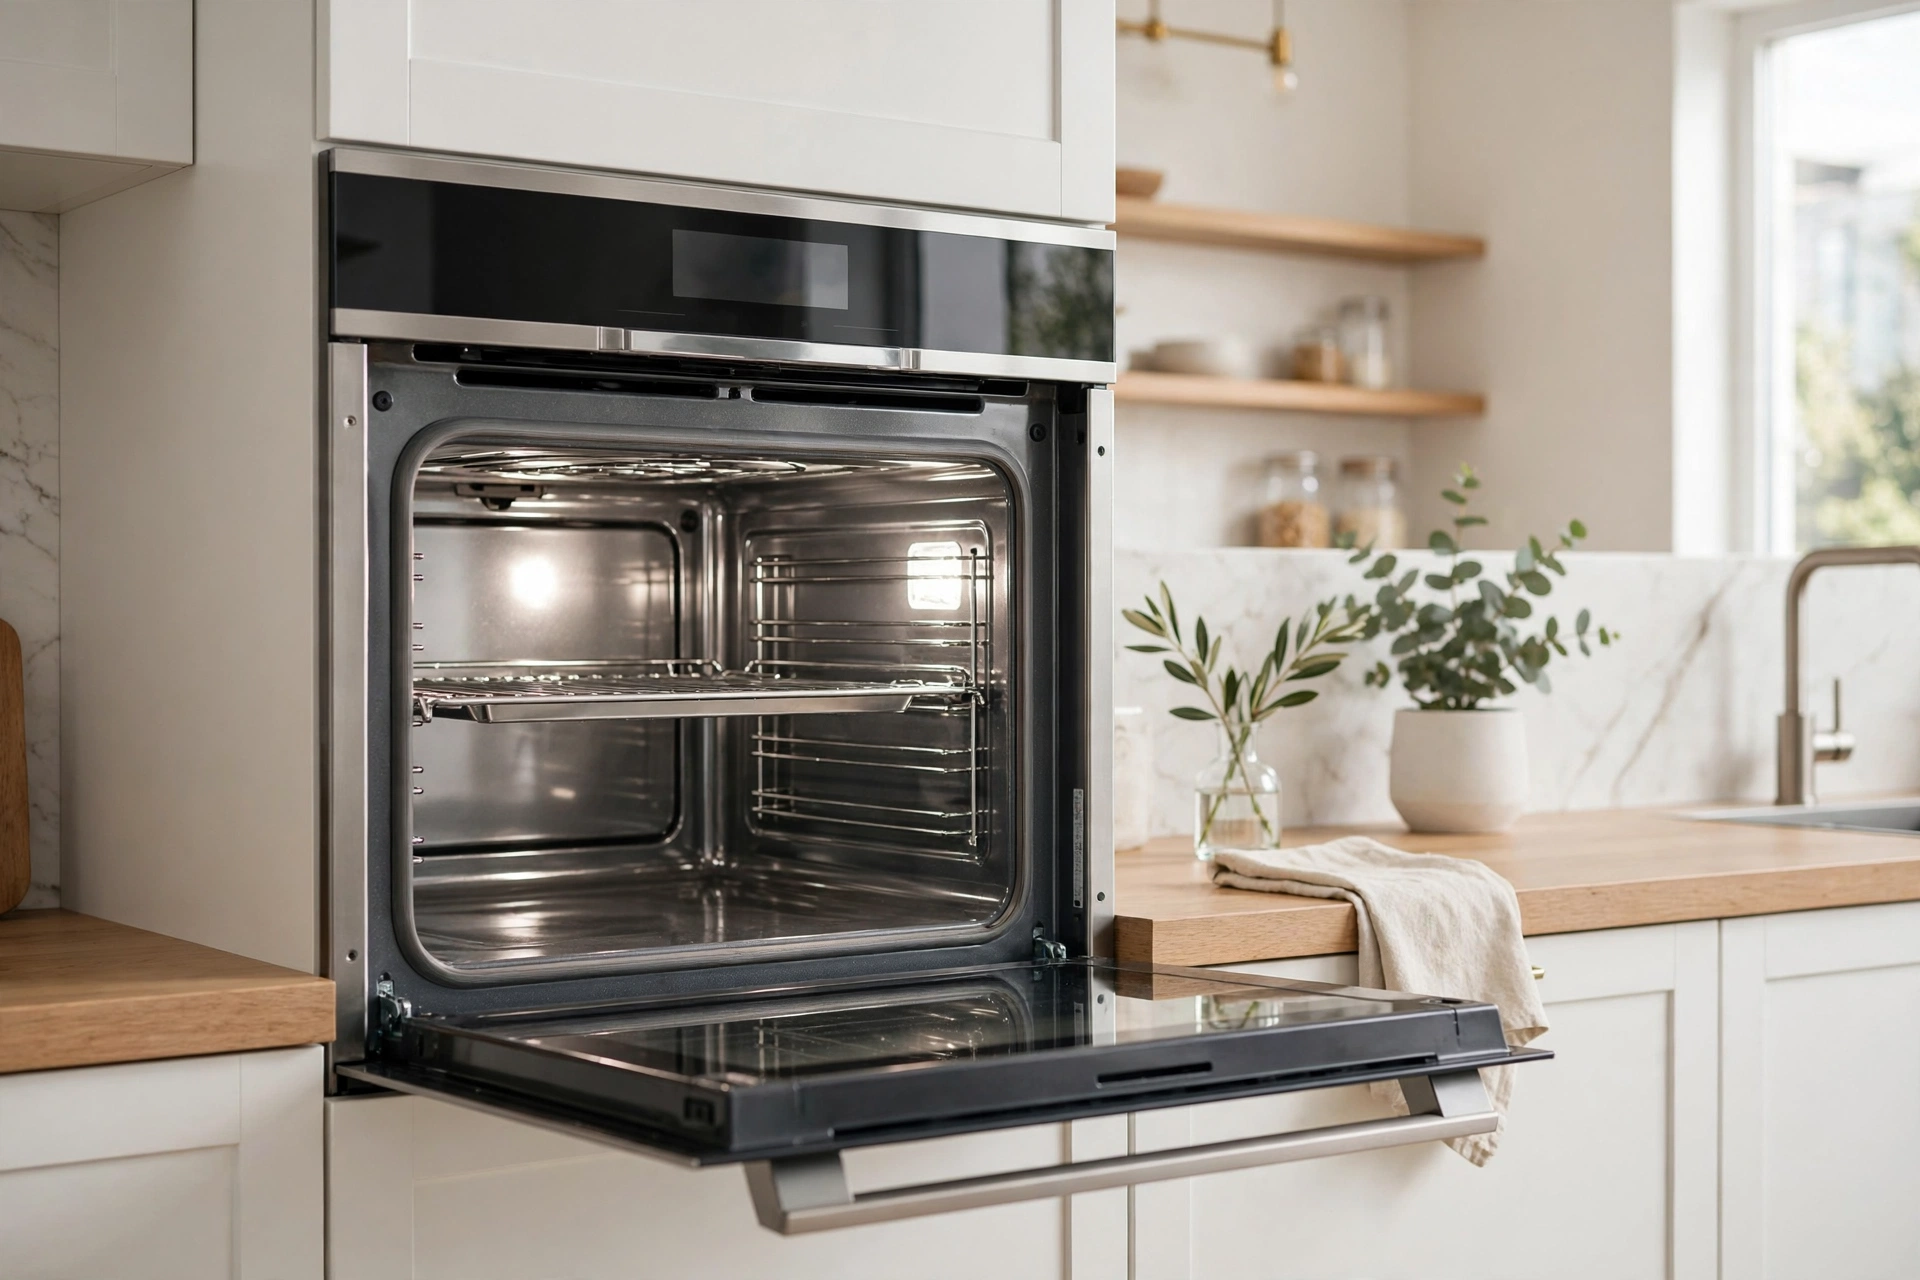
Every oven reaches the same point: the window’s opaque, the bottom’s black, and there’s a faint smell of ancient pizza every time you preheat. Cleaning it is one of the most procrastinated chores in the house — partly because the self-clean button comes with scary warnings, and partly because manual cleaning sounds miserable. Both methods work. Both have real risks if done wrong. Here’s the honest comparison and the exact steps for each.
Self-Cleaning Ovens: How They Work
Pyrolytic self-cleaning locks the door and heats the oven to ~900°F (480°C), incinerating food residue to ash over 2–4 hours. Catalytic (continuous-clean) ovens use coated walls that absorb grease during normal cooking. If your oven has a self-clean button, it’s pyrolytic — the most effective and the most controversial method.
The Self-Clean Safety Rules (Read Before Pressing the Button)
- Remove everything first: racks (unless your manual says they’re self-clean safe — most aren’t; the heat discolors and warps them), thermometers, pans, foil.
- Wipe loose debris — thick grease pools can ignite; self-clean burns residue, not puddles.
- Ventilate: open windows, run the range hood. The cycle produces smoke and fumes (burning residue, plus fumes from any chemical residue left inside).
- Stay home: never run self-clean while away or overnight. Fires, while rare, happen.
- Pets and birds: keep birds out of the kitchen entirely — they’re fatally sensitive to the fumes. Keep pets away too.
- Don’t use oven cleaner first: chemical residue + 900°F = toxic fumes and potential damage.
- Older ovens: the extreme heat stresses control boards and door locks — the #1 cause of “self-clean killed my oven” stories is a 10+ year old unit. If your oven is elderly, clean manually.
After the cycle: let it cool completely (the door stays locked until safe), then wipe the ash with a damp cloth. That’s genuinely it.
Manual Cleaning: The Step-by-Step Method
More work, zero risk to the oven, and better for older units:
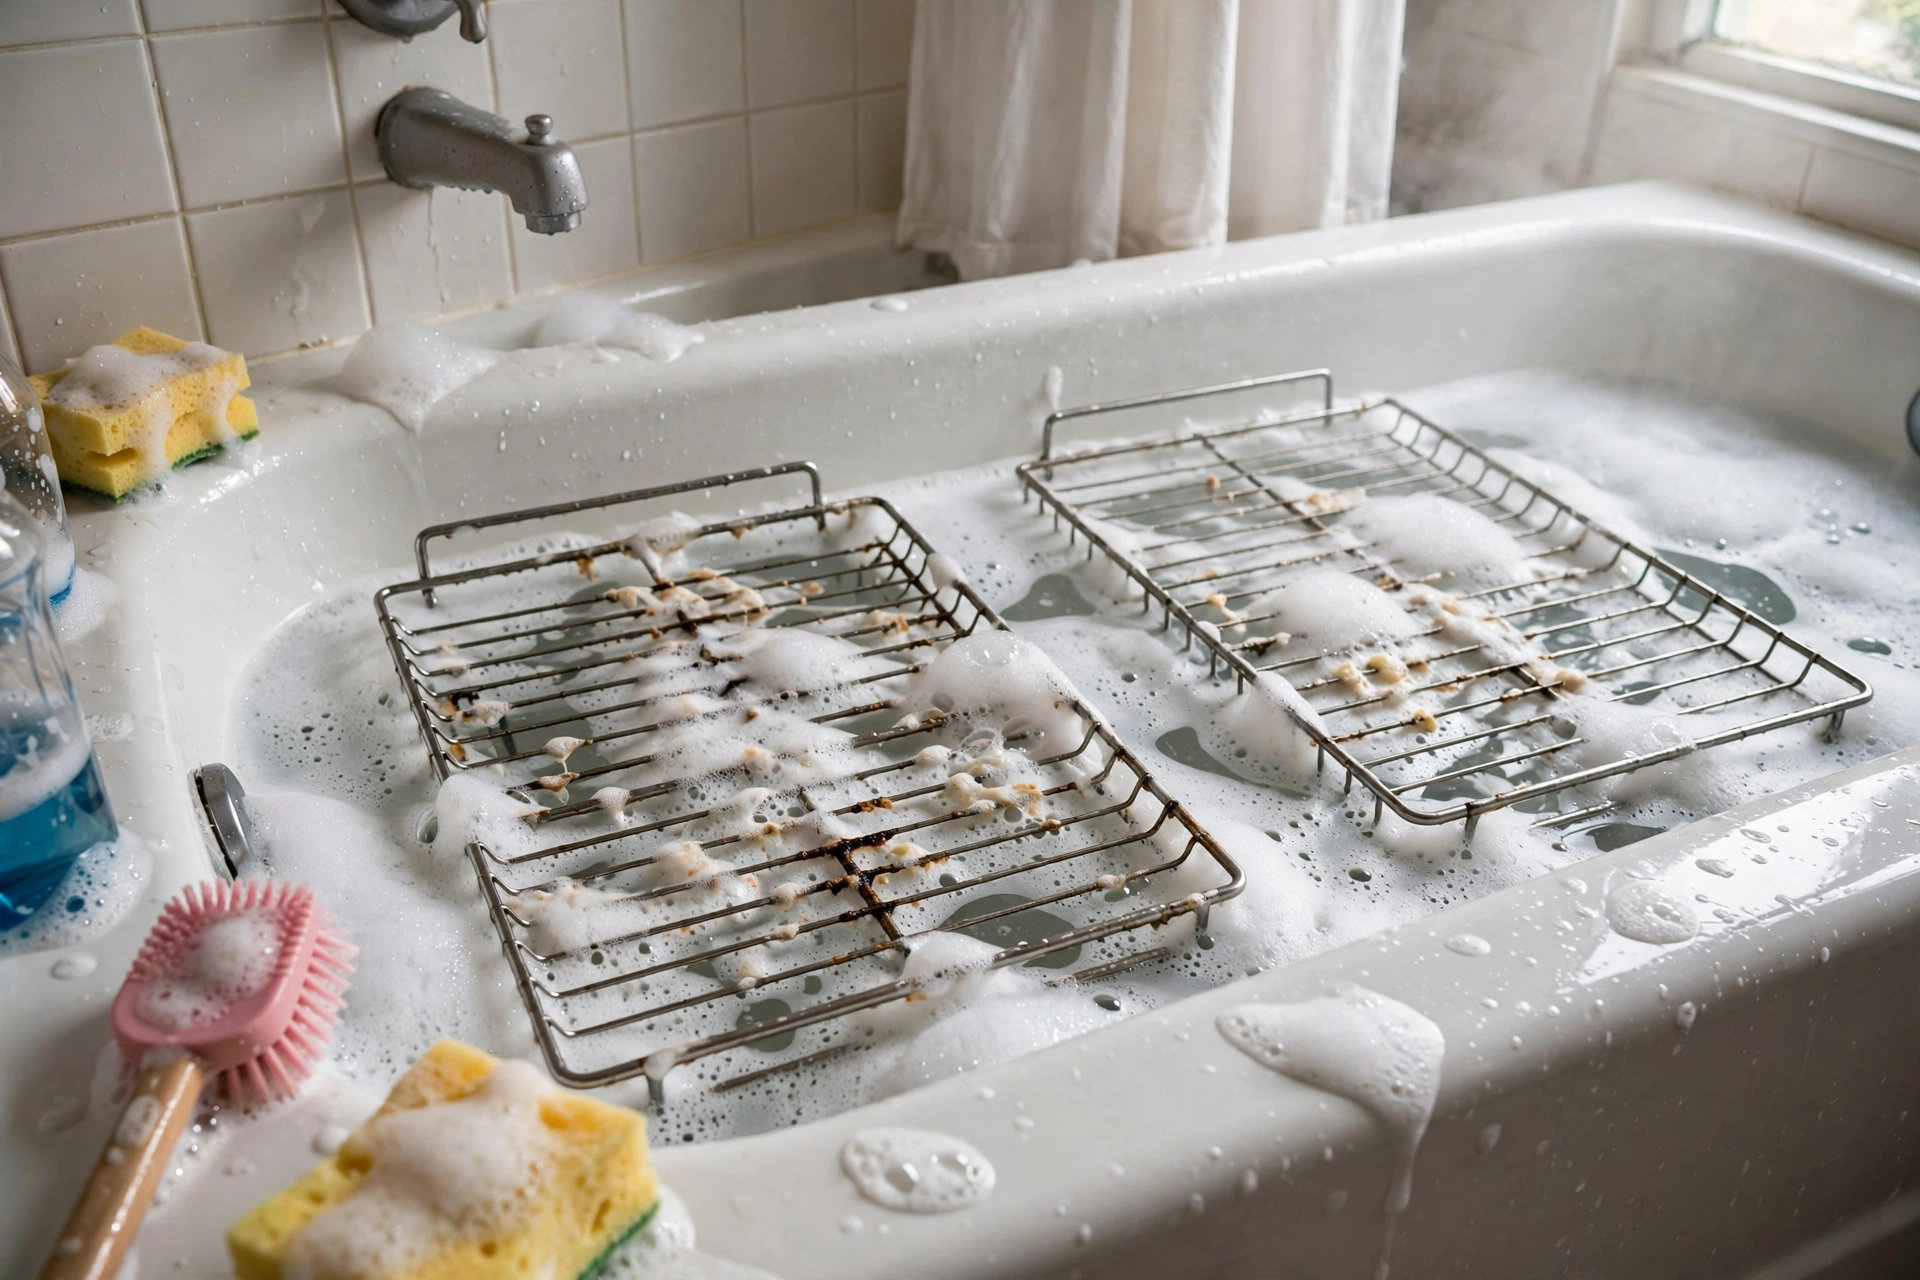
- Remove racks — soak them separately in the tub or a large bin with hot water + dishwasher detergent for a few hours, then scrub.
- Make a paste: 1/2 cup baking soda + a few tablespoons of water. Spread it over the interior (avoid heating elements and gas vents), especially on baked-on spots.
- Wait overnight (12 hours minimum) — the paste loosens carbonized grease.
- Wipe out with a damp cloth, then spray white vinegar on any remaining residue — it fizzes and lifts.
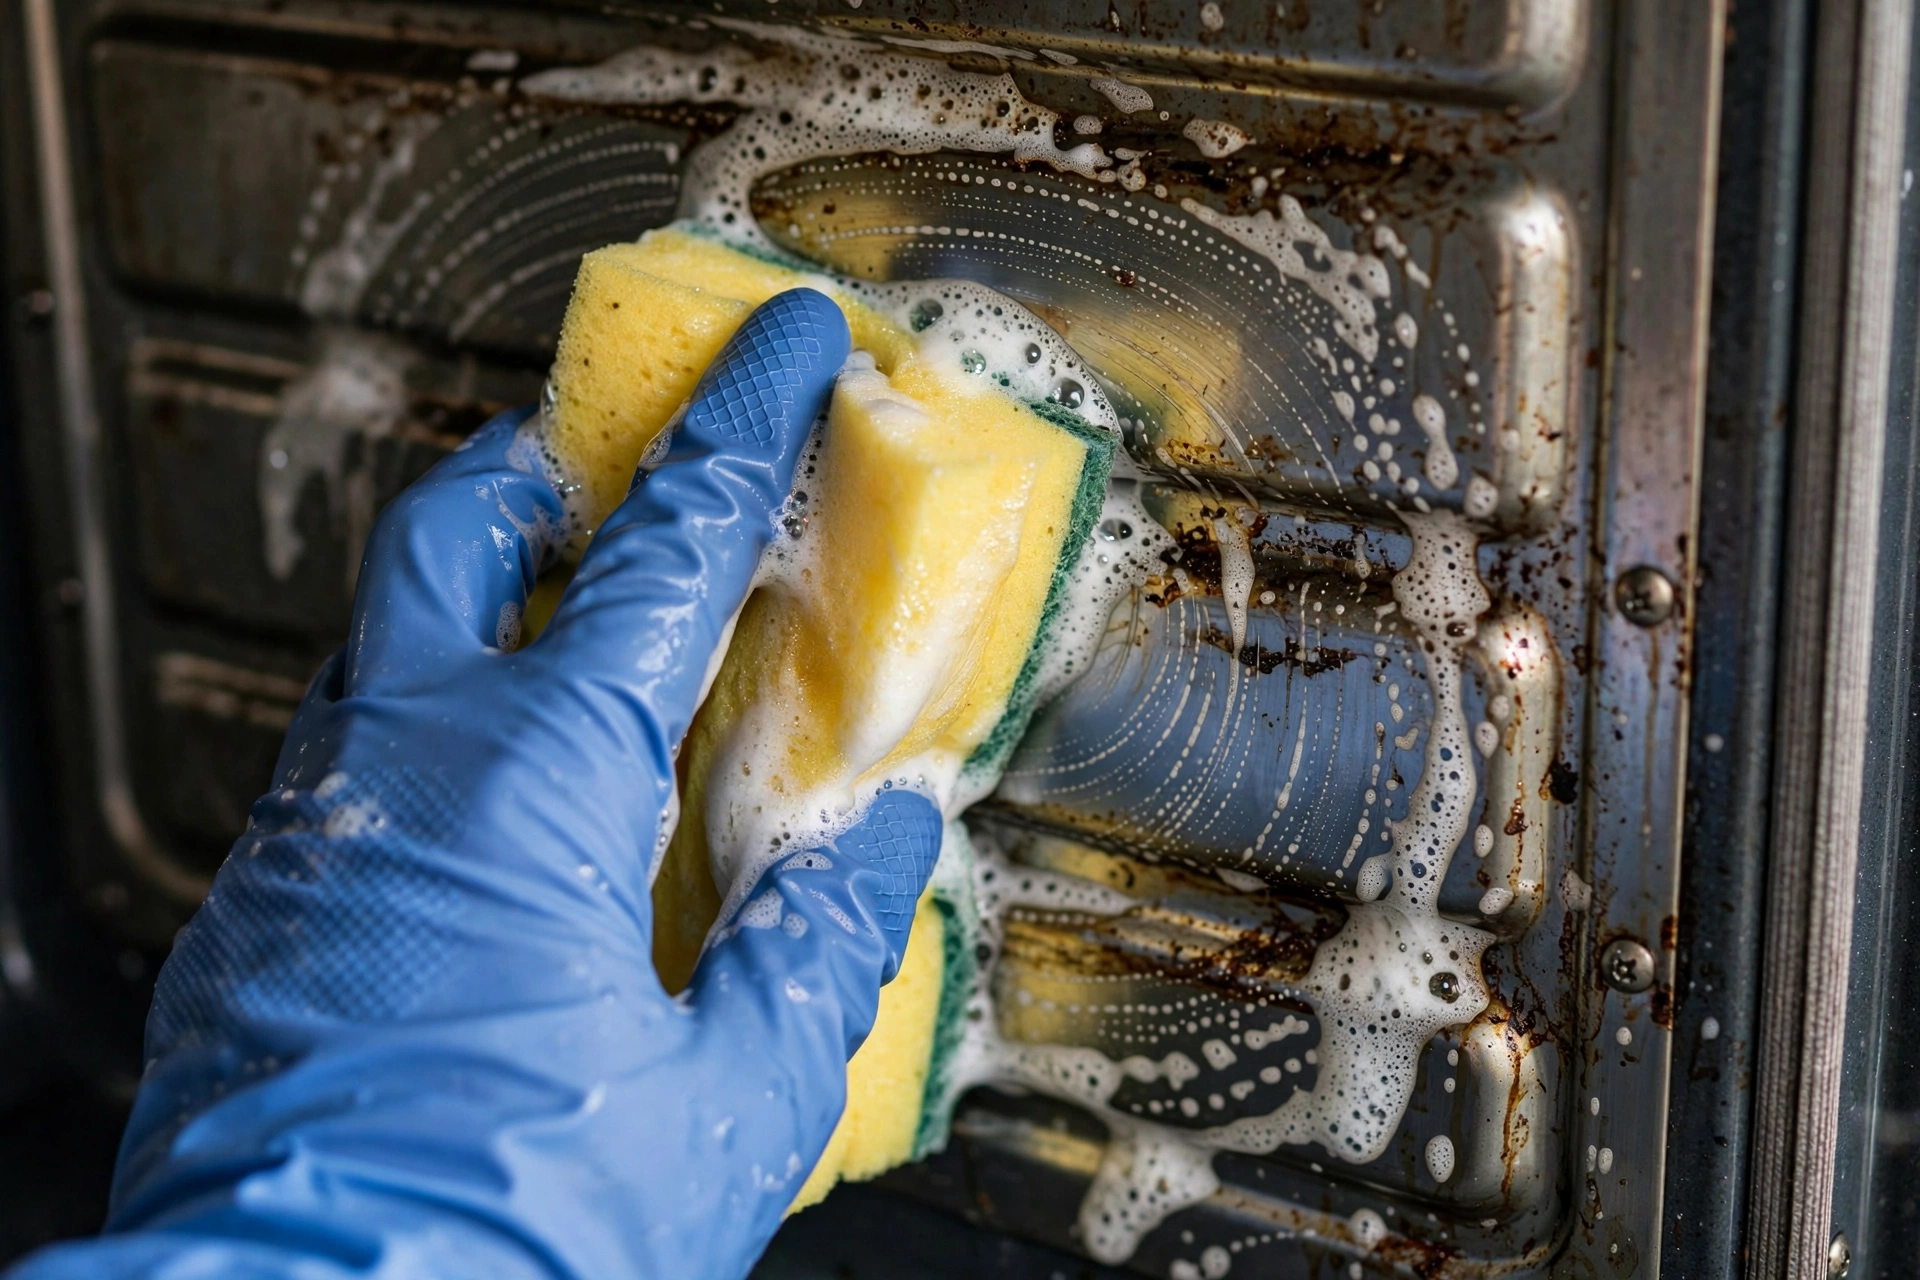
- Detail: razor scraper (at a low angle) for stubborn spots on the glass; toothbrush for corners and the door seal area.
- Final wipe with clean damp cloths until no residue remains.
The Glass Door: A Special Case
- Baking soda paste works on the interior glass too — apply, wait, wipe.
- For the space between glass panels: most oven doors have slots at the bottom (check your manual) — slide a long flexible duster wrapped in a damp cloth through to clean between the panes.
- Never use abrasive pads on the glass — scratches weaken it and can lead to shattering.
- If the inner glass is removable (many are, via clips at the top), take it out for a proper clean.
What NEVER to Do
- Never use oven cleaner on a self-cleaning oven — it damages the pyrolytic coating.
- Never line the bottom with foil — it blocks heat circulation, damages the enamel, and can fuse to the oven floor permanently.
- Never spray cleaner on heating elements or gas igniters — it destroys them.
- Never use steel wool or abrasive pads on interior enamel — micro-scratches become permanent stain magnets.
- Never mix cleaning chemicals — especially anything with bleach and anything acidic.
Commercial Oven Cleaners: When to Use Them
Heavy-duty spray cleaners (the fume-free kind) work fast on severe buildup — but they’re caustic. Use gloves and ventilation, keep them off elements and aluminum parts, and rinse thoroughly. They’re best as an occasional deep-clean tool, not a routine method. For regular maintenance, the baking soda method is safer and cheaper.
Cleaning the Oven Racks (The Right Way)
Racks are the most neglected part — and the method matters:
- Remove racks and place in a bathtub or large bin lined with old towels (protects the tub).
- Fill with the hottest water + 1/2 cup dishwasher detergent (not dish soap — dishwasher detergent cuts grease better).
- Soak 4+ hours or overnight.
- Scrub with a non-abrasive pad — the grease should slide off.
- Dry completely before returning (wet racks rust).
Never put racks through the self-clean cycle unless your manual explicitly allows it — most manuals don’t, and the heat permanently discolors and warps them.
While You’re At It: Microwave and Range Hood
- Microwave: bowl of water + lemon slices, 5 minutes on high — steam loosens everything, wipe clean.
- Range hood filter: the grease trap above your stove — soak metal mesh filters in hot water + degreaser monthly. A clogged filter is a fire hazard.
- Stovetop drip pans: soak and scrub, or replace ($5 each) when beyond saving.
A clean oven next to a filthy range hood is half a job — do them together.
Preventing the Next Disaster
- Catch spills fast: a spill wiped after the oven cools takes 10 seconds; baked on for a month takes an hour.
- Use a baking sheet under pies and casseroles — the single best prevention habit.
- Silicone oven liners (on the bottom rack, never the oven floor) catch drips — but check your manual; some manufacturers prohibit them.
- Quick monthly wipe: warm damp cloth on a warm (not hot) oven keeps buildup from ever getting serious.
- Clean spills on the stovetop too — burnt-on stovetop grime migrates into the oven’s air circulation.
How Often Should You Clean?
- Light use (few times a week): deep clean every 3–6 months.
- Heavy use (daily cooking): every 1–2 months.
- After any major spill or smoke event: immediately — carbonized spill smokes every subsequent use.
- Before holidays: the oven works hardest in November–December; go in clean.
Gas vs. Electric: Cleaning Differences
- Electric: be careful around exposed elements — don’t soak or spray them. Most elements lift slightly for cleaning underneath.
- Gas: never get the igniter wet; cover it while cleaning. If the igniter gets damp, let it dry fully before using.
- Self-clean on gas ovens produces more fumes — ventilate aggressively.
Mistakes That Actually Damage Ovens
- Self-cleaning too often: every cycle stresses components — 3–4 times a year is plenty; monthly is asking for a control board failure.
- Spraying cold cleaner into a hot oven: thermal shock can crack the enamel or shatter the glass door.
- Scraping the door gasket: the fiberglass seal tears easily — a damaged gasket leaks heat permanently until replaced.
- Using the oven as storage: forgotten plastic containers, cookbooks, and wooden spoons have all melted or ignited during preheat.
- Ignoring the broiler drawer: grease pools there too — clean it with the same methods.
- Running self-clean with a cracked door glass: the extreme heat can shatter compromised glass — inspect first.
When to Call a Pro
- Self-clean cycle won’t start or the door won’t unlock afterward (control board issue).
- Oven won’t heat evenly after cleaning (possible element damage).
- Heavy grease inside the door’s glass panels that you can’t reach.
- Any gas smell — stop, ventilate, call for service.
And if your other kitchen appliances need the same treatment, our dishwasher troubleshooting guide and refrigerator fix guide follow the same diagnose-first approach.
The Bottom Line
Self-clean for modern ovens (with ventilation and supervision), baking soda paste for everything else. Catch spills early, protect with a baking sheet, and the dreaded oven-cleaning day becomes a 20-minute wipe instead of an archaeological dig.
