

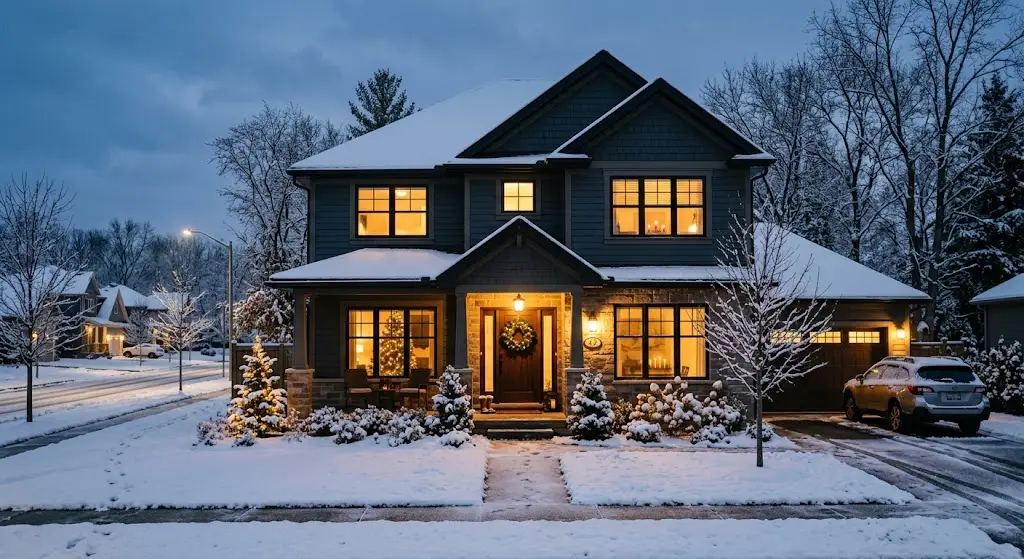
As temperatures drop, harsh winter weather—including freezing temperatures, snowstorms, ice dams, and heavy winds—can place extreme stress on a home’s structural shell and mechanical systems. Preparing your home for winter (commonly called “winterization”) is the single most critical annual maintenance routine for any homeowner.
Failing to winterize properly can result in catastrophic structural damage, such as burst water pipes, roof leaks caused by ice dams, carbon monoxide hazards from improper furnace ventilation, and dramatically inflated utility bills caused by drafty windows and doors. According to home insurance data, freeze-related pipe bursts account for over $1 billion in property damage annually, yet the majority of these incidents are entirely preventable with basic DIY care.
In this exhaustive 2500+ word step-by-step master guide, you will learn how to insulate exposed plumbing, seal air leaks across doors and windows, service your heating system, inspect and clear roof gutters, prevent ice dams, and establish an emergency home emergency power and safety kit.
Step 1: Exterior Plumbing and Pipe Insulation (Preventing Freeze Bursts)
Water expands by roughly 9% when it freezes, exerting up to 40,000 PSI of pressure inside household pipes. Trapped pressure between a ice blockage and a closed faucet is what ruptures copper, PEX, or PVC lines.
1. Disconnect and Drain Outdoor Hoses
- Remove Garden Hoses: Leaving a hose attached to an outdoor faucet in freezing weather traps water inside the sillcock stem, causing the pipe inside your wall cavity to burst.
- Store Hoses: Drain all residual water from hoses, coil them loosely, and store them indoors or inside a shed.
- Install Faucet Insulators: Cover all exterior hose bibbs (spigots) with insulated foam faucet covers to protect outdoor valves from sub-zero winds.
2. Shut Off Outdoor Water Lines
If your home features dedicated shutoff valves for exterior hose bibbs or an underground irrigation system:
- Locate the interior shutoff valve inside your basement, crawlspace, or mechanical room.
- Turn the valve clockwise to the completely closed position.
- Open the outdoor hose bibb fully to drain remaining water out of the line.
- Unscrew the small bleeder cap on the interior valve to drain any trapped water into a bucket.
3. Insulate Vulnerable Interior Pipes
Pipes running through unheated spaces—such as basements, crawlspaces, attics, outer wall cavities, and garages—are at high risk of freezing.
- Slip pre-slit foam pipe insulation sleeves over exposed water lines.
- Secure seam edges tightly using heavy-duty duct tape or electrical tape.
- For regions with prolonged extreme sub-zero weather, wrap vulnerable pipes with self-regulating thermostatic heat tape before installing foam insulation.
Step 2: Sealing Drafts and Air Leaks (Windows and Doors)
Unsealed gaps around doors, windows, and electrical outlets account for up to 30% of total home heat loss during winter, forcing your heating system to run continuously.
1. The Candle / Smoke Draft Inspection Test
On a windy day, light an incense stick or candle and slowly walk around your home’s interior perimeter. Hold the flame near window frames, baseboards, entry door thresholds, and exterior wall outlets. If the smoke or flame flickers horizontally, you have an active air leak.
2. Weatherstripping Entry Doors
- Replace Door Sweeps: Install an adjustable flexible rubber or silicone sweep along the bottom edge of exterior doors to block cold floor drafts.
- Apply V-Strip / Foam Tape: Clean the door frame jamb thoroughly with rubbing alcohol and stick self-adhesive foam or rubber weatherstripping tape along all contact edges.
3. Caulking Window Frames
- Exterior Caulking: Inspect the outer perimeter where window frames meet exterior siding. Scrape away old cracked caulk and apply a continuous bead of high-grade 100% silicone exterior sealant.
- Interior Film Insulation Kits: For older single-pane windows, apply shrink-wrap clear window film over the interior casing. Use a household hair dryer to shrink the film crystal-clear, creating a dead-air insulating barrier that blocks drafts completely.
4. Insulate Outlets and Switches
Cold air often infiltrates through hollow exterior wall cavities. Unscrew plastic wall plates on exterior-facing walls and insert pre-cut foam insulation gaskets behind outlet and light switch covers.
Step 3: Furnace and Heating System Maintenance
A well-maintained heating system runs efficiently, consumes less fuel, and prevents life-threatening carbon monoxide buildup.
1. Replace Furnace Air Filters
A clogged air filter restricts airflow across your furnace heat exchanger, forcing the system to overheat and short-cycle, which dramatically lowers heating efficiency.
- Replace standard fiberglass or MERV 8–11 pleated filters every 30 to 60 days throughout winter.
2. Inspect Heating Vents and Baseboards
- Ensure furniture, carpets, and drapes are not blocking supply registers or cold-air returns.
- Vacuum dust and pet hair out of floor registers to maintain unobstructed airflow.
3. Schedule Professional Annual HVAC Tuning
Have a certified technician inspect:
- Heat exchanger integrity (checking for microscopic cracks that leak carbon monoxide).
- Gas burner flame characteristics (a steady blue flame indicates clean combustion; a flickering yellow flame indicates improper gas mixing).
- Flue pipe venting and draft inducer fan operation.
Step 4: Roof, Gutter, and Attic Insulation (Preventing Ice Dams)
Ice dams form when heat escaping from an under-insulated attic melts snow on the upper roof. Water streams down to the cold roof eaves, refreezes into an ice ridge, and backs up liquid water under asphalt shingles into your ceiling and walls.
1. Clean Roof Gutters and Downspouts
- Remove all leaves, pine needles, and organic sludge from roof gutters before the first snowstorm.
- Flush downspouts with a garden hose to ensure meltwater drains freely away from your home’s foundation. Blocked downspouts freeze solid, tearing gutters off fascia boards under heavy ice weight.
2. Seal Attic Air Leaks
The primary cause of ice dams is warm indoor air escaping into the attic.
- Seal gaps around attic access hatches, drop-down stairs, recessed light fixtures, and plumbing stacks using expanding spray foam or fire-rated caulk.
3. Maintain Adequate Attic Ventilation and Insulation
- Ensure attic soffit vents, ridge vents, and gable vents are clear of insulation blockages. Cold attic temperatures prevent roof snow from melting unevenly.
- Verify that attic floor insulation meets recommended R-values (typically R-38 to R-60, or 12 to 19 inches of loose-fill fiberglass/cellulose insulation).
Step 5: Emergency Power & Winter Preparedness Kit
Winter blizzards and ice storms frequently knock out municipal power lines for days. Having an emergency plan ensures your household stays warm and safe during power outages.
1. Prepare Emergency Supplies
Store the following emergency items in an easily accessible location:
- Flashlights & Extra Batteries: Avoid using candles due to open flame fire hazards.
- Non-Perishable Food & Bottled Water: Maintain a 3-to-5-day supply (at least 1 gallon of water per person per day).
- Backup Battery Power Stations: Keep portable power banks charged to power mobile devices and emergency radios.
- Heavy Thermal Blankets & Cold-Weather Clothing: Wool blankets and sleeping bags rated for freezing temperatures.
2. Portable Generator Safety
If using a gas-powered portable generator during a power outage:
- Run Generators Outdoors Only: Position the generator at least 20 feet away from doors, windows, and garage openings. Never operate a generator inside a garage, basement, or porch.
- Test Carbon Monoxide (CO) Detectors: Install battery-operated CO detectors on every level of your home, especially near sleeping areas. Test alarm batteries monthly.
Quick Reference Seasonal Maintenance Schedule
| System | Action Item | Priority Level |
| Outdoor Hoses | Disconnect, drain, and install insulated foam covers. | Critical (High burst risk) |
| Exposed Piping | Wrap with pre-slit foam sleeves or thermostatic heat tape. | Critical (High burst risk) |
| Doors & Windows | Replace weatherstripping; caulk exterior gaps; install shrink film. | High (Energy cost savings) |
| HVAC Furnace | Replace air filter; vacuum registers; schedule burner audit. | High (Safety & comfort) |
| Roof Gutters | Clear leaf debris; verify downspouts drain away from foundation. | High (Prevents ice dams) |
| Attic Spaces | Seal air bypass leaks; ensure soffit vents remain unobstructed. | Medium (Structural protection) |
Summary Checklist for Home Winterization
- Disconnect all garden hoses and cover outdoor spigots with insulated covers.
- Wrap all exposed water pipes in unheated basements and crawlspaces with foam sleeves.
- Apply weatherstripping and silicone caulk around drafty windows and doors.
- Change your furnace air filter and verify carbon monoxide detectors work properly.
- Clear gutters and downspouts to prevent dangerous ice dams.
- Test your emergency generator and store adequate emergency food, water, and flashlights.
Final Thoughts
Taking a weekend to systematically winterize your home is a small investment of time that pays massive dividends in comfort, safety, and energy savings. By insulating pipes, stopping drafts, maintaining your furnace, and clearing gutters early, you can rest easy knowing your home is fully protected against whatever harsh winter weather brings.
