

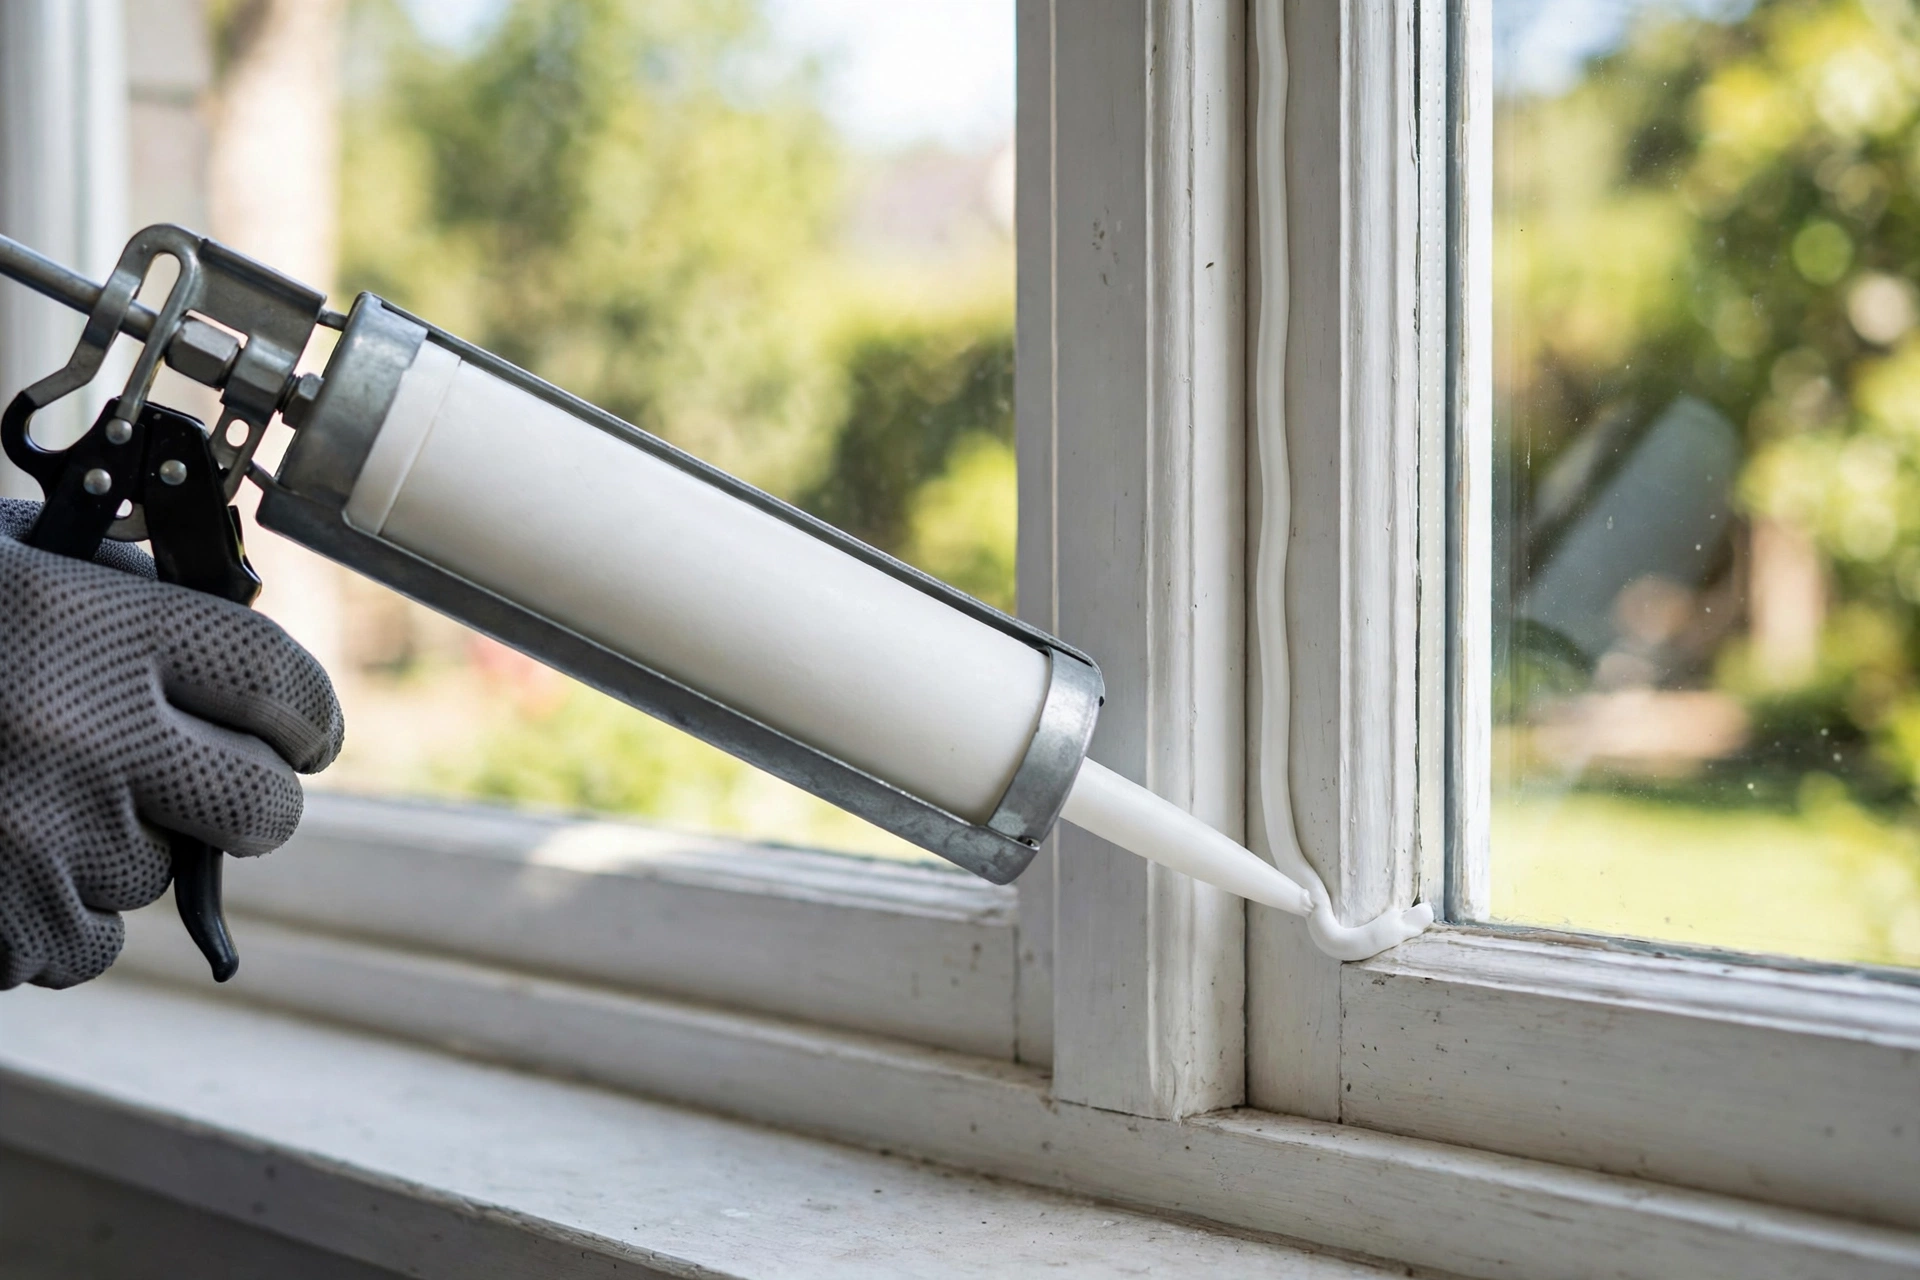
The Cheapest Energy Upgrade You’re Not Doing
Feel a chill near your windows in winter, even when they’re closed? Gaps in old, cracked caulk let heated air escape and cold air pour in — the Department of Energy estimates air leaks can waste 25–40% of the energy used for heating and cooling. A $8 tube of caulk and an afternoon’s work can seal those leaks for years. October is the ideal time: caulk adheres best in dry weather between 40°F and 80°F, and you’ll feel the payoff the moment the first cold snap hits.
Choosing the Right Caulk
Not all caulk is equal. For windows, you have two main choices:
- Silicone caulk: the premium option. Extremely flexible, waterproof, lasts 20+ years, handles big temperature swings. Downsides: can’t be painted (paint won’t stick), harder to tool smoothly, and requires mineral spirits for cleanup. Best for: exterior window frames, areas with lots of movement.
- Acrylic latex / siliconized latex: the DIY-friendly option. Easy to apply and tool, paintable, water cleanup, lasts 10–15 years. Slightly less flexible than silicone. Best for: interior trim, most exterior applications where you’ll paint over it.
Buy “window and door” labeled caulk — it’s formulated with the flexibility window joints need. Avoid cheap generic caulk; the price difference is a few dollars and the lifespan difference is a decade.
What You’ll Need
- Caulk gun (a $15 dripless model beats the $5 basic one — it stops the flow when you release the trigger)
- 2–3 tubes of exterior-grade caulk (one tube covers roughly 25–50 linear feet)
- Utility knife and 5-in-1 painter’s tool for removing old caulk
- Painter’s tape for crisp lines
- Damp rags and a spray bottle with soapy water (for tooling)
- Backer rod (foam rope) for gaps wider than 1/4 inch
- Gloves
Step 1: Remove the Old Caulk
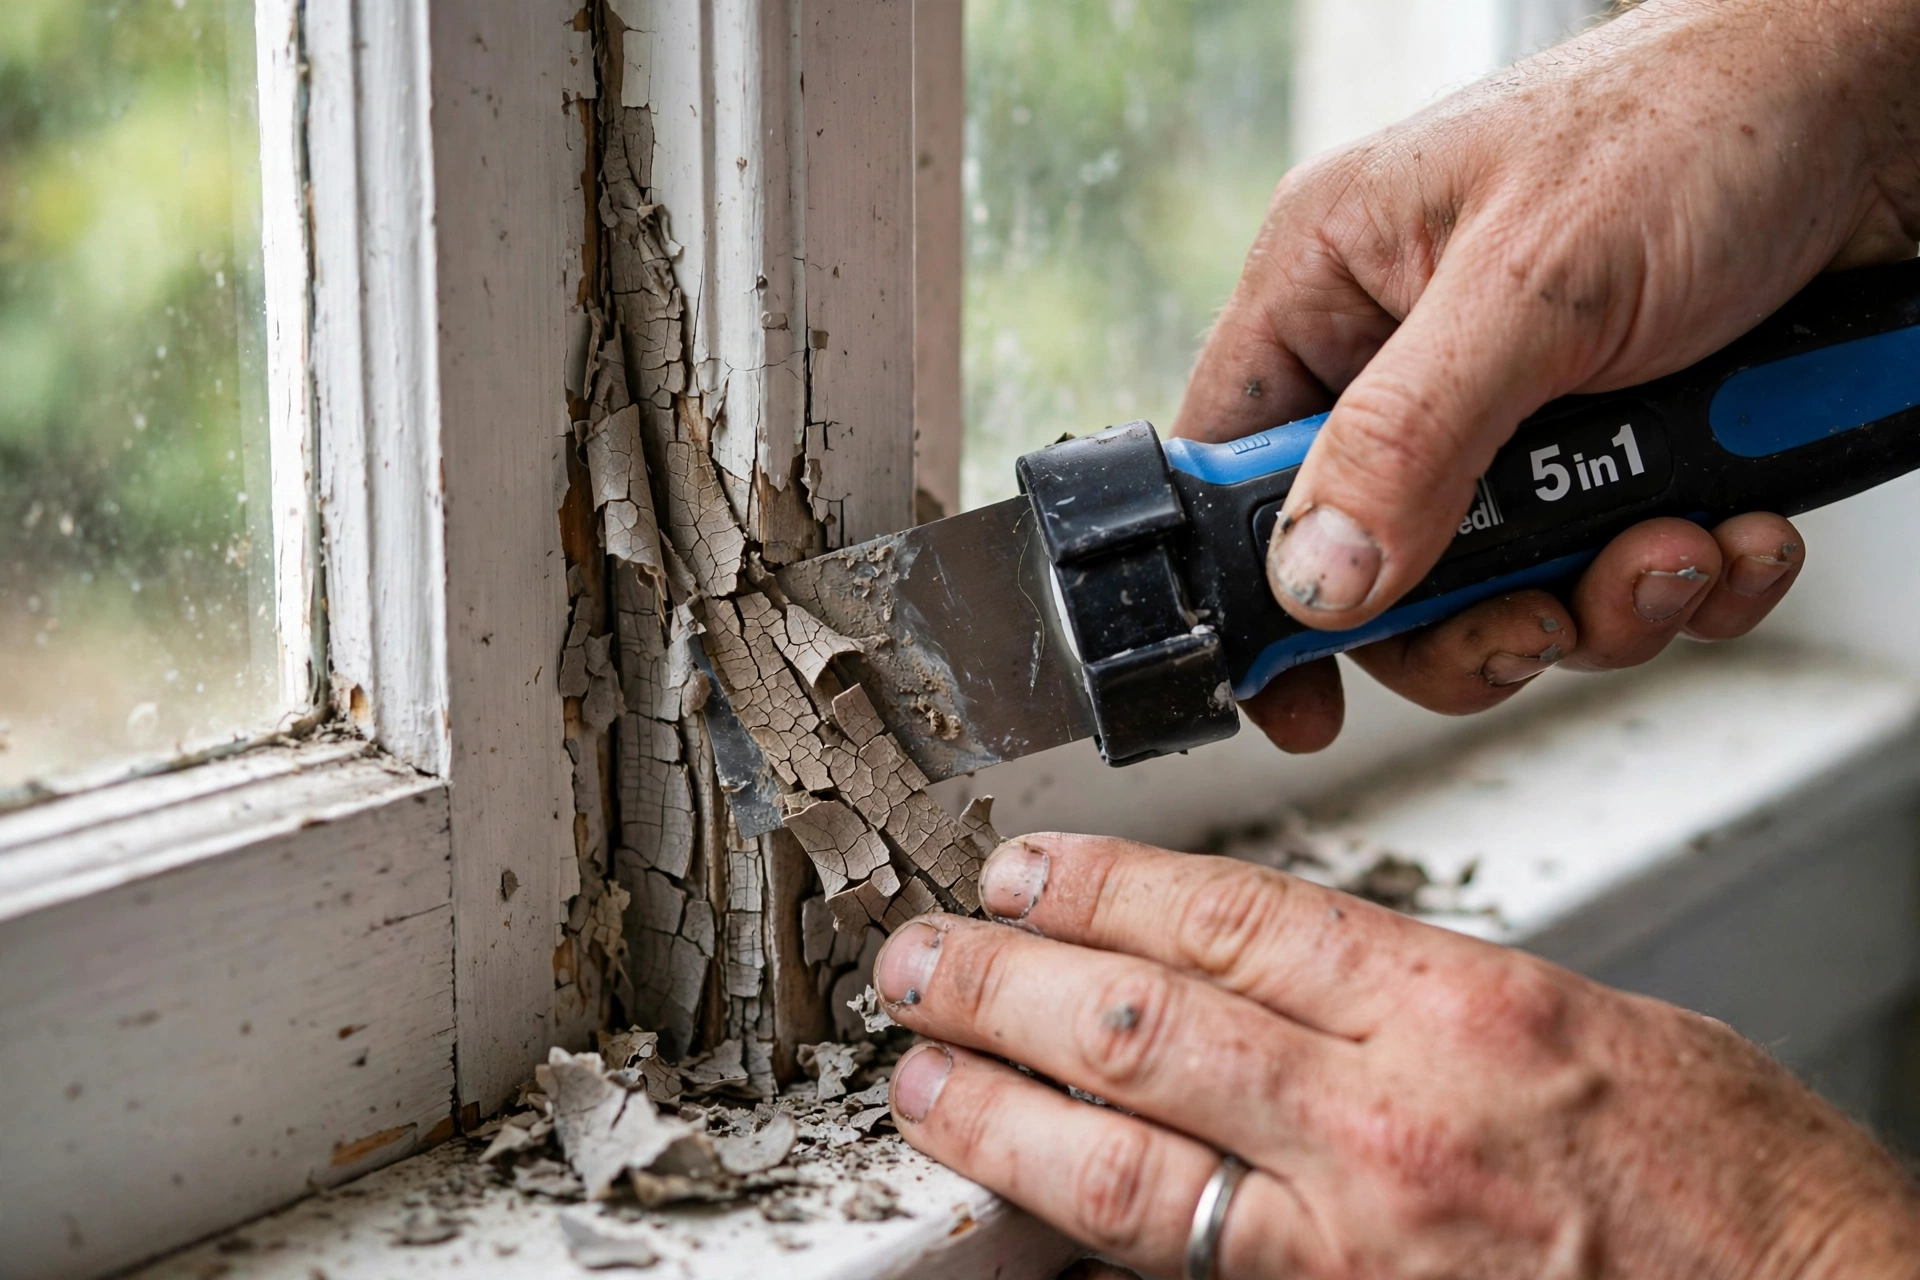
New caulk sticks to clean surfaces, not to crumbly old caulk. Score along both edges of the old bead with a utility knife, then pull or scrape it out with the 5-in-1 tool. For stubborn silicone residue, a silicone remover solvent helps. Finish by scrubbing the joint with a brush and letting it dry completely — caulk applied to damp surfaces fails early.
Step 2: Prep the Joint
- For gaps wider than 1/4 inch, press foam backer rod into the joint so it sits about 1/4 inch below the surface. Caulk should span the gap, not fill a deep void — deep fills crack.
- Apply painter’s tape along both sides of the joint, about 1/8 inch from the edges, for a clean professional line.
- Cut the caulk tube tip at a 45-degree angle, with the opening slightly smaller than the joint width. Pierce the inner seal.
Step 3: Apply the Bead
- Hold the gun at 45 degrees and squeeze with steady, even pressure.
- Move at a consistent speed — too fast gives a thin, broken bead; too slow piles up excess.
- Push the bead ahead of the tip (rather than dragging) for better penetration into the joint.
- Work in 2–3 foot sections so you can tool each before it skins over.
Step 4: Tool (Smooth) the Bead
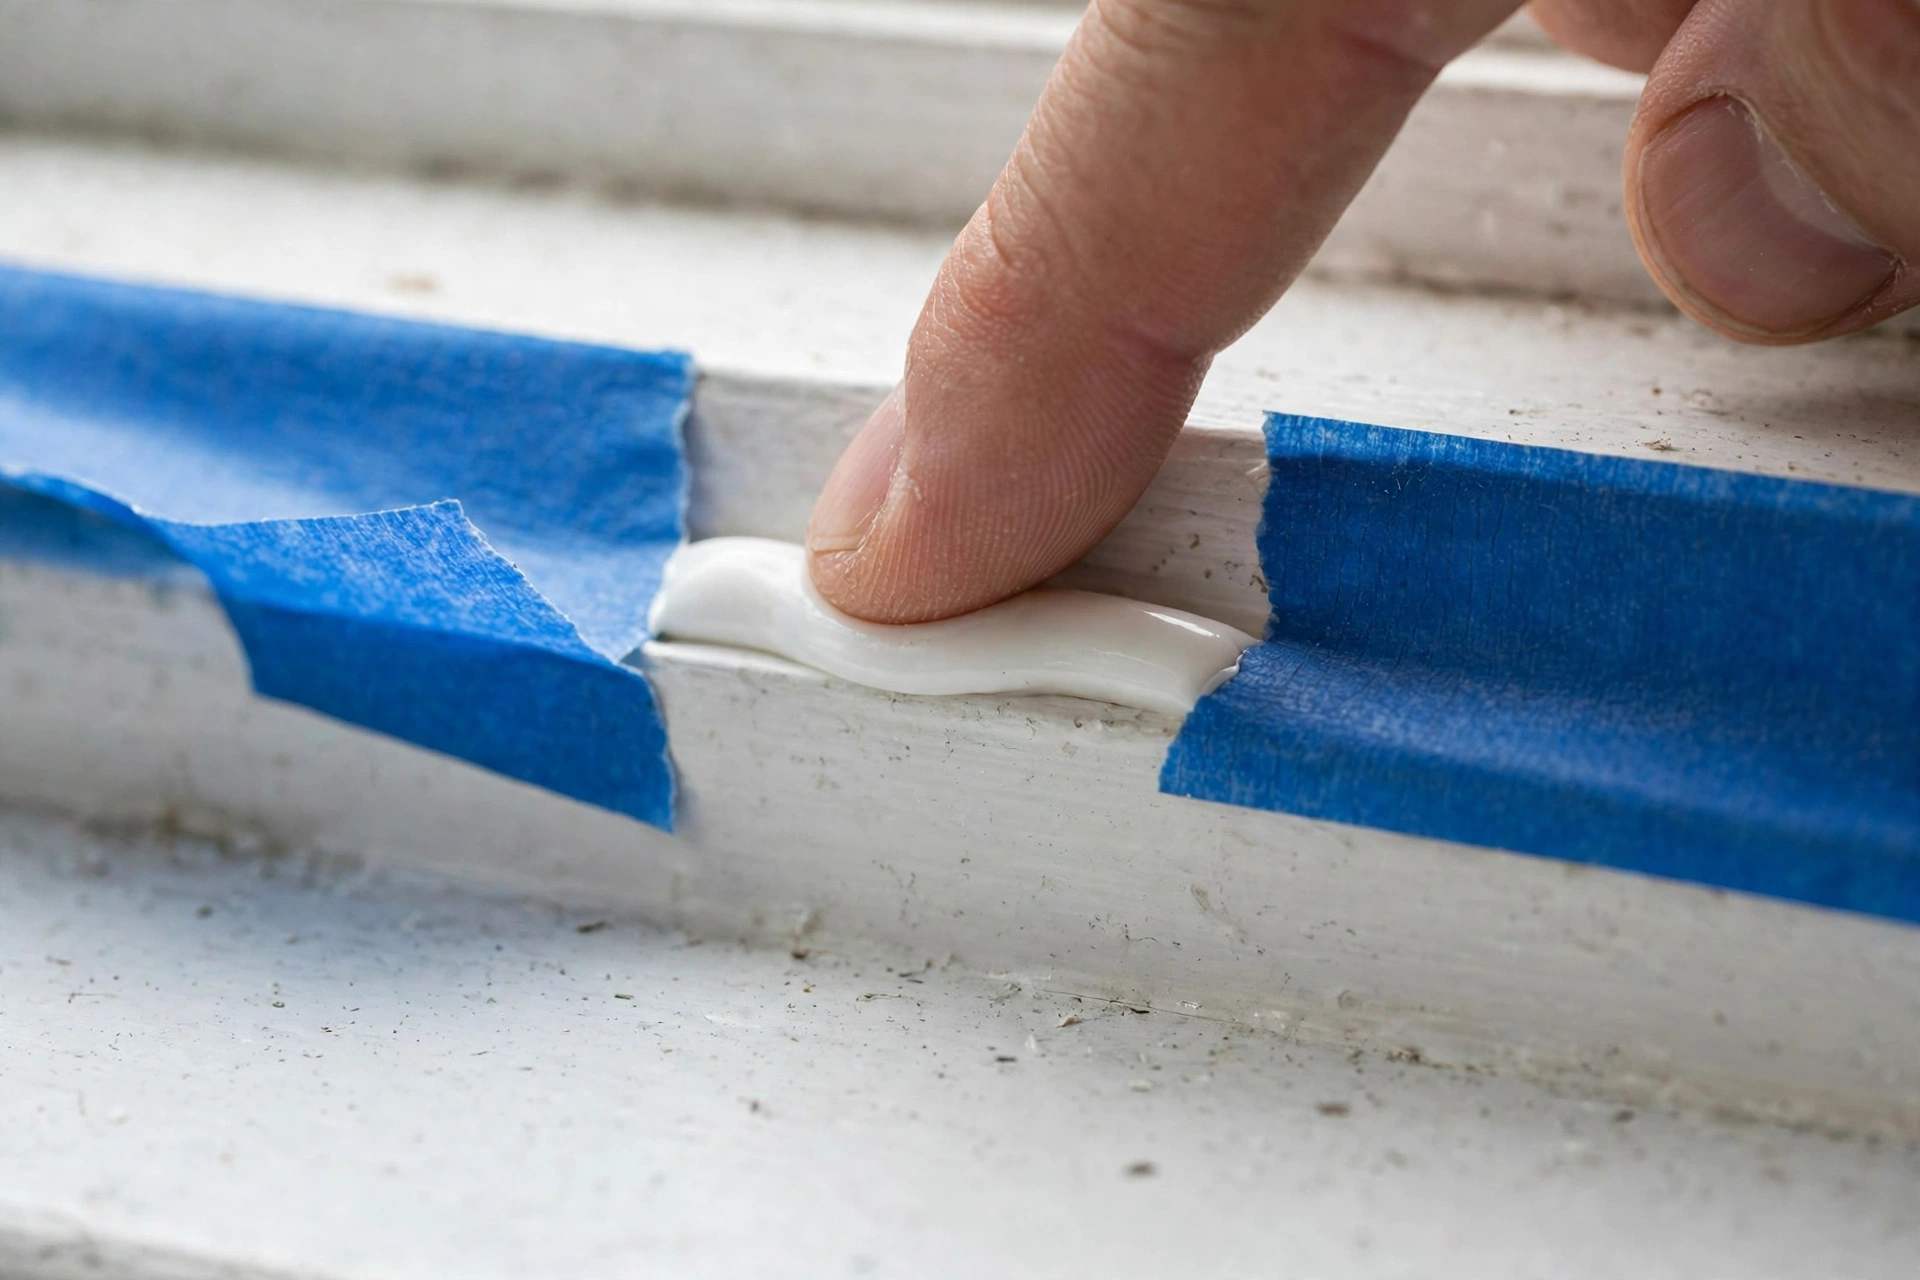
Tooling is what separates amateur caulk jobs from pro ones. Wet your finger (or a caulk tooling stick) with soapy water and run it along the bead in one smooth pass, pressing lightly to force caulk into the joint and create a concave profile. Wipe excess on a damp rag. Then immediately pull the painter’s tape away at a sharp angle — don’t wait for the caulk to skin.
Interior vs. Exterior: Different Jobs
Exterior: seal where the window frame meets the siding or brick — this is the weather barrier. Use silicone or high-quality siliconized latex rated for exterior use. Interior: seal where the trim meets the wall to stop drafts and finished-air leaks. Paintable latex is ideal here since you’ll likely paint the trim. Do both sides for maximum benefit — they serve different purposes.
Where NOT to Caulk
Caulking the wrong spots causes damage:
- Weep holes (small slots at the bottom of window frames) — these drain water out. Caulk them shut and water backs up into your wall.
- Between the window sash and frame on operable windows — you’ll glue the window shut.
- Over old caulk — it won’t bond and will peel within a season.
- In the rain or on wet surfaces — wait for dry weather.
Common Mistakes to Avoid
- Cutting the tip too large — you can’t put caulk back in the tube.
- Caulking in extreme cold (below 40°F) or heat — adhesion suffers.
- Skipping backer rod in wide gaps — the caulk cracks as it cures.
- Tooling with a dry finger — it drags and tears the bead.
- Painting silicone caulk — it won’t stick; use paintable latex where paint is planned.
Find the Leaks Before You Seal Them
Don’t caulk blindly — diagnose first so you seal the right gaps:
- The hand test: on a windy day, slowly move your hand around window frames and trim. You’ll feel drafts clearly.
- The incense test: light an incense stick and move it along window edges; the smoke stream wavers or blows sideways where air leaks in.
- The dollar-bill test: close a dollar bill in the window sash — if it slides out easily, the weatherstripping (not caulk) needs attention.
- Thermal camera: inexpensive phone attachments ($150–$250) make leaks glow visibly. Overkill for one window, great for a whole-house survey.
Mark every leak with painter’s tape as you find it, then work through them systematically. You’ll often discover the worst offenders aren’t the windows you suspected.
When Caulk Isn’t Enough: Bigger Fixes
Caulk seals gaps up to about 1/2 inch. Beyond that — or when the window itself is the problem — consider:
- Window insulation film: clear shrink-film kits ($5–$10 per window) add an insulating air layer for single-pane windows. A great one-winter stopgap.
- Storm windows: interior or exterior storms can double a window’s efficiency at a fraction of replacement cost.
- Weatherstripping replacement: if sashes rattle and leak, new foam, felt, or V-strip weatherstripping ($5–$15 per window) often transforms them.
- Full replacement: justified when frames are rotted, sashes are broken, or you have single-pane glass in a cold climate. Modern double-pane low-E windows cut window heat loss dramatically — but at $300–$1,000+ per window installed, repair-first is the smart money.
Caulk vs. Weatherstripping: Know the Difference
Caulk seals stationary joints (frame to wall, trim to siding). Weatherstripping seals moving parts (sashes, doors). If drafts come from around the operable parts of the window, you need weatherstripping, not caulk. Many older windows need both — and if the window itself is single-pane and beyond saving, our home energy audit guide helps you decide whether to repair or replace.
How Long Does It Last? Maintenance
Quality exterior caulk lasts 10–20 years; inspect it every fall as part of your seasonal routine. Look for cracks, gaps, and sections pulling away from the surface. Touch up small failures promptly — a 10-minute repair now prevents water damage later. Add it to your annual walkthrough with our winterizing checklist and the outdoor plumbing prep in our faucet winterizing guide.
How Much Caulk Do You Need? (And Storing Leftovers)
A standard 10-ounce tube covers roughly 25–50 linear feet at a 1/4-inch bead. Measure your window perimeters, add 20% for waste and learning curve, and buy one extra tube — running out mid-window with a half-tooled bead is miserable. For a typical home with 10–15 windows, 4–6 tubes usually suffice.
To store a partially used tube: squeeze a small blob out to form a plug, wrap the tip tightly with plastic wrap and a rubber band, or drive a long nail into the tip. Stored cool and dry, opened caulk lasts several months — but if it extrudes lumpy or won’t flow smoothly, toss it. Bad caulk makes bad joints.
Can You Caulk in Cold Weather?
Sometimes winter arrives before you finish the job. Standard latex caulk needs 40°F+ to cure properly — below that, it may never fully bond. If you must caulk in the cold: use a silicone or specialty “all-weather” formula rated down to 0°F, warm the tubes indoors before use, work during the warmest part of the day, and keep the joint dry. For interior work, cold is less of an issue since the house itself is heated — just avoid caulking exterior joints in freezing rain or frost.
The Bottom Line
Remove the old stuff, tape your lines, lay a steady bead, tool it smooth. A weekend of caulking seals years of drafts — and you’ll feel the difference in comfort (and the heating bill) all winter.
