

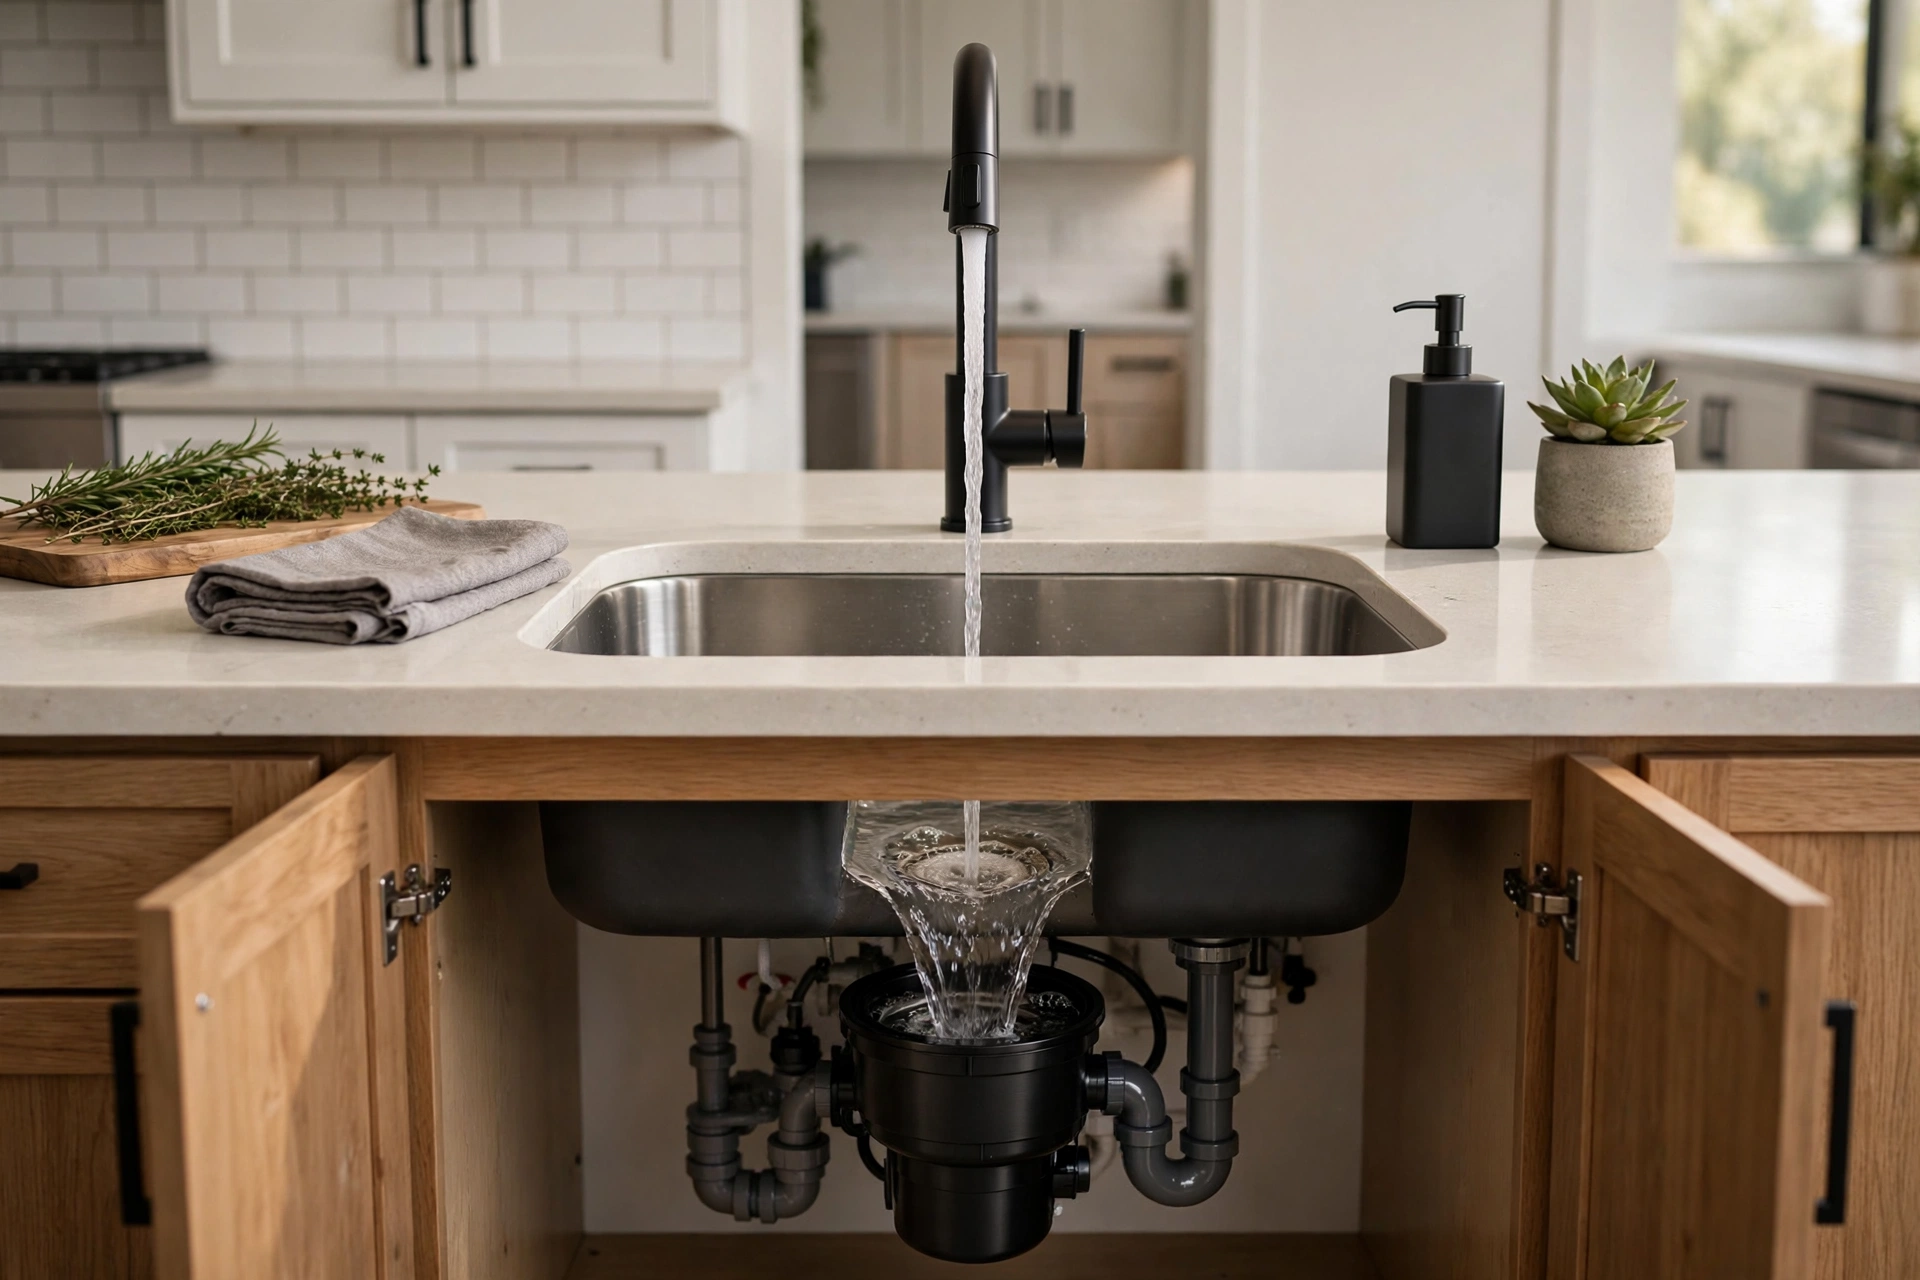
The Hardest-Working Appliance You Never Think About
Your garbage disposal grinds through food scraps dozens of times a week without complaint — until the day it jams, hums ominously, or fills the kitchen with a smell you can’t place. Most disposal problems aren’t bad luck; they’re the result of a few common misuses and zero maintenance. A disposal that’s used correctly and cleaned occasionally lasts 10–12 years. One that’s abused can die in three. Here’s how to keep yours in the first group.
How a Garbage Disposal Actually Works
Despite the name, there’s no “disposal” of anything and no blades like a blender. Inside the canister, a spinning plate (the impeller plate) flings food against a stationary shredder ring, grinding scraps into particles small enough to flush down the drain. Knowing this explains the two golden rules: it needs cold water running (to solidify grease so it grinds instead of coating, and to flush particles through), and it can’t handle anything the impeller can’t fling — fibrous, starchy, or rock-hard items jam it.
What NEVER to Put Down the Disposal
This list prevents 90% of jams and breakdowns:
- Grease, oil, and fat — the #1 killer. Liquid when hot, solid when cool — it coats pipes and hardens into blockages downstream.
- Fibrous foods: celery, asparagus, corn husks, artichokes, onion skins — fibers wrap around the impeller and jam it.
- Starchy foods: pasta, rice, potato peels, bread — they swell into a gluey paste that clogs drains.
- Coffee grounds: they don’t grind — they pack into sediment that clogs the trap.
- Bones, pits, and shells: too hard; they’ll jam or dull the mechanism (tiny fish bones are the exception).
- Eggshells: the membrane wraps around parts; the grit settles in pipes.
- Non-food items: obviously — but bottle caps, twist ties, and rubber bands end up in there more often than you’d think.
When in doubt, scrape it into the trash or compost. The disposal is for small food scraps, not a trash can.
Daily Habits That Extend Its Life
- Cold water always: run cold water before, during, and 15 seconds after grinding. Hot water melts grease, which then re-solidifies further down the pipe.
- Small batches: feed scraps gradually, not all at once.
- Run it regularly: even with nothing in it, run the disposal with cold water every few days — stagnant water corrodes the internals.
- Grind citrus occasionally: lemon or lime halves freshen and the acid helps cut mild grease.
- Run the dishwasher connection in mind: many dishwashers drain through the disposal — always run the disposal before starting the dishwasher, or dirty water backs up. Our dishwasher not draining guide covers this shared-drain relationship in detail.
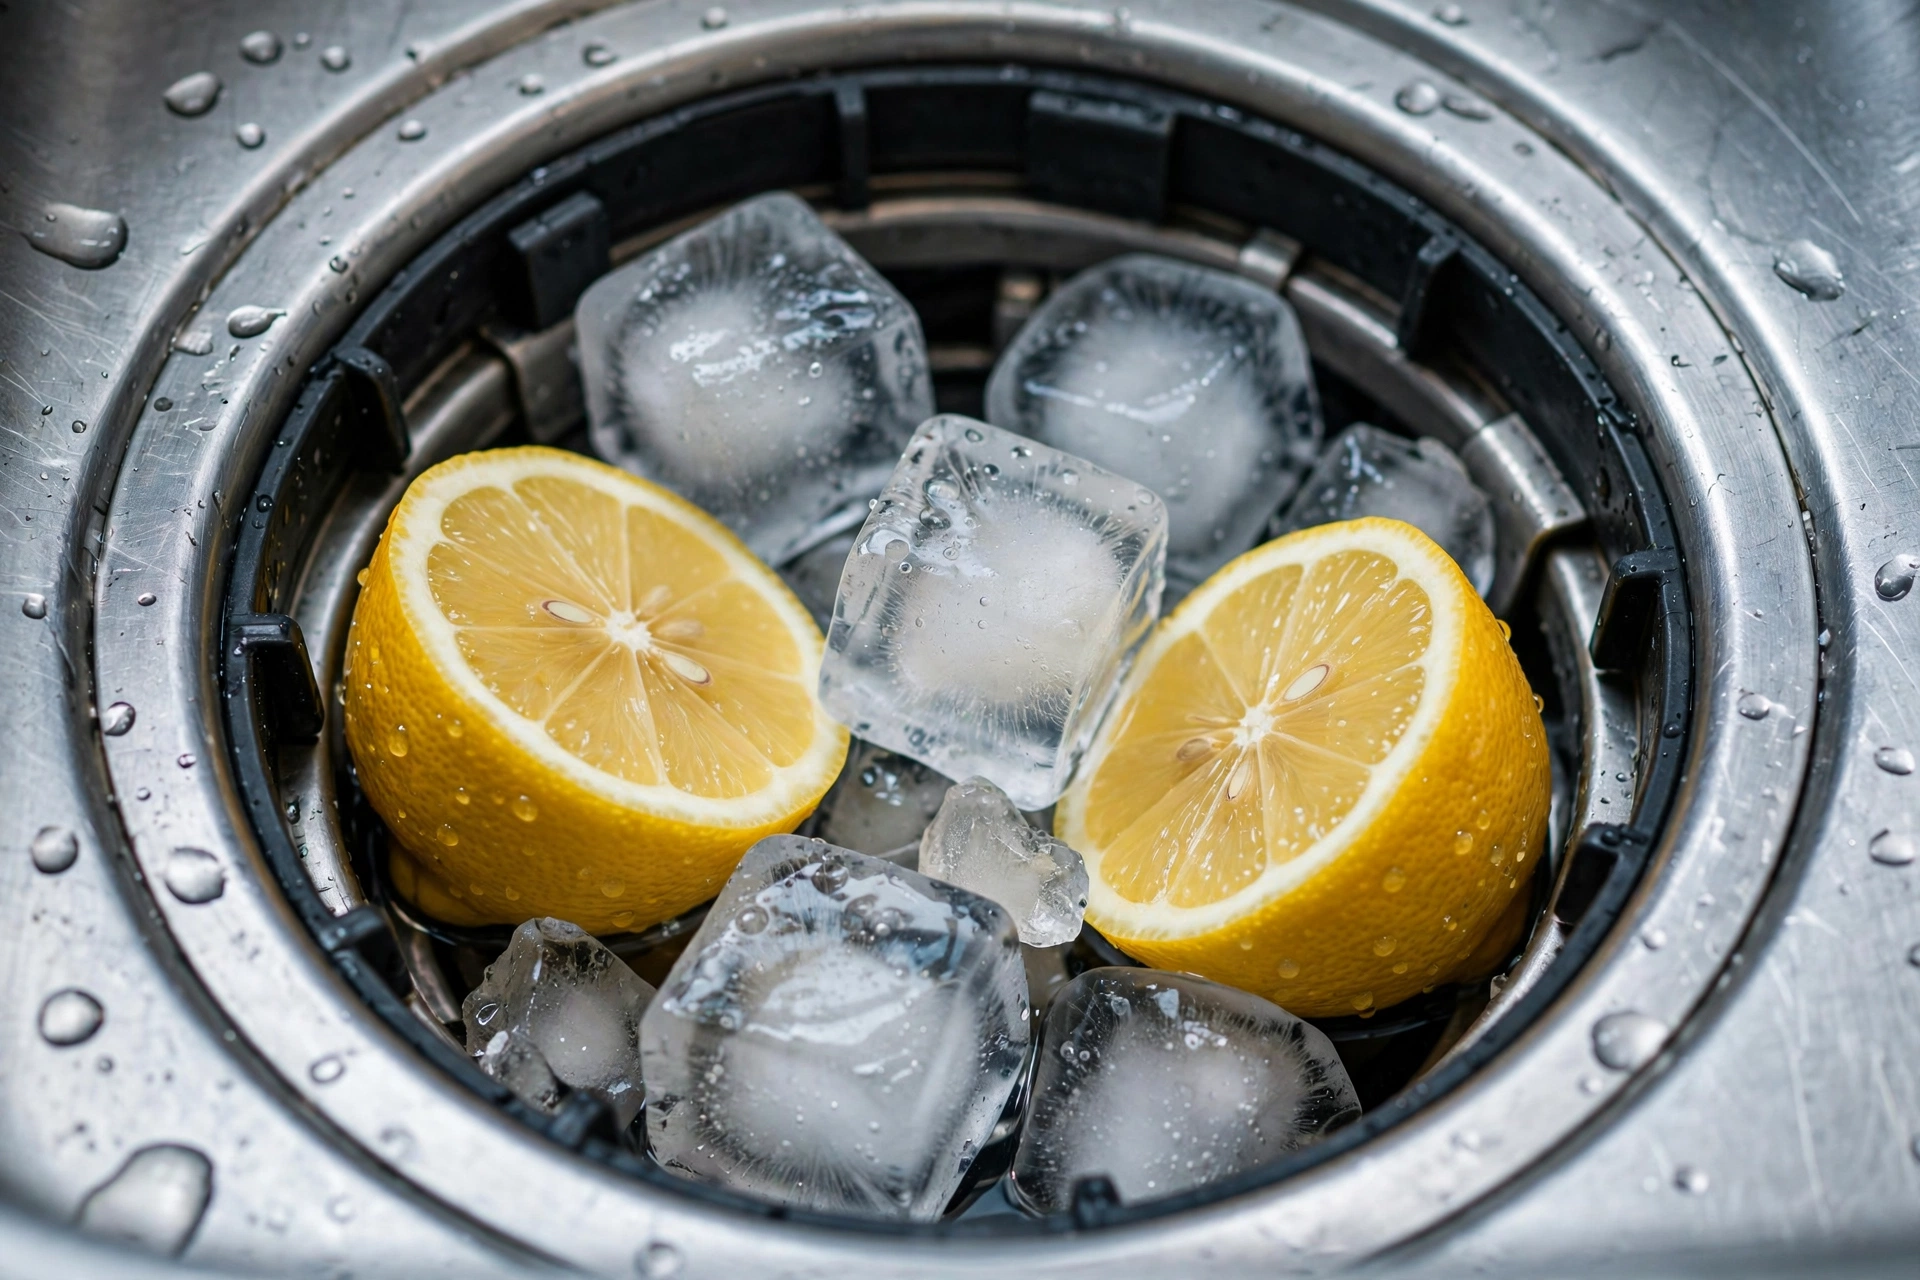
Deep Cleaning: The Ice, Salt, and Citrus Method
Once a month, give the disposal a proper cleaning:
- Pour 2 cups of ice cubes into the disposal.
- Add 1 cup of rock salt or coarse kosher salt.
- Run cold water and turn on the disposal — the ice scours the grinding chamber, the salt acts as an abrasive.
- Follow with a few lemon or orange halves for freshness.
- Finish with a baking soda + vinegar fizz: 1/2 cup baking soda, then 1 cup white vinegar, wait 10 minutes, flush with hot water.
For stubborn odors, the smell is usually trapped food under the rubber splash guard — lift it and scrub underneath with an old toothbrush and dish soap. That one spot is the source of most “mystery” disposal smells.
Fixing a Jammed Disposal (The Hex Key Trick)
If the disposal hums but doesn’t spin (or does nothing at all), it’s probably jammed — not dead:
- Turn it OFF at the wall switch. Never put your hand inside — use tongs or pliers to remove visible obstructions.
- Find the hex-shaped hole at the very bottom of the disposal (under the sink).
- Insert the Allen wrench that came with the unit (usually 1/4-inch) and work it back and forth to manually free the impeller plate.
- Press the red reset button on the bottom of the unit.
- Run cold water and turn it on — it should spin freely now.
This fixes the vast majority of “dead” disposals in five minutes.
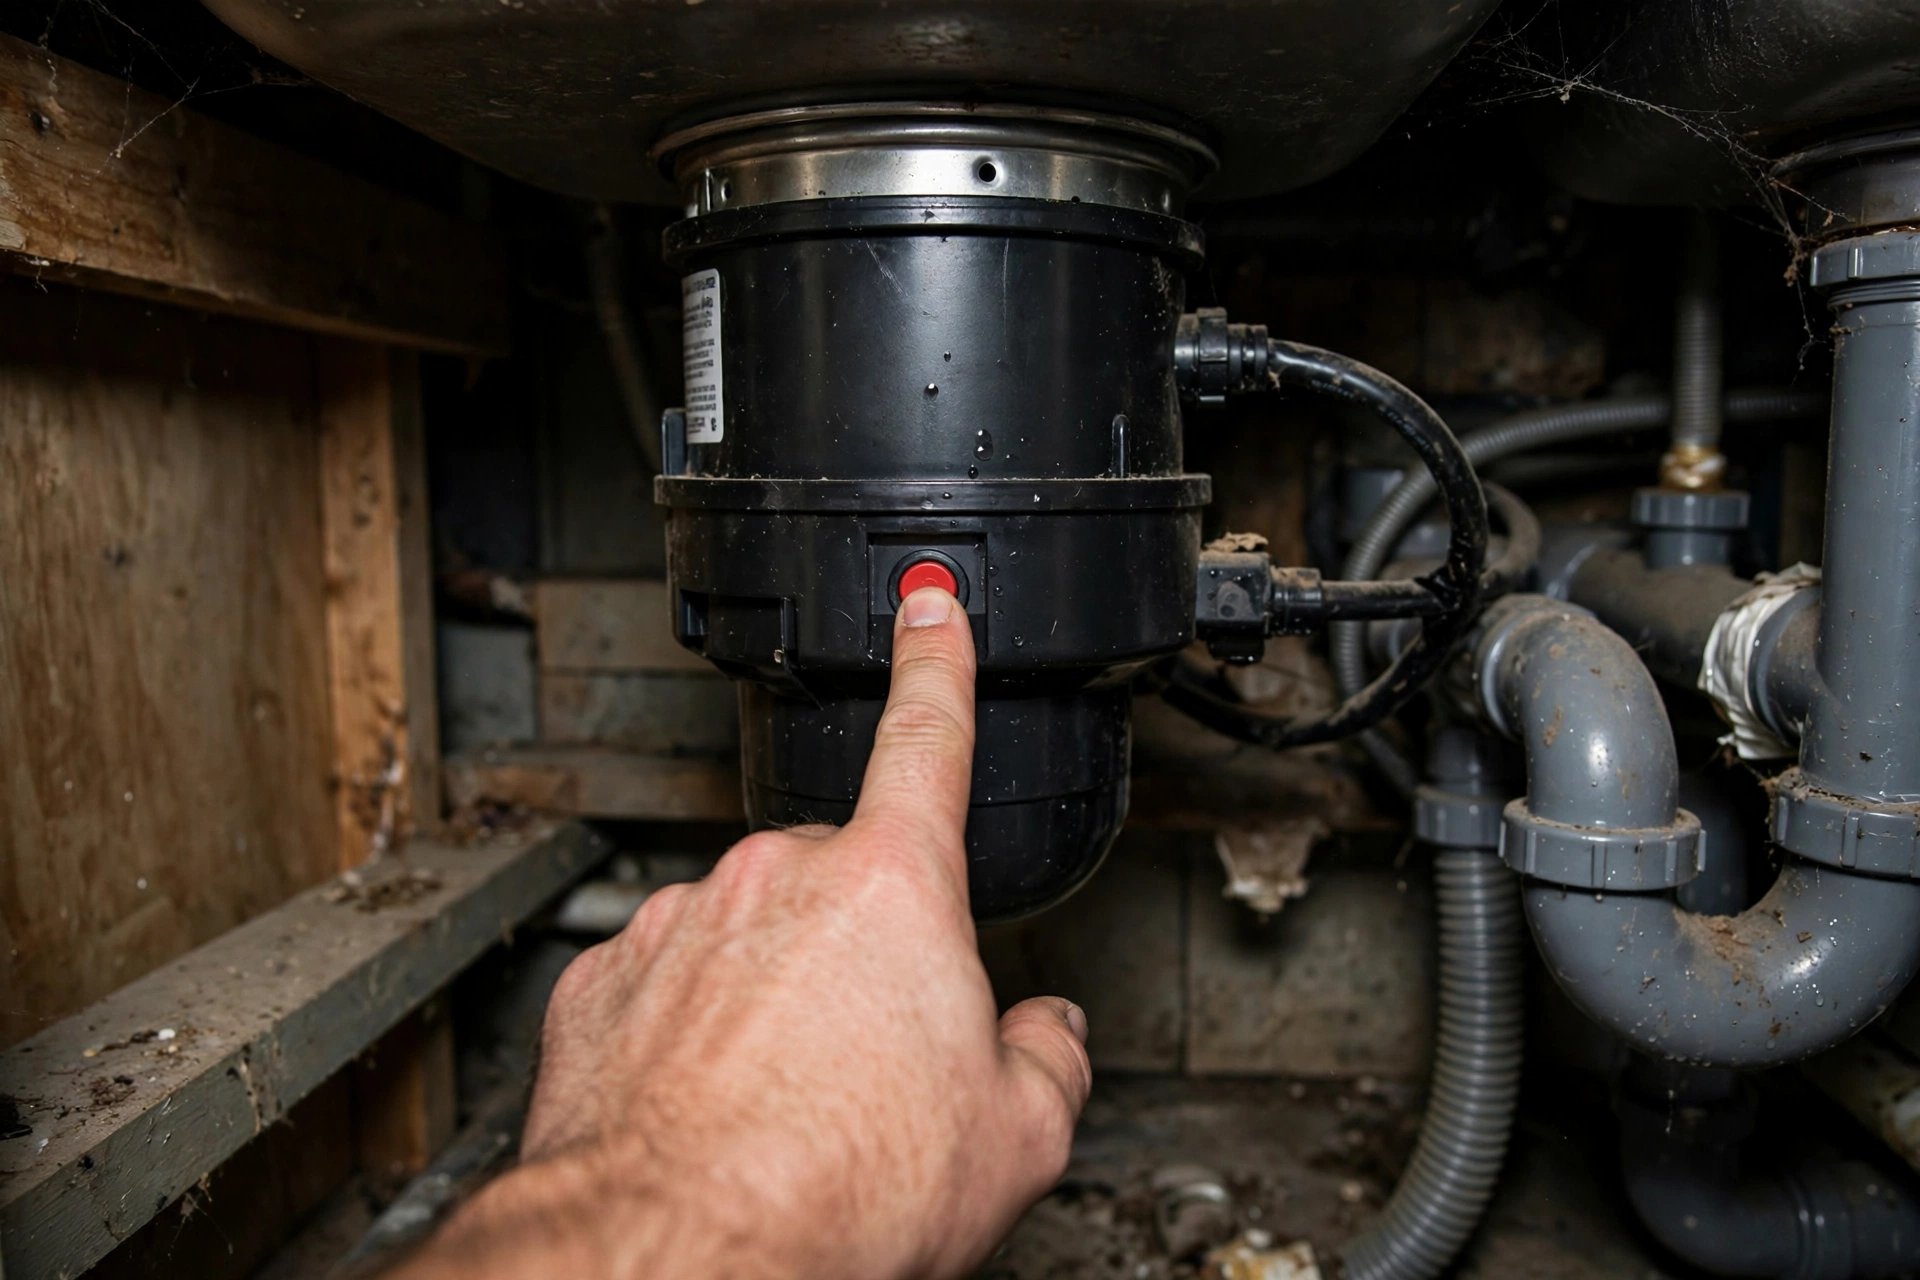
When It Hums But Won’t Spin (And Reset Doesn’t Help)
If the hex key turns freely but the motor still just hums, the motor itself may be seized or the capacitor failed. Try the reset once more after the unit cools for 10 minutes (overload trips need cooldown). Persistent humming with a free-spinning plate usually means motor failure — time to replace.
Fixing a Leaking Disposal
Water under the sink? Identify the source:
- Top (sink flange): the mounting seal failed — re-seat with fresh plumber’s putty.
- Side (dishwasher inlet): tighten the hose clamp; replace the hose if cracked.
- Bottom: internal seals failed — this usually means replacement, as internal seals aren’t serviceable.
- Drain pipe connections: tighten slip nuts; replace worn washers.
Put a dry paper towel under the unit to pinpoint drips before disassembling anything.
Septic Systems and Garbage Disposals: Special Rules
On a septic system, every scrap you grind adds solids to the tank — and tanks need pumping based on solids load. Rules for septic owners:
- Use the disposal sparingly — scrape plates into the trash first, grind only small remnants.
- Never put grease down (it forms a scum layer that clogs the drain field — a $5,000+ repair).
- Pump the tank on schedule (every 3–5 years for most families); heavy disposal use pushes you toward the 3-year end.
- Consider a septic-safe enzyme treatment monthly — it helps, though it doesn’t replace pumping.
- If your system is older or marginal, the safest choice is composting instead of grinding.
What That Noise Means
- Normal grinding rumble: all good.
- High-pitched metal-on-metal: something hard (bone fragment, utensil) is in there — turn off, remove with tongs.
- Loud rattling: mounting may be loose — check the mounting ring under the sink.
- Humming with no spin: jammed — hex key + reset (above).
- Clicking then silence: overload tripped — wait 10 minutes, press reset.
- Gurgling drain afterward: partial downstream clog — the disposal is fine, the drain line needs attention.
What About Chemical Drain Cleaners?
Never use caustic drain cleaners in a disposal. They can damage the rubber and plastic components, and if the clog doesn’t clear, you’re left with a canister of caustic chemicals — dangerous for anyone who services it later. Mechanical methods (hex key, plunger on the sink side with the disposal off, or disassembly) are the safe approach.
Disposal vs. Compost: The Honest Comparison
Environmentally, the disposal-vs-compost debate has nuance. Composting wins outright — it returns nutrients to soil with minimal energy. But disposals aren’t villains: in cities with modern wastewater treatment that captures biogas, ground food waste becomes energy rather than landfill methane. The hierarchy: compost first (best), disposal for small scraps (fine), trash last (food in landfills generates methane, a potent greenhouse gas). If you compost, the disposal handles only what the compost can’t — peels, small bones, and the stuff you’d rather not keep in a countertop bin.
When to Replace Instead of Repair
- Age 10+ years with declining performance
- Frequent need for the reset button (motor wearing out)
- Cracks in the housing or persistent bottom leaks
- It’s underpowered for your needs (1/3 HP struggles; 1/2–3/4 HP suits most families; 1 HP for heavy use)
Replacement is a very doable DIY ($80–$200 for the unit, 1–2 hours) — just match the new unit’s mounting type, and remember the dishwasher drain plug knockout if your dishwasher connects through it.
Choosing a New Disposal (If It Comes to That)
- 3/4 HP continuous feed is the sweet spot for most households — quieter and less jam-prone than 1/3 HP.
- Stainless steel grinding components resist corrosion far longer than galvanized.
- Sound insulation matters — cheap disposals are shockingly loud; mid-range models are dramatically quieter.
- Batch feed vs. continuous feed: batch feed (only runs with the stopper in) is safer with kids but less convenient.
Quick Reference: The Disposal Rules on One Fridge Magnet
Cold water on. Small batches. No grease, no fibers, no starch, no bones, no coffee grounds. Ice + salt monthly. Citrus for freshness. Hex key + reset button for jams. Tongs, never fingers. That’s the entire manual — stick it on the fridge and the disposal will outlast the kitchen remodel.
The Bottom Line
Cold water, small batches, nothing fibrous or greasy, monthly ice-and-citrus cleaning. Four habits — and your disposal hums along for a decade instead of dying at year four.
