

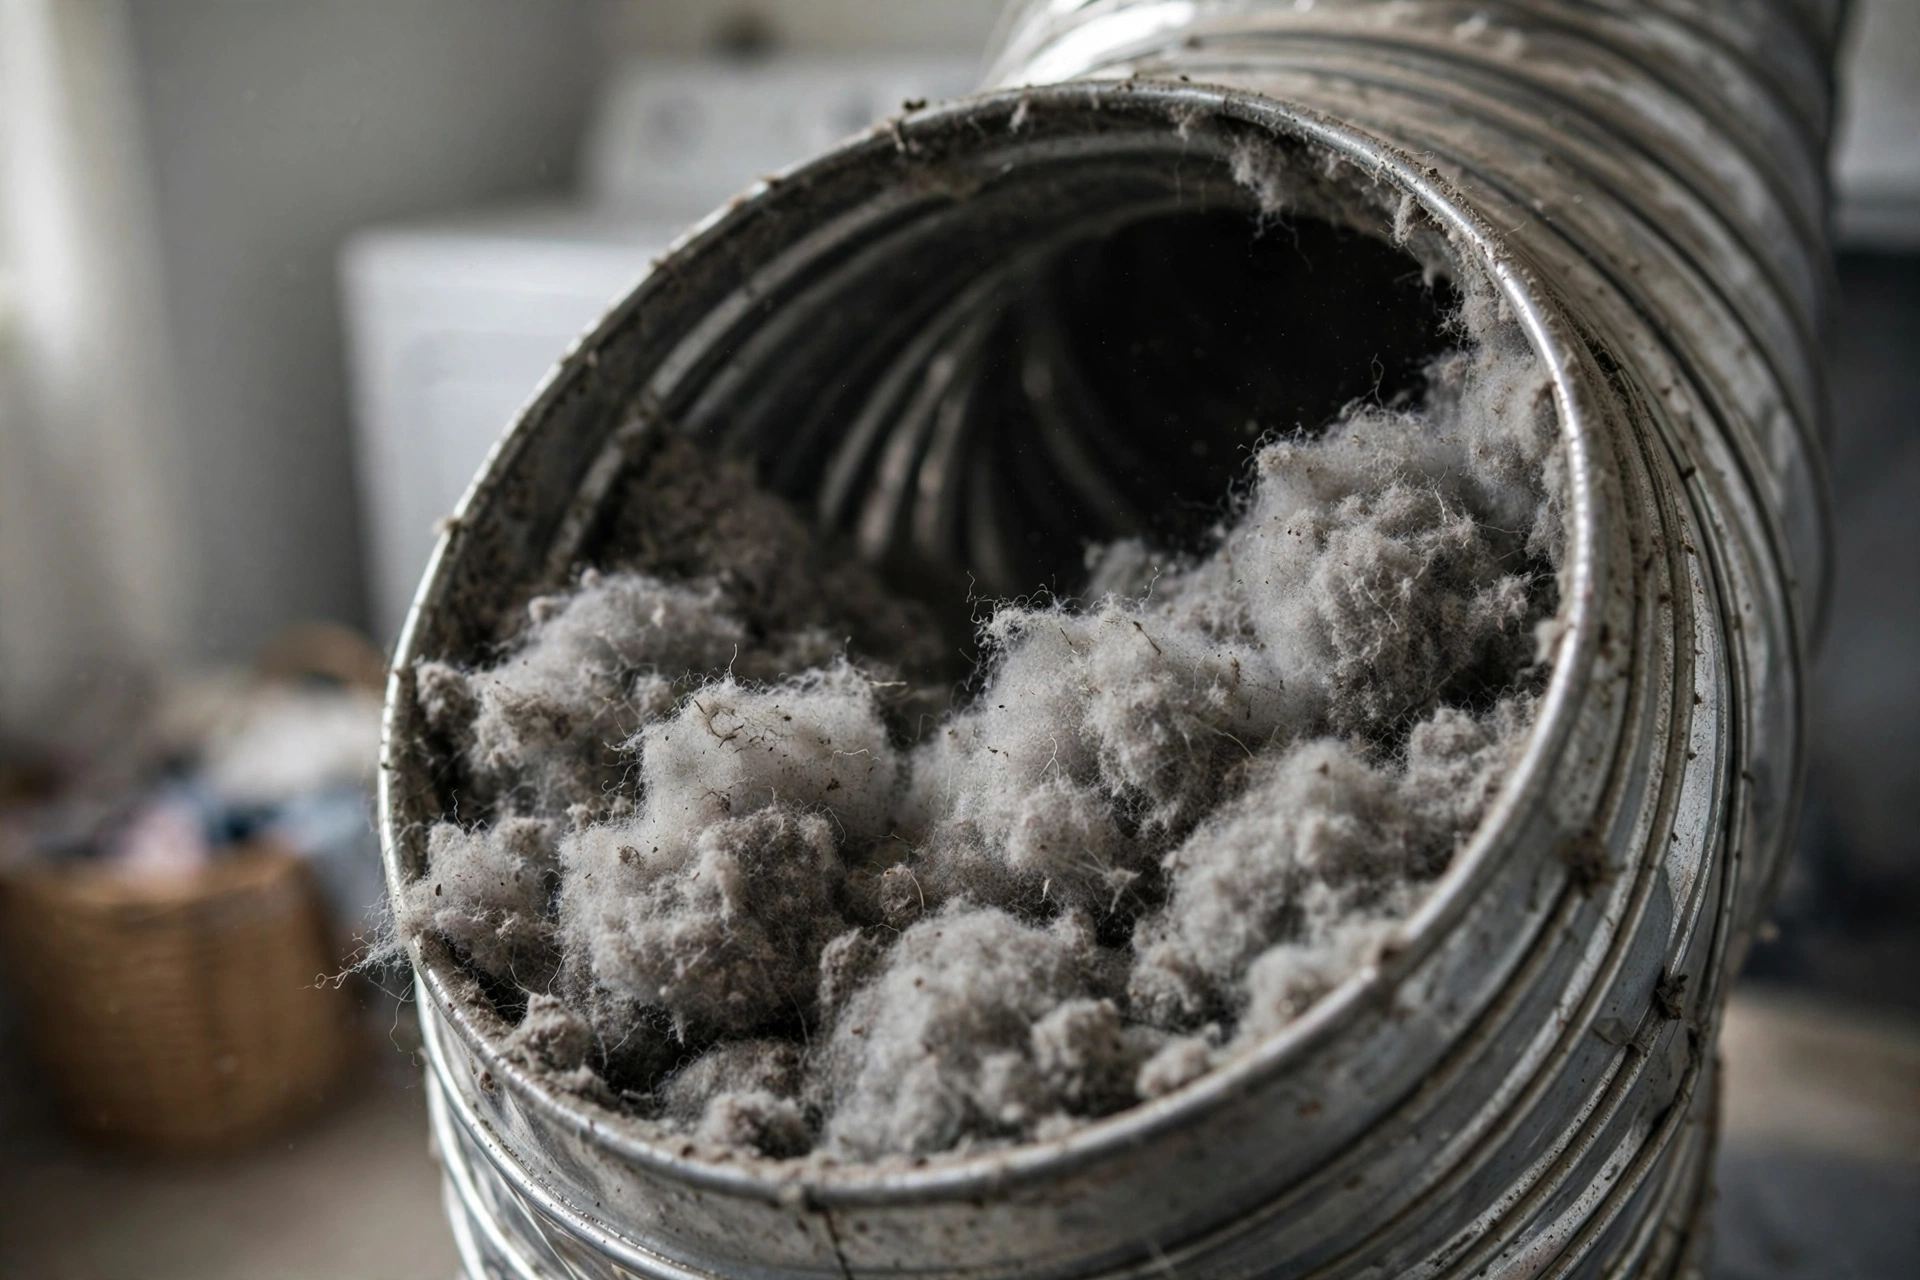
Why Your Dryer Vent Is a Bigger Deal Than You Think
Here’s a sobering statistic from the U.S. Fire Administration: clothes dryers cause roughly 2,900 home fires every year, and the leading cause is failure to clean them — specifically, lint buildup in the dryer vent. Beyond the fire risk, a clogged vent makes your dryer work harder, doubles drying times, wears out clothes faster, and inflates your energy bill. The fix takes about 30–45 minutes, costs almost nothing, and needs doing just once or twice a year. If you’ve never cleaned yours, today’s the day.
Signs Your Dryer Vent Needs Cleaning Now
Don’t wait for a problem — but if you notice any of these, treat it as urgent:
- Clothes take two or more cycles to dry
- The dryer feels unusually hot to the touch
- Clothes come out hotter than normal or smell musty
- The laundry room feels humid during drying
- You see lint accumulating around the exterior vent hood
- The exterior vent flap barely opens when the dryer runs (weak airflow)
- It’s been more than a year since the last cleaning
What You’ll Need
- Dryer vent cleaning kit (flexible rods + brush head, $15–$30) — the single best investment here
- Vacuum with hose attachment or a shop vac
- Screwdriver or nut driver (usually 1/4-inch) for the vent clamp
- Old towel or drop cloth
- Work gloves and a dust mask — old lint is nasty stuff
- Flashlight
Step 1: Disconnect the Dryer Safely
Electric dryers: unplug the power cord. Gas dryers: turn off the gas supply valve behind the dryer — if you smell gas at any point, stop and call your gas company. Pull the dryer away from the wall carefully (they’re heavy and the cord/hose limits how far you can go). Lay a towel down to catch the avalanche of lint that’s about to appear.
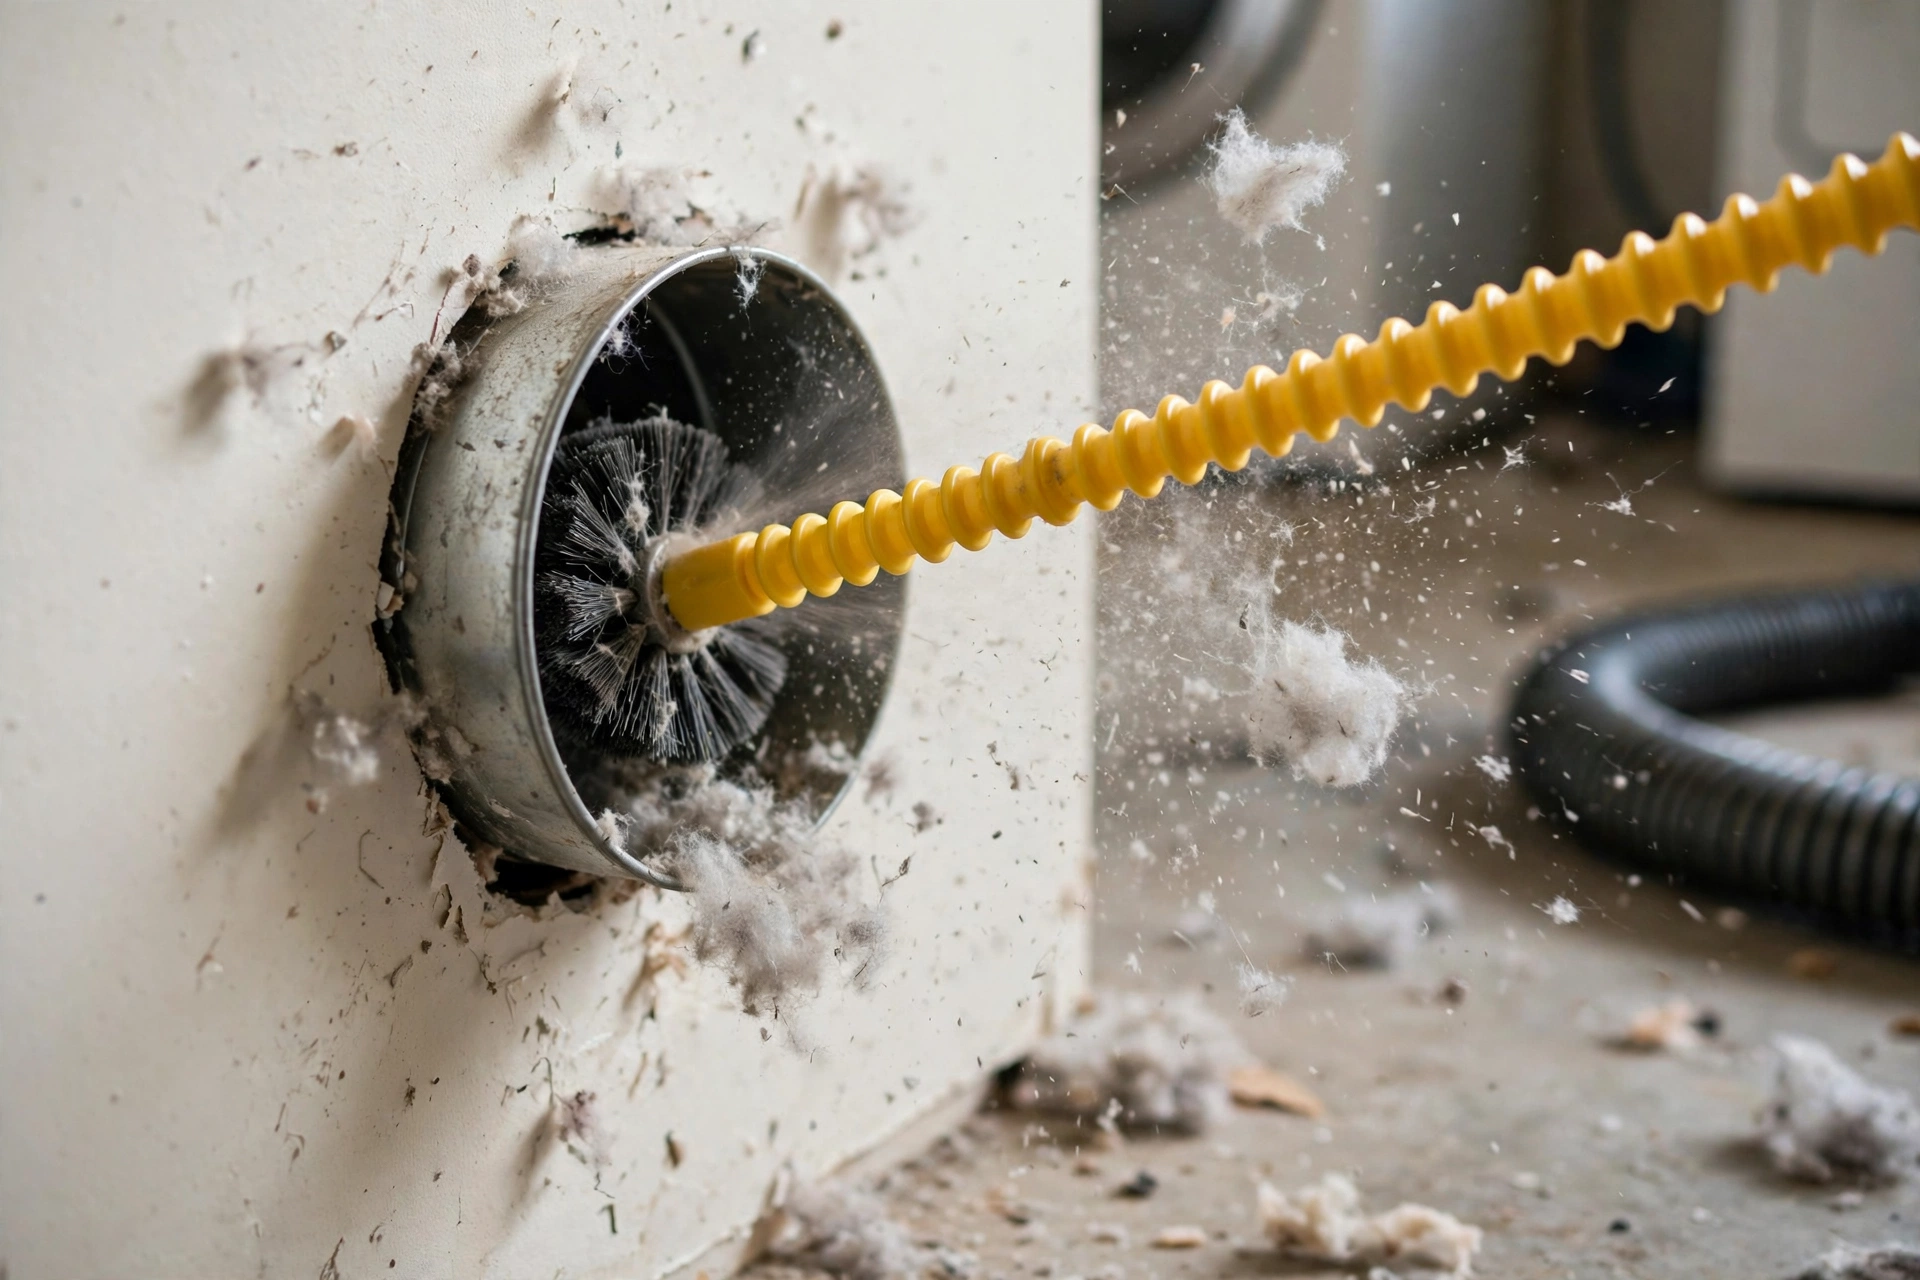
Step 2: Disconnect and Clean the Vent Duct
- Loosen the clamp connecting the flexible transition duct to the wall vent and to the dryer. Slide the duct off.
- Vacuum lint from both ends of the duct and from the dryer’s exhaust port.
- Feed the brush kit rods into the wall vent, adding sections as you go, and spin the brush (most kits attach to a drill — use low speed). Work the brush in and out to scrub the vent walls.
- Keep going until you’ve covered the full run to the exterior. For long vents, you may need extra rod sections.
- Vacuum the loosened lint from the vent opening.
Important: if your duct is the old white vinyl or thin foil accordion type, consider replacing it with rigid or semi-rigid metal duct while you’re at it. Vinyl ducts are a fire hazard — they trap lint in their ridges and can melt. Building codes in most areas now require metal.
Step 3: Clean the Exterior Vent Hood
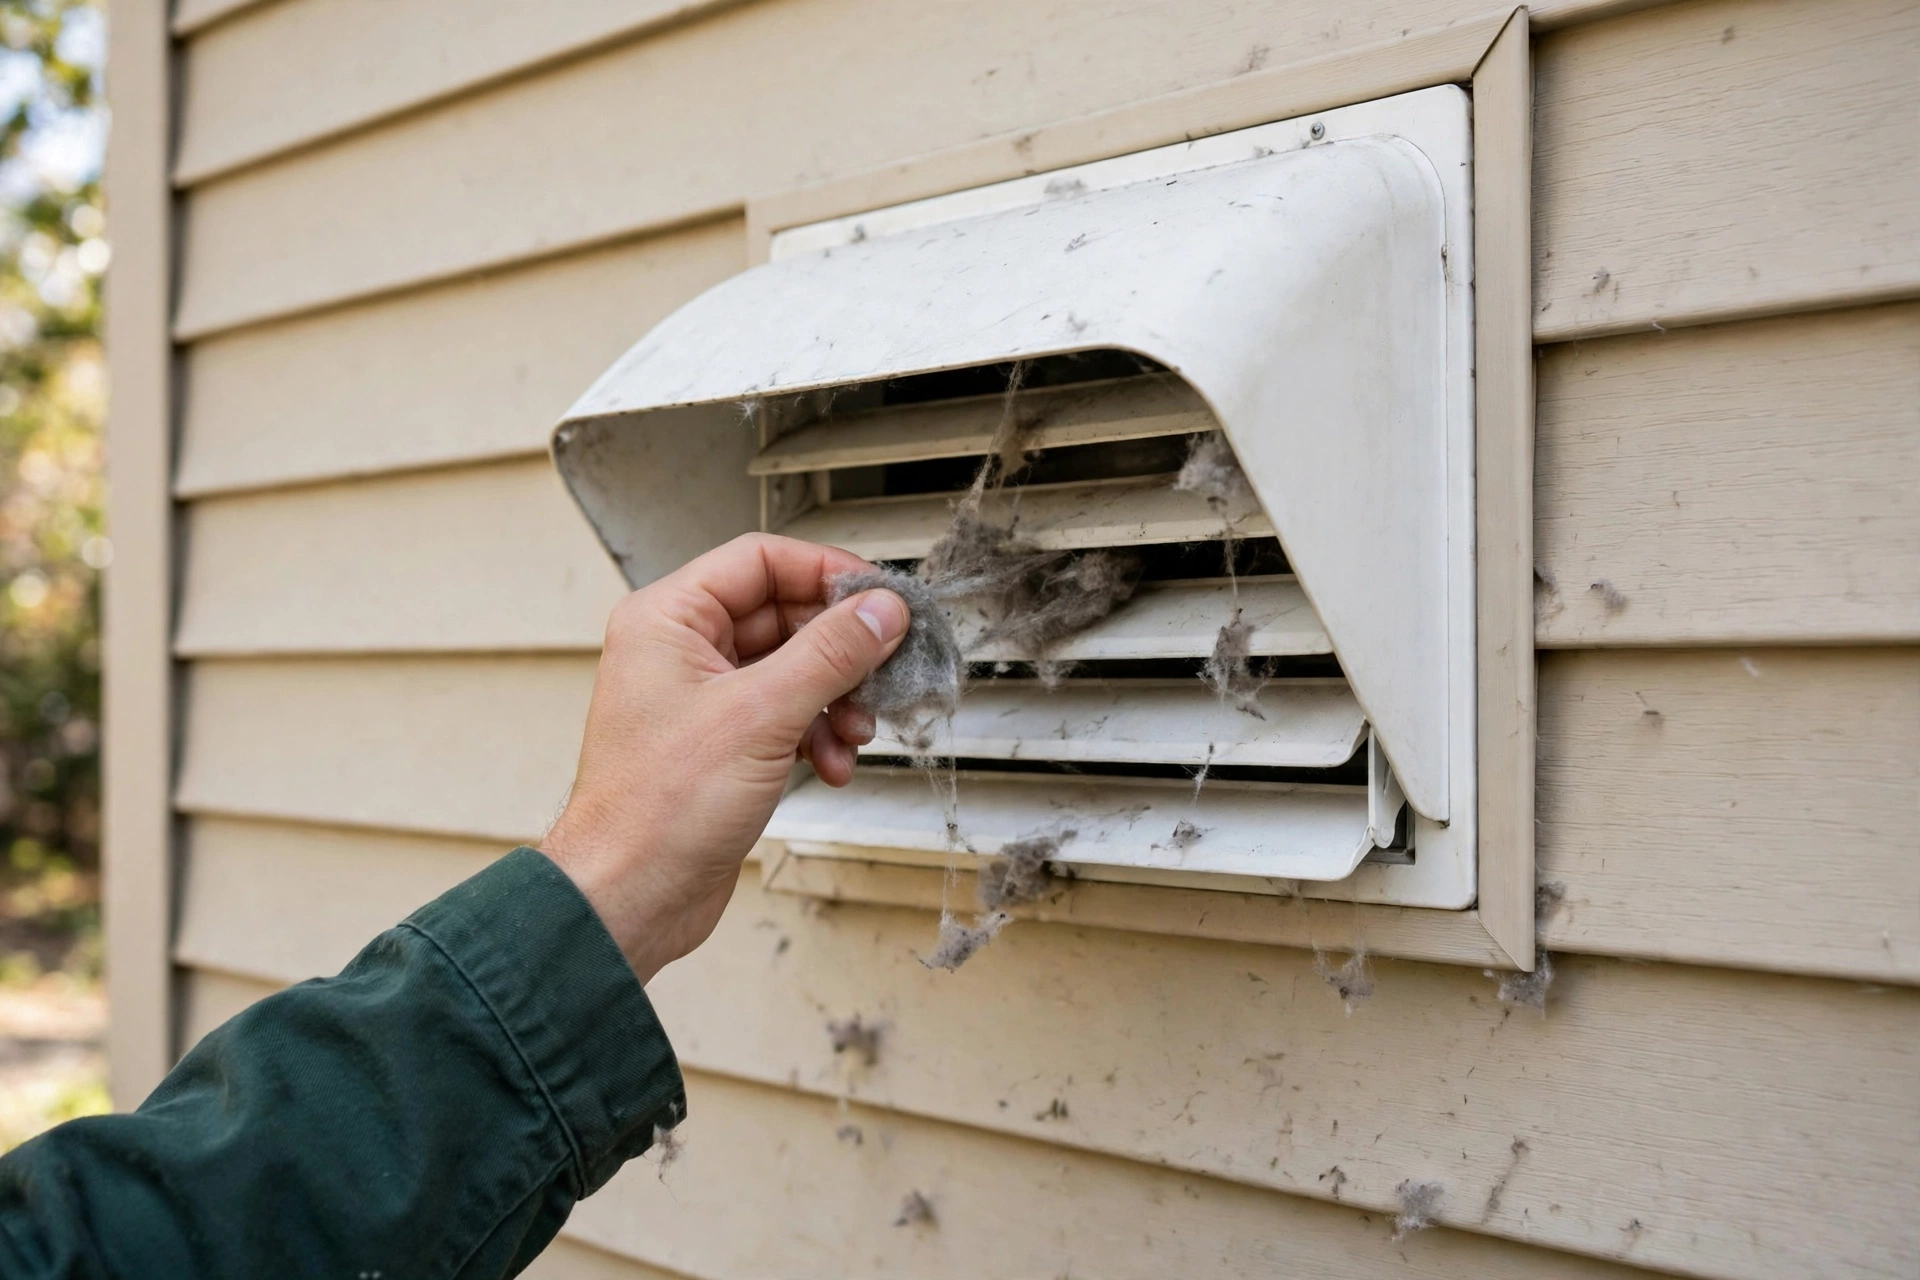
Go outside to the vent termination. Remove the hood cover if possible and clear out lint, leaves, and any bird nests (surprisingly common). Check that the damper flap opens and closes freely — a stuck flap traps moist air and lint inside. Vacuum or wipe the hood interior, then reattach the cover.
Step 4: Clean the Lint Trap Housing
Pull out the lint screen and vacuum deep into the trap housing — a surprising amount of lint bypasses the screen and packs in below it. Wash the screen itself with warm soapy water every few months; fabric softener sheets leave an invisible film that blocks airflow (test: if water beads on the screen instead of flowing through, it needs washing).
Step 5: Reconnect and Test
Reattach the duct with the clamps, push the dryer back (don’t crush the duct — keep it as straight and short as possible), restore power or gas, and run an empty 10-minute cycle. Go outside and confirm strong airflow at the vent hood. Weak flow means there’s still a blockage — repeat the brushing or consider a professional.
How Often Should You Clean It?
- Every 6–12 months for the full vent run (annually is fine for most households).
- Every load: clean the lint screen.
- Every 2–3 months: vacuum the lint trap housing.
- More often if: you have a large family, pets (pet hair!), a long vent run, or the vent has multiple bends.
The Hidden Costs of a Clogged Vent
Fire is the headline risk, but a restricted vent quietly costs you money every week:
- Energy waste: a dryer with a clogged vent can use 30–50% more electricity per load. For a family doing 8 loads a week, that’s easily $100–$200 extra per year.
- Appliance lifespan: overheating strains the heating element, thermostat, and motor. Dryers that should last 12–15 years die years early when they constantly overheat.
- Clothing wear: extended high-heat cycles break down fabrics faster — your clothes literally wear out sooner.
- Moisture damage: a blocked vent pushes humid air back into the laundry room, feeding mold and mildew on walls and ceilings. If your laundry room smells musty, the vent is a prime suspect — and our room-by-room humidity guide covers the broader moisture battle.
Roof Vent? Special Considerations
Some homes vent the dryer up through the roof rather than out a side wall. These runs are longer, collect more lint, and are harder to clean — gravity works against you. If you have a roof-terminated vent:
- Clean it twice a year, not once — lint accumulates faster in vertical runs.
- Check the roof cap from the ground with binoculars seasonally for lint matting.
- Strongly consider hiring a pro for roof vent cleaning — ladder + roof work + spinning brush is a risky combination for DIY.
- When replacing ducting, keep the run as short and straight as possible; every 90-degree bend adds the equivalent of 5 feet of restriction.
Gas Dryer? Extra Caution
Gas dryers add one more danger to a clogged vent: carbon monoxide. A blocked vent on a gas dryer can push CO back into the laundry room. If you have a gas dryer, keep a working CO detector in or near the laundry area, and never run the dryer while you’re asleep or away from home.
When to Call a Professional
DIY covers most situations, but call a vent cleaning pro ($100–$170) if: the vent run is very long or has multiple 90-degree bends, the vent goes up through the roof (roof work + ladders = pro territory), airflow is still weak after your cleaning, or you find the duct is damaged, disconnected inside a wall, or made of vinyl that needs replacing.
Dryer Vent Myths, Busted
- “The lint screen catches everything.” It catches maybe 70–80%. The rest coats your vent walls — which is exactly why vents need separate cleaning.
- “Short vents don’t need cleaning.” Short vents clog faster proportionally; a 3-foot run packed with lint is just as dangerous as a 20-foot one.
- “Flexible foil duct is fine.” The ridges in flexible duct trap lint far faster than smooth metal. Rigid metal duct is the gold standard; semi-rigid is acceptable.
- “Venting into the attic or crawl space is okay.” It’s not — it dumps gallons of moisture where it causes mold and rot, and it’s against code in most places. Always vent outdoors.
- “Dryer sheets don’t affect the vent.” They do — the waxy coating migrates past the screen and contributes to buildup on vent walls. Consider wool dryer balls instead.
What a Professional Cleaning Includes
If you hire out ($100–$170), a good pro will: disconnect and inspect the full duct run, rotary-brush the entire vent from both ends, vacuum all loosened lint, clean the exterior hood and verify the damper, check the transition duct material (and flag vinyl for replacement), and test airflow before and after. Ask whether they use video inspection — reputable companies show you the before/after inside your vent. Avoid anyone who just pokes a vacuum hose in from the laundry room and calls it done.
Keep It Clean Longer: Daily Habits
- Clean the lint screen before or after every load — no exceptions.
- Don’t overload the dryer; crammed loads shed more lint and dry poorly.
- Use the moisture-sensor/auto-dry setting instead of timed dry to reduce lint and energy waste.
- Keep the area behind the dryer clear so the duct isn’t crushed.
- Check the exterior hood a few times a year for nests and debris.
A clean dryer vent is also an energy upgrade — a dryer breathing freely uses noticeably less electricity per load. For the bigger efficiency picture, walk through our home energy audit guide, and add vent cleaning to your fall routine alongside our whole-home winterizing checklist.
The Bottom Line
A $20 brush kit, 45 minutes, once a year. That’s all it takes to eliminate one of the most common — and most preventable — causes of house fires, while making your dryer faster and cheaper to run.
