

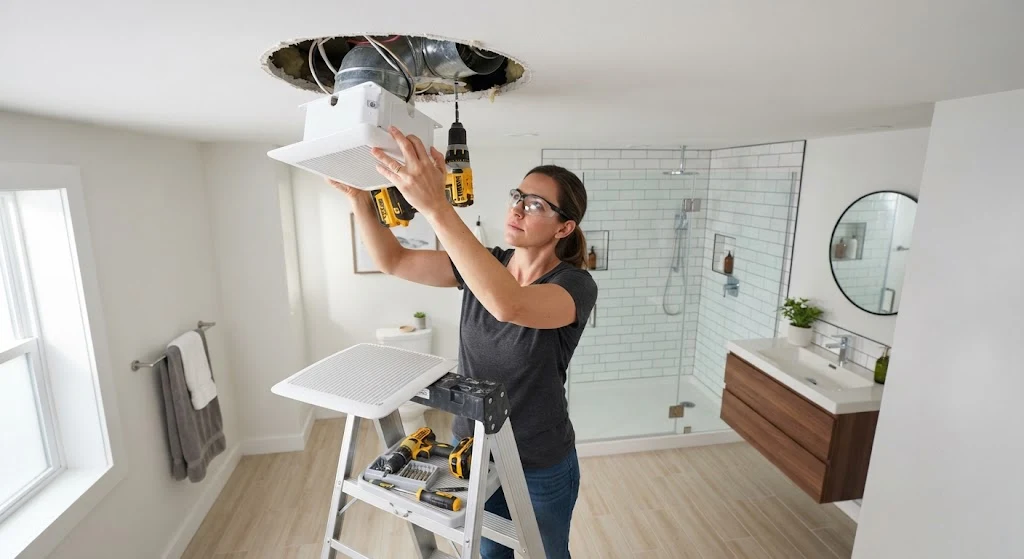
A bathroom exhaust fan does more than clear a foggy mirror after a hot shower. It pulls moist, odor-filled air out of your home before it can soak into drywall, warp trim, or feed mold behind your walls. If your bathroom doesn’t have one — or the one you have is weak, noisy, or on its last legs — installing a new vent fan is one of the most valuable upgrades you can make in a single weekend.
This guide walks you through the entire process, from choosing the right fan to routing the duct outdoors and wiring everything safely. It’s based on the same tried-and-true method professional contractors use, broken down into clear, beginner-friendly steps.
Skill Level: Moderate (3 out of 5) — can become more challenging depending on how far you need to run the duct to the outside Estimated Cost: $120–$175 Estimated Time: 6–8 hours
Why Every Bathroom Needs a Vent Fan
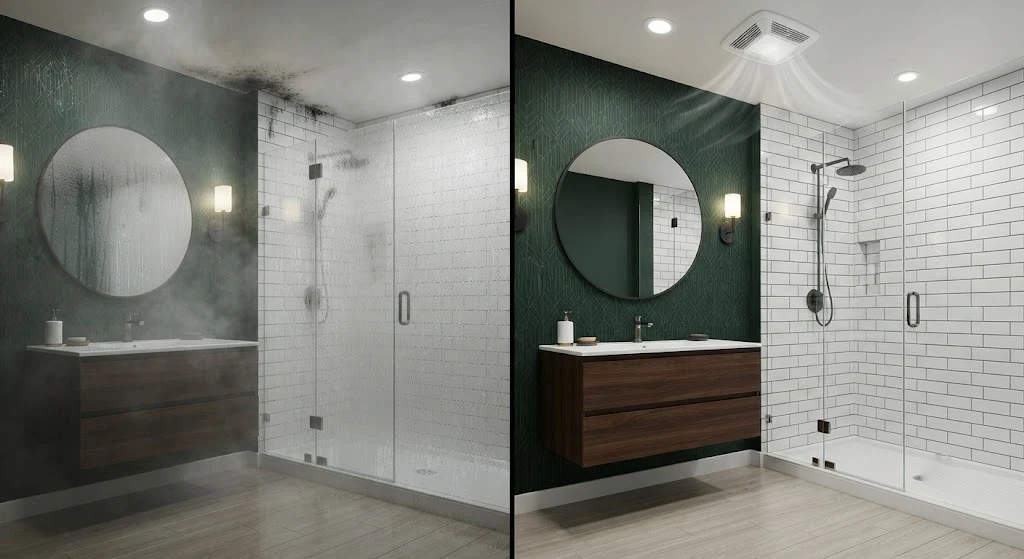
Think of a bathroom without ventilation like a fireplace without a chimney. Every hot shower sends a wave of humid air into the room, and if that moisture has nowhere to go, it doesn’t just disappear — it seeps into walls and ceilings, where it can trigger mold growth, peel wallpaper, and blister paint. Over time, trapped humidity can even damage subflooring and wood framing.
A properly sized and installed vent fan solves this by pulling that moist air out of the house entirely. That last part matters: the exhaust duct must terminate outside your home, through a roof cap or a sidewall cap. Never vent a bathroom fan into an attic, crawlspace, or any other enclosed space — doing so just relocates the moisture problem instead of solving it, and it’s one of the most common (and costly) ventilation mistakes homeowners make.
Choosing the Right Fan: CFM and Sone Ratings Explained
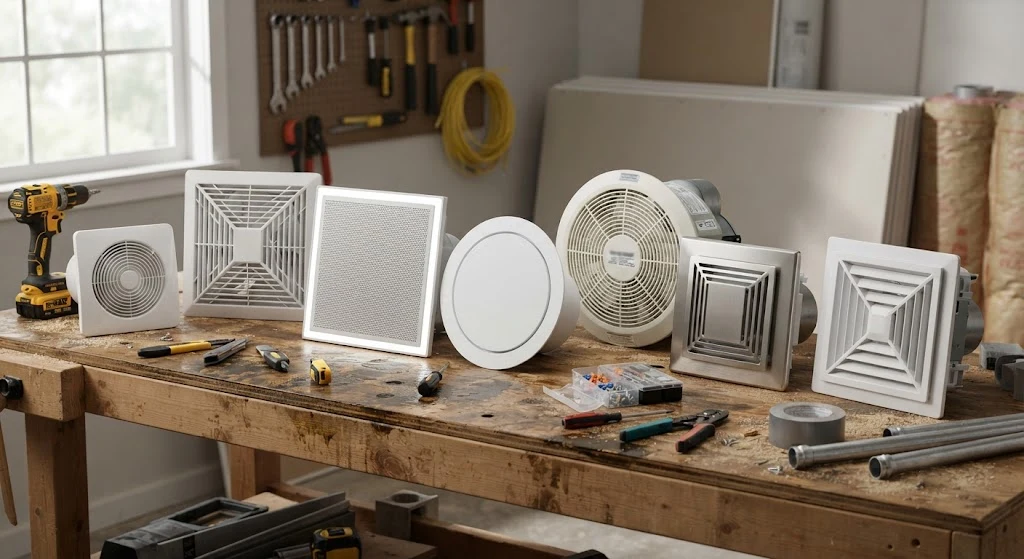
Before you buy a fan, you need to know two numbers: CFM and sones.
CFM (Cubic Feet per Minute) measures how much air the fan moves. To find the right CFM rating for your bathroom, multiply the room’s square footage by 1.1. For example:
- A 50-square-foot bathroom needs at least a 55 CFM fan
- A 100-square-foot bathroom needs at least a 110 CFM fan
- A 150-square-foot bathroom needs at least a 165 CFM fan
If your bathroom has a separate toilet room, a soaking tub, or a steam shower, it’s smart to round up to the next available fan size for extra performance.
Sones measure how loud the fan is while running. For reference, a typical modern refrigerator hums along at about 1 sone. Bathroom fans on the market range from ultra-quiet 0.5-sone models to noisier 6.0-sone units. Both the CFM and sone ratings are printed right on the fan’s packaging, so compare a few models before you buy.
Pro Tip: Look for a fan with a built-in timer. A timer lets the fan keep running for a set period after you leave the bathroom, so moisture gets fully cleared without you needing to remember to switch it off manually — a small feature that makes a big difference in humidity control.
Tools and Materials You’ll Need
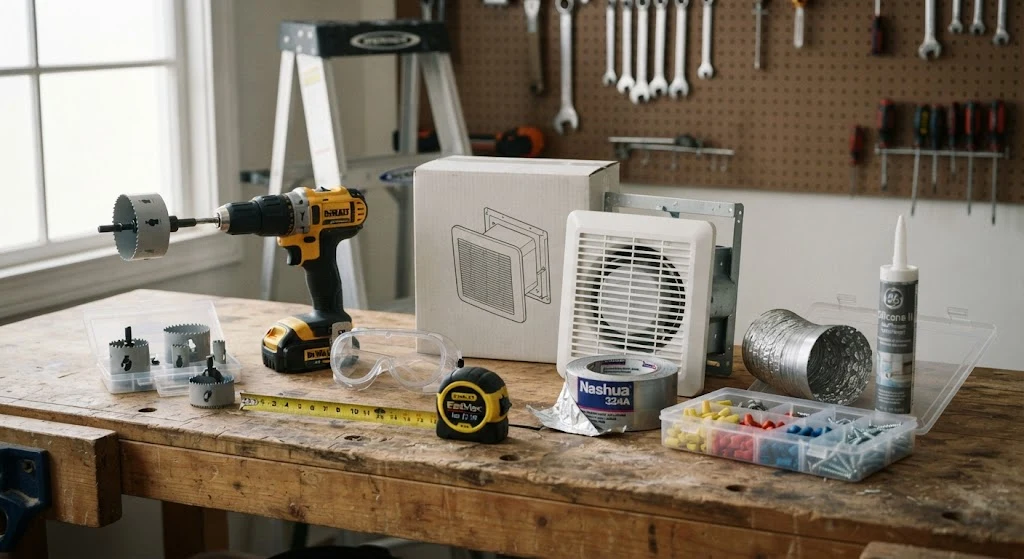
- Caulk gun
- Layout square (or framing square)
- Drill/driver
- Extra-long 3/8-inch spade bit
- 4½-inch hole saw bit
- Jigsaw (a reciprocating saw or drywall saw also works)
- Tape measure
- Safety goggles (and a respirator for drywall dust)
- Extension ladder
- Stepladder
- Vent fan kit (housing, duct, wall cap, and mounting brackets)
- Foil duct tape
- Silicone adhesive
- Stainless steel screws
- Wire nuts
If your bathroom sits below an accessible attic, you can run the exhaust duct across the attic and out through a gable end or sidewall, which is usually the easiest route. If you don’t have attic access, you may need to vent straight up through the roof instead — a slightly more advanced project best left to an experienced DIYer or a licensed contractor.
Step 1: Plan Your Fan Placement
Pick a location on the bathroom ceiling for the new fan. For the best moisture control, position it between the shower/tub and the toilet, since that’s typically where the most humidity collects.
Mark the spot, then drill a reference hole straight through the ceiling using your extra-long 3/8-inch spade bit. Climb into the attic and clear away any insulation surrounding the hole so you have a clear view.
Measure your fan housing’s dimensions and try to center it between two ceiling joists near your reference hole. Check for nearby plumbing pipes, wiring, or framing that might get in the way, and note the fan’s final position relative to your reference hole.
Step 2: Mark and Cut the Ceiling Opening
Back in the bathroom, measure the inside dimensions of the fan’s intake port — this tells you exactly how large to cut the ceiling opening. Use your reference hole as a landmark to transfer those measurements accurately from the attic to the bathroom ceiling below.
With a layout square, draw a clean rectangular outline for the cutout.
Put on your safety goggles and respirator, then cut along the lines with a jigsaw. As you near the final cut, support the waste piece with your free hand so it doesn’t drop suddenly and tear away surrounding drywall or plaster.
Step 3: Prep and Position the Fan Housing in the Attic
Back up in the attic, attach a 4-inch, 90-degree duct elbow to the outlet port on the fan housing, aiming it upward. Secure the connection with foil duct tape — it holds up far better over time than fabric-backed tape, which tends to dry out and peel away after a few years.
Remove the knockout panel on the side of the housing and install a cable connector in its place. Slide the four metal mounting brackets into the housing’s side tabs, then lower the fan into the ceiling opening, centering it over the hole.
Step 4: Secure the Fan to the Joists
Extend the mounting brackets outward until they touch the ceiling joists on both sides. Fasten each bracket with a single 1½-inch drywall screw. This keeps the fan rock-solid and prevents any wobble or shifting once it’s running — an unsecured fan can loosen over time and create rattling noise or duct leaks.
Slide one end of the flexible duct (included with your wall cap kit) over the elbow and seal it with foil duct tape. Feed your electrical cable through the connector and tighten the connector screw to hold it in place.
Step 5: Cut the Duct Exit Hole Through the Sidewall
From the attic, choose an exit point on the sidewall — ideally between two wall studs and within 6 feet of the fan for the shortest, most efficient duct run. Take a few reference measurements (distance from a window, soffit, or other landmark) so you can locate the same spot from outside the house.
Transfer those measurements to mark the hole on your exterior siding, then cut through with a 4-inch hole saw.
Step 6: Install the Wall Cap and Connect the Duct
Attach a 12-inch connector duct to the wall cap using foil duct tape. From outside, slide the wall cap assembly into the hole and press it snugly against the siding. If there are any gaps where the cap doesn’t sit flush, cut a foam-rubber gasket to fill them.
Pull the cap back off, apply a bead of silicone adhesive around the hole and gasket, then reinsert the cap and press it firmly into place. Secure it with four 1½-inch stainless steel screws.
Back in the attic, stretch the flexible duct over to the wall cap’s connector duct and tape the connection with foil duct tape.
Pro Tip: Whenever possible, vent through a sidewall rather than the roof — it’s usually a shorter, simpler duct run and reduces the risk of roof leaks. If you live somewhere with cold winters, use a cold-weather-rated duct tape at the wall cap joint, since standard tape can lose its grip in freezing temperatures.
Step 7: Make the Electrical Connections
From inside the bathroom, remove the blower motor from the fan housing and set the screws aside. Then unscrew the built-in receptacle to expose the housing’s wiring.
Using wire nuts, connect matching wire colors from your electrical cable to the housing’s wiring — white to white, black to black. Wrap the bare copper grounding wire around the green grounding screw inside the housing and tighten it securely. Reinstall the receptacle using the screws you set aside earlier.
Safety Note: Always shut off power at the breaker before working with any electrical wiring, and confirm the circuit is dead with a voltage tester before touching bare wires.
Step 8: Attach the Blower Motor and Grille
Lift the blower motor back up and plug it into the receptacle inside the housing, then secure it with its original screws.
Hold the fan’s grille cover up to the ceiling and slide its mounting wires into the slots inside the housing. Push firmly until the grille sits flush and tight against the ceiling.
Finally, restore power at the breaker and test the fan.
Pro Tip: If the grille doesn’t sit tightly against the ceiling, gently spread its mounting wires apart to increase tension and pull it snug.
Bathroom Vent Fan Maintenance Tips
Once your fan is installed, a little upkeep goes a long way:
- Clean the grille every 3–6 months. Dust buildup restricts airflow and reduces the fan’s effectiveness.
- Run the fan during and 15–20 minutes after every shower to fully clear humidity from the room.
- Check the exterior wall cap annually to make sure the flap opens freely and isn’t blocked by debris, nests, or paint buildup.
- Listen for changes in sound. A sudden increase in noise or vibration often signals a loose bracket or a worn motor bearing.
Final Thoughts
Installing a bathroom vent fan is one of those projects that pays for itself many times over — it protects your home from hidden moisture damage, keeps mold and mildew at bay, and makes your bathroom more comfortable to use every single day. While the job involves cutting into your ceiling and running duct through the attic, it’s well within reach for a confident DIYer with a free weekend and the right tools.
Take your time with the layout and duct routing steps — that’s where most installation headaches happen — and always route your exhaust fully outdoors. Do it right, and your new fan will quietly protect your bathroom (and your home’s structure) for many years to come.
