

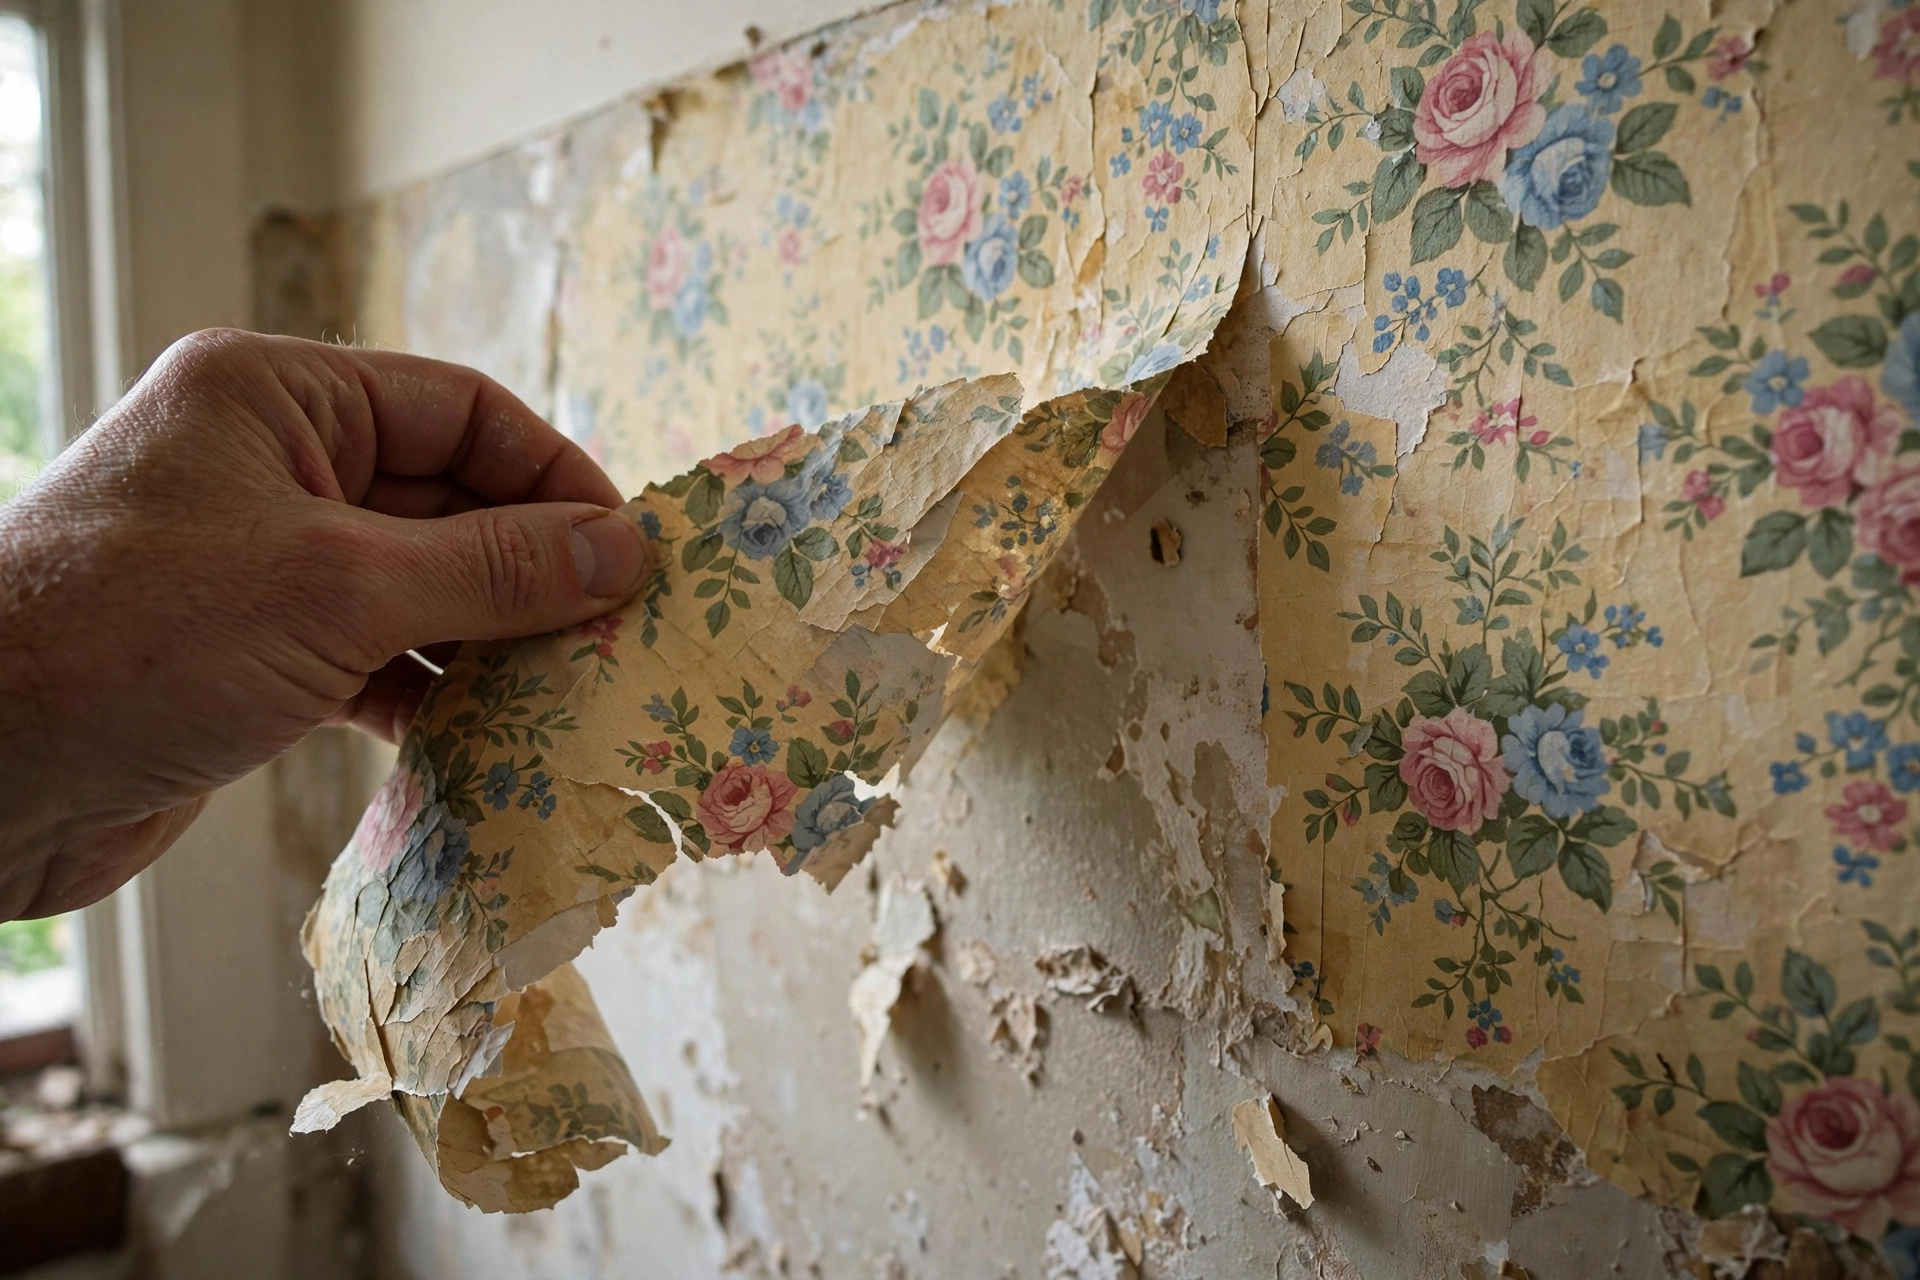
That Wallpaper Has to Go — Without Taking the Wall With It
Removing wallpaper is one of those jobs with a terrifying reputation — and an undeserved one. Yes, it can go badly: gouged drywall, shredded plaster, paste that won’t quit. But nearly every wallpaper disaster comes from the same mistake: attacking it without first identifying what kind of wallpaper (and wall) you’re dealing with. Spend 15 minutes on diagnosis, use the right method, and most rooms strip cleanly in a weekend. Here’s the full playbook.
Step 1: Identify Your Wallpaper Type
Peel back a corner in an inconspicuous spot (behind a door or inside a closet):
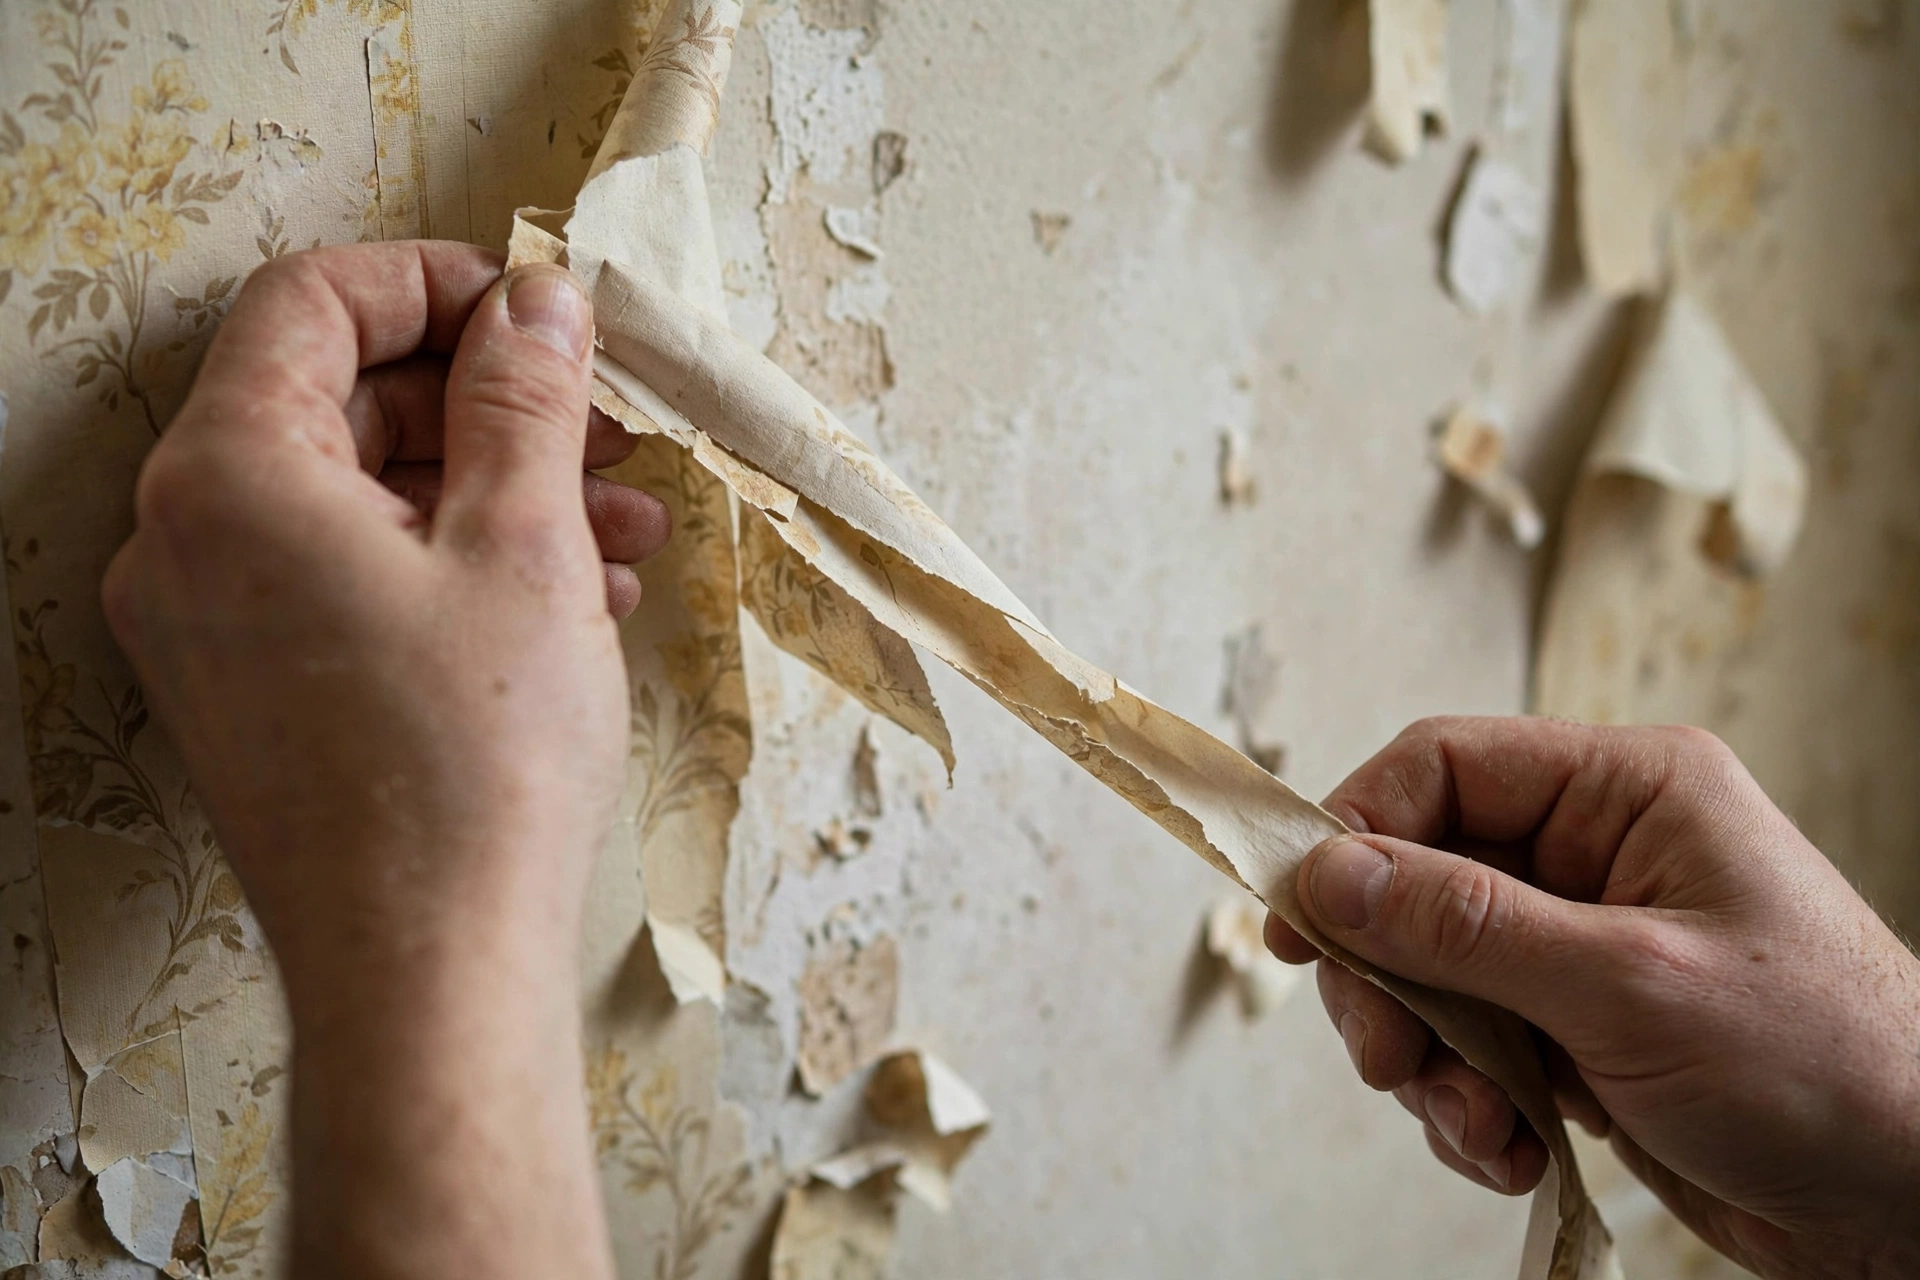
- Strippable: peels off in full dry sheets, leaving almost nothing behind. The dream scenario — just pull slowly at a low angle.
- Peelable: the top vinyl/plastic layer peels off, leaving a paper backing stuck to the wall. Remove the backing separately (it usually comes off with water).
- Traditional (pasted): the whole thing is glued down and comes off only with moisture or steam. The most common type in older homes.
- Painted-over wallpaper: the nightmare tier — paint seals the paper, blocking moisture. Requires scoring plus steam or chemicals, and patience.
Also identify your wall: drywall (most modern homes) is easily damaged by over-wetting and aggressive scraping — go gentle. Plaster (pre-1960s) is tougher and more forgiving. If the wall was never primed before papering (common in old houses), the paper may be bonded directly to raw drywall — expect some paper facing to come with it, and plan for skim-coating.
What You’ll Need
- Wallpaper scoring tool (like PaperTiger — creates tiny perforations for moisture to penetrate)
- Pump sprayer or large spray bottle
- Wallpaper steamer (rental ~$50/day — worth every penny for big jobs)
- 3–4 inch putty knife or wallpaper scraper (plastic for drywall, metal for plaster)
- Drop cloths and painter’s tape
- Bucket, sponges, clean water
- Liquid wallpaper remover or fabric softener (for the chemical method)
- Step ladder
Prep the Room
- Remove outlet and switch covers (turn off power to those circuits first).
- Tape over outlets and switches to keep moisture out.
- Lay drop cloths — this gets wet and messy.
- Move furniture out or to the center, covered.
Method 1: Dry Peel (Try This First)
Start at a bottom corner or seam: lift the edge with your putty knife and pull slowly downward at a low angle, keeping the strip as wide as possible. If it comes off in satisfying full sheets — congratulations, you have strippable wallpaper and the job just got easy. Work methodically around the room. Any backing left behind gets the water treatment below.
Method 2: Steam (Best for Stubborn Paper)
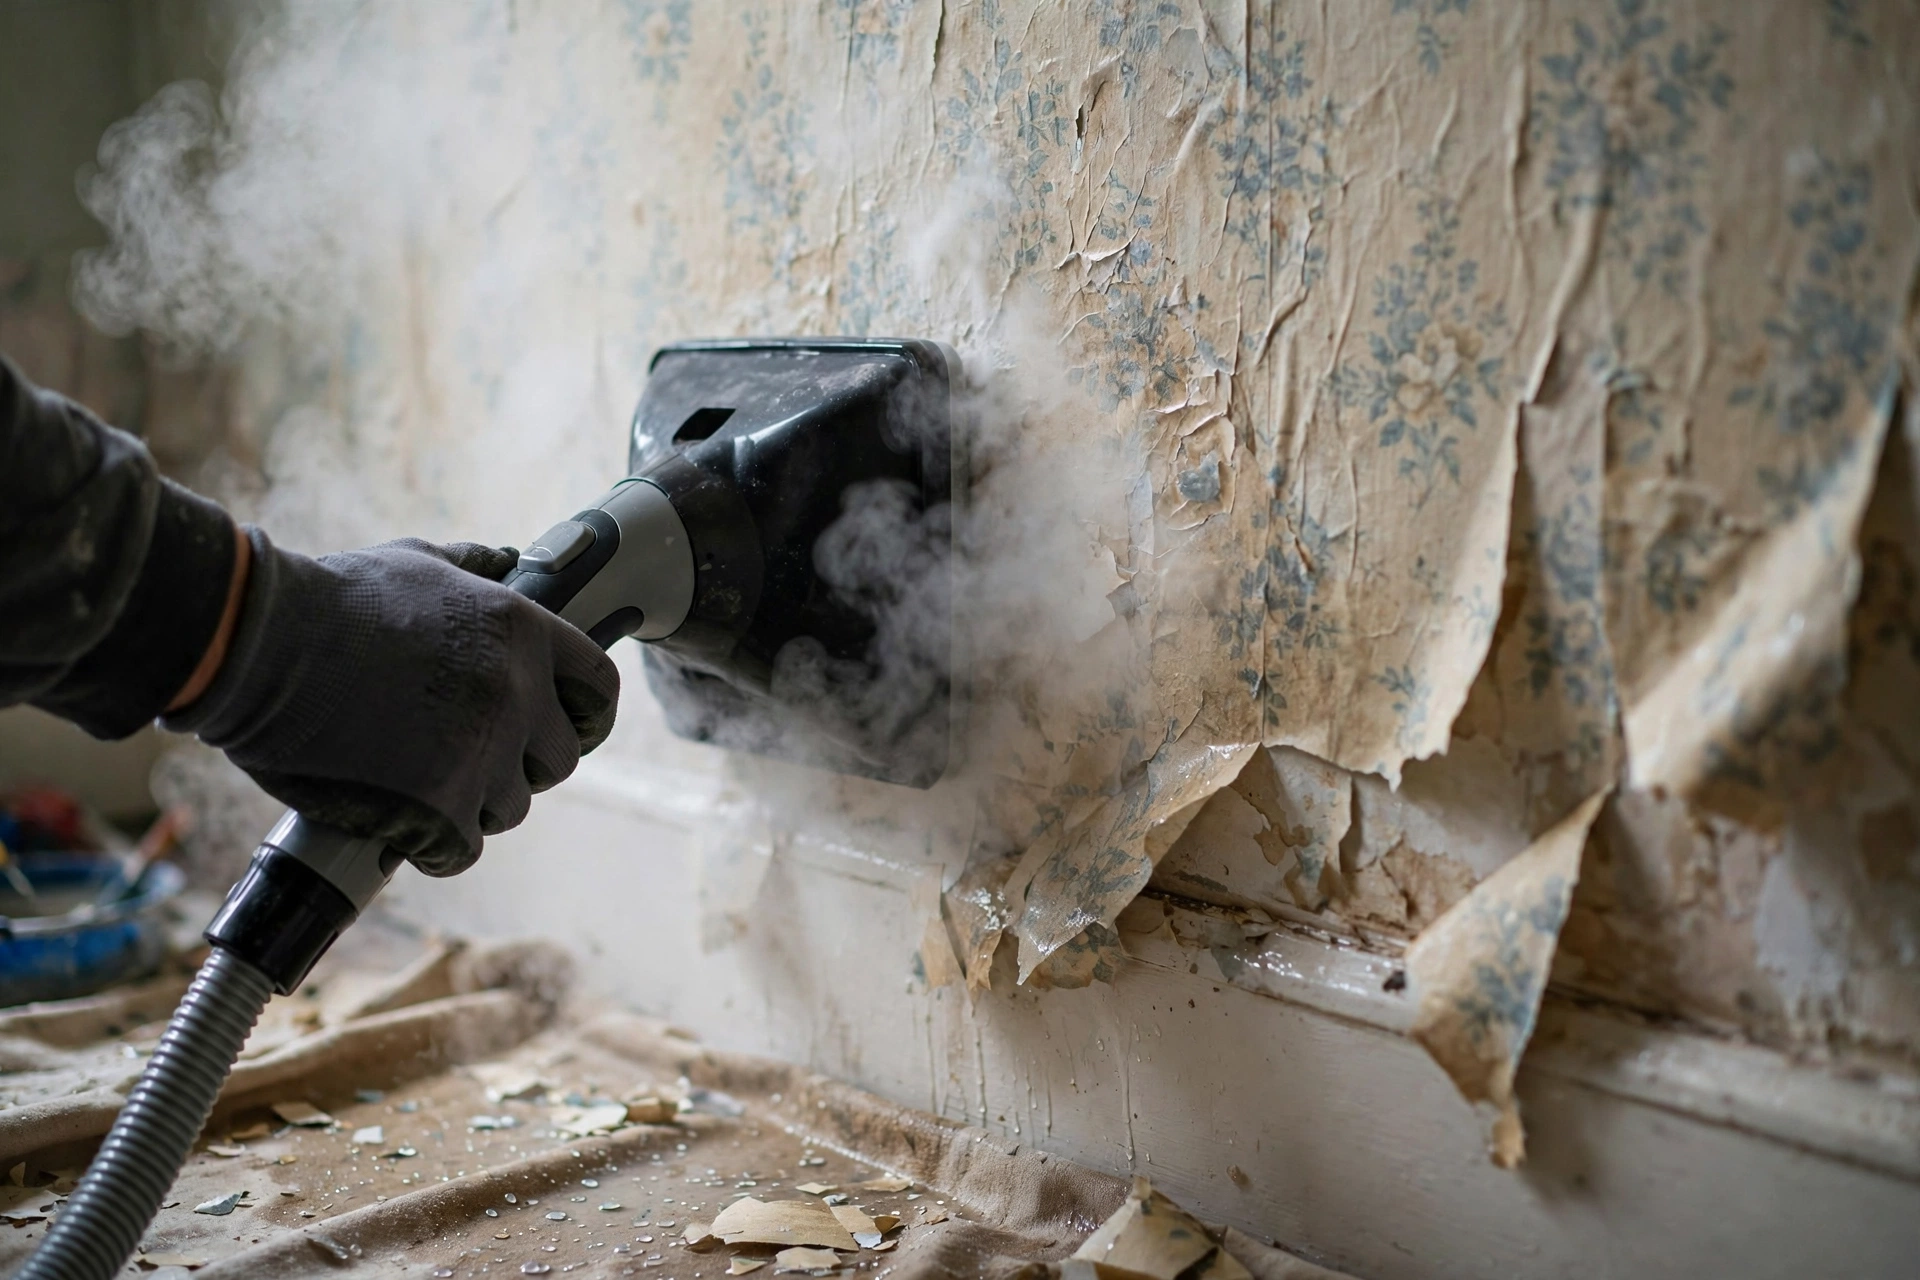
A steamer is the professional’s weapon of choice — it melts paste fast with minimal chemicals:
- Score the wallpaper first (skip scoring on strippable types — it damages the wall unnecessarily).
- Hold the steam plate on a section for 10–15 seconds until the paper bubbles.
- Scrape immediately while it’s hot and soft, working top to bottom.
- Move in 2-foot sections — steaming too large an area lets it cool and re-stick.
- Keep the plate moving; holding it in one spot too long can damage drywall.
Caution on drywall: steam + aggressive scraping = torn paper facing. Use a plastic scraper and light pressure; let the steam do the work.
Method 3: Water and Remover Solution
For traditional pasted wallpaper without a steamer:
- Mix hot water with liquid wallpaper remover per the label (or 1 part fabric softener to 1 part hot water as a DIY alternative).
- Score the paper, then spray or sponge the solution on generously.
- Wait 10–15 minutes — the key step most people rush. Let it soak.
- Scrape off the softened paper. Re-wet stubborn spots rather than forcing them.
This method is slower than steam but gentler — a good choice for delicate plaster or when you only have one wall to do.
Removing the Backing and Paste Residue
Getting the decorative layer off is only half the job. The backing paper and old paste must go too, or your new paint will bubble and peel:
- Re-wet the backing and scrape — it usually comes off much easier than the top layer.
- Wash the bare wall with hot water and a sponge, changing the water frequently. Some swear by adding a little vinegar or TSP substitute to cut paste.
- The touch test: run your hand over the damp wall — if it feels slimy or tacky, paste remains. Keep washing.
- Let the wall dry completely (24 hours) before assessing.
Repairing the Wall After Removal
Almost every wallpaper removal leaves some damage. Budget time for this — it’s what separates amateur results from professional ones:
- Fill gouges, tears, and nail holes with lightweight spackle; let dry.
- Sand smooth with 120-grit, then wipe dust with a damp cloth.
- For widespread paper-facing tears on drywall, skim-coat with joint compound (thin layers, two coats) — or seal torn areas with an oil-based primer to prevent bubbling.
- Prime the entire wall with a quality primer before painting — this is mandatory, not optional. Bare drywall and spackle absorb paint unevenly.
Now the wall is ready for paint — our paint finish guide helps you pick the right sheen for each room once the walls are prepped.
Difficult Cases
- Painted-over wallpaper: score deeply, steam aggressively, and accept it’ll take 2–3x longer. If there are multiple paint layers over the paper, removal may damage the wall enough that skim-coating the whole wall (or even new 1/4-inch drywall over it) is more economical.
- Multiple layers: remove one layer at a time; don’t try to take them all at once.
- Wallpaper on unprimed drywall: the paper facing will likely tear. Seal torn spots with oil-based primer, skim-coat, and move on — it’s fixable.
- Border only: borders are usually the easiest removal in the house — often strippable. Start here to build confidence.
How Long Does It Take? (Honest Estimates)
- Strippable wallpaper, average bedroom: 3–5 hours.
- Traditional pasted, average bedroom: 1–2 days.
- Painted-over or multi-layer, average bedroom: 2–4 days.
- Add a full day for wall repair and priming in most cases.
Lead Paint Warning (Pre-1978 Homes)
Important: if your home was built before 1978, the paint under or over that wallpaper may contain lead. Disturbing it through scraping, sanding, or steaming creates hazardous lead dust. Before starting: use an EPA-recognized lead test kit on the paint layers ($15–$30). If positive, follow EPA RRP (Renovation, Repair, and Painting) safety practices — containment, HEPA vacuuming, no dry scraping — or hire a lead-certified contractor. This isn’t optional caution; it’s federal law for pros and genuine health protection for your family.
Removing Wallpaper From Ceilings
Ceilings are the same process, just harder on your body:
- Work in small sections — gravity pulls loosened paper down onto you.
- A steamer is almost mandatory here; spray-and-wait drips everywhere.
- Wear eye protection and a hat — hot paste water in the eyes is miserable.
- Consider a drywall stilts or scaffold plank setup instead of constantly repositioning a ladder.
- Honestly assess: ceiling removal is where most DIYers call a pro, and there’s no shame in it.
Tools: Buy vs. Rent
- Buy: scoring tool ($10), putty knives, sprayer, drop cloths — cheap and useful for future projects.
- Rent: wallpaper steamer ($40–$60/day) — unless you’re doing the whole house, renting beats buying a $150+ unit you’ll use twice.
- Skip: gimmicky “wallpaper removal sprays” at 5x the price of concentrate — the active ingredients are the same.
When to Call a Pro
Consider professional removal ($1–$3 per sq ft) if: the wallpaper is painted over with multiple coats, the walls are damaged plaster needing restoration, you have 500+ sq ft to strip, or you’ve spent a full day with little progress — pros with commercial steamers work dramatically faster. Sometimes the smart money is admitting the job beat you early rather than late.
Preventing Regret: Before You Re-Paper
If you’re removing wallpaper to hang new wallpaper: always prime first with a wallpaper-specific primer — it’s what makes the next removal easy. Future-you will be grateful.
After Removal: Paint or Re-Paper?
With the wall finally clean, you have a choice. Fresh paint is the popular move — modern, easy to change later. But wallpaper is back in style: today’s peel-and-stick options go up in hours and come off cleanly (the strippable dream, by design). If you re-paper, that wallpaper-specific primer mentioned earlier is what guarantees the next removal is a Method 1 dry peel instead of a weekend saga.
The Bottom Line
Identify the type, score it, soak or steam it, scrape gently, wash the paste, repair, prime. Patience beats force at every step — the wall underneath will thank you.
