

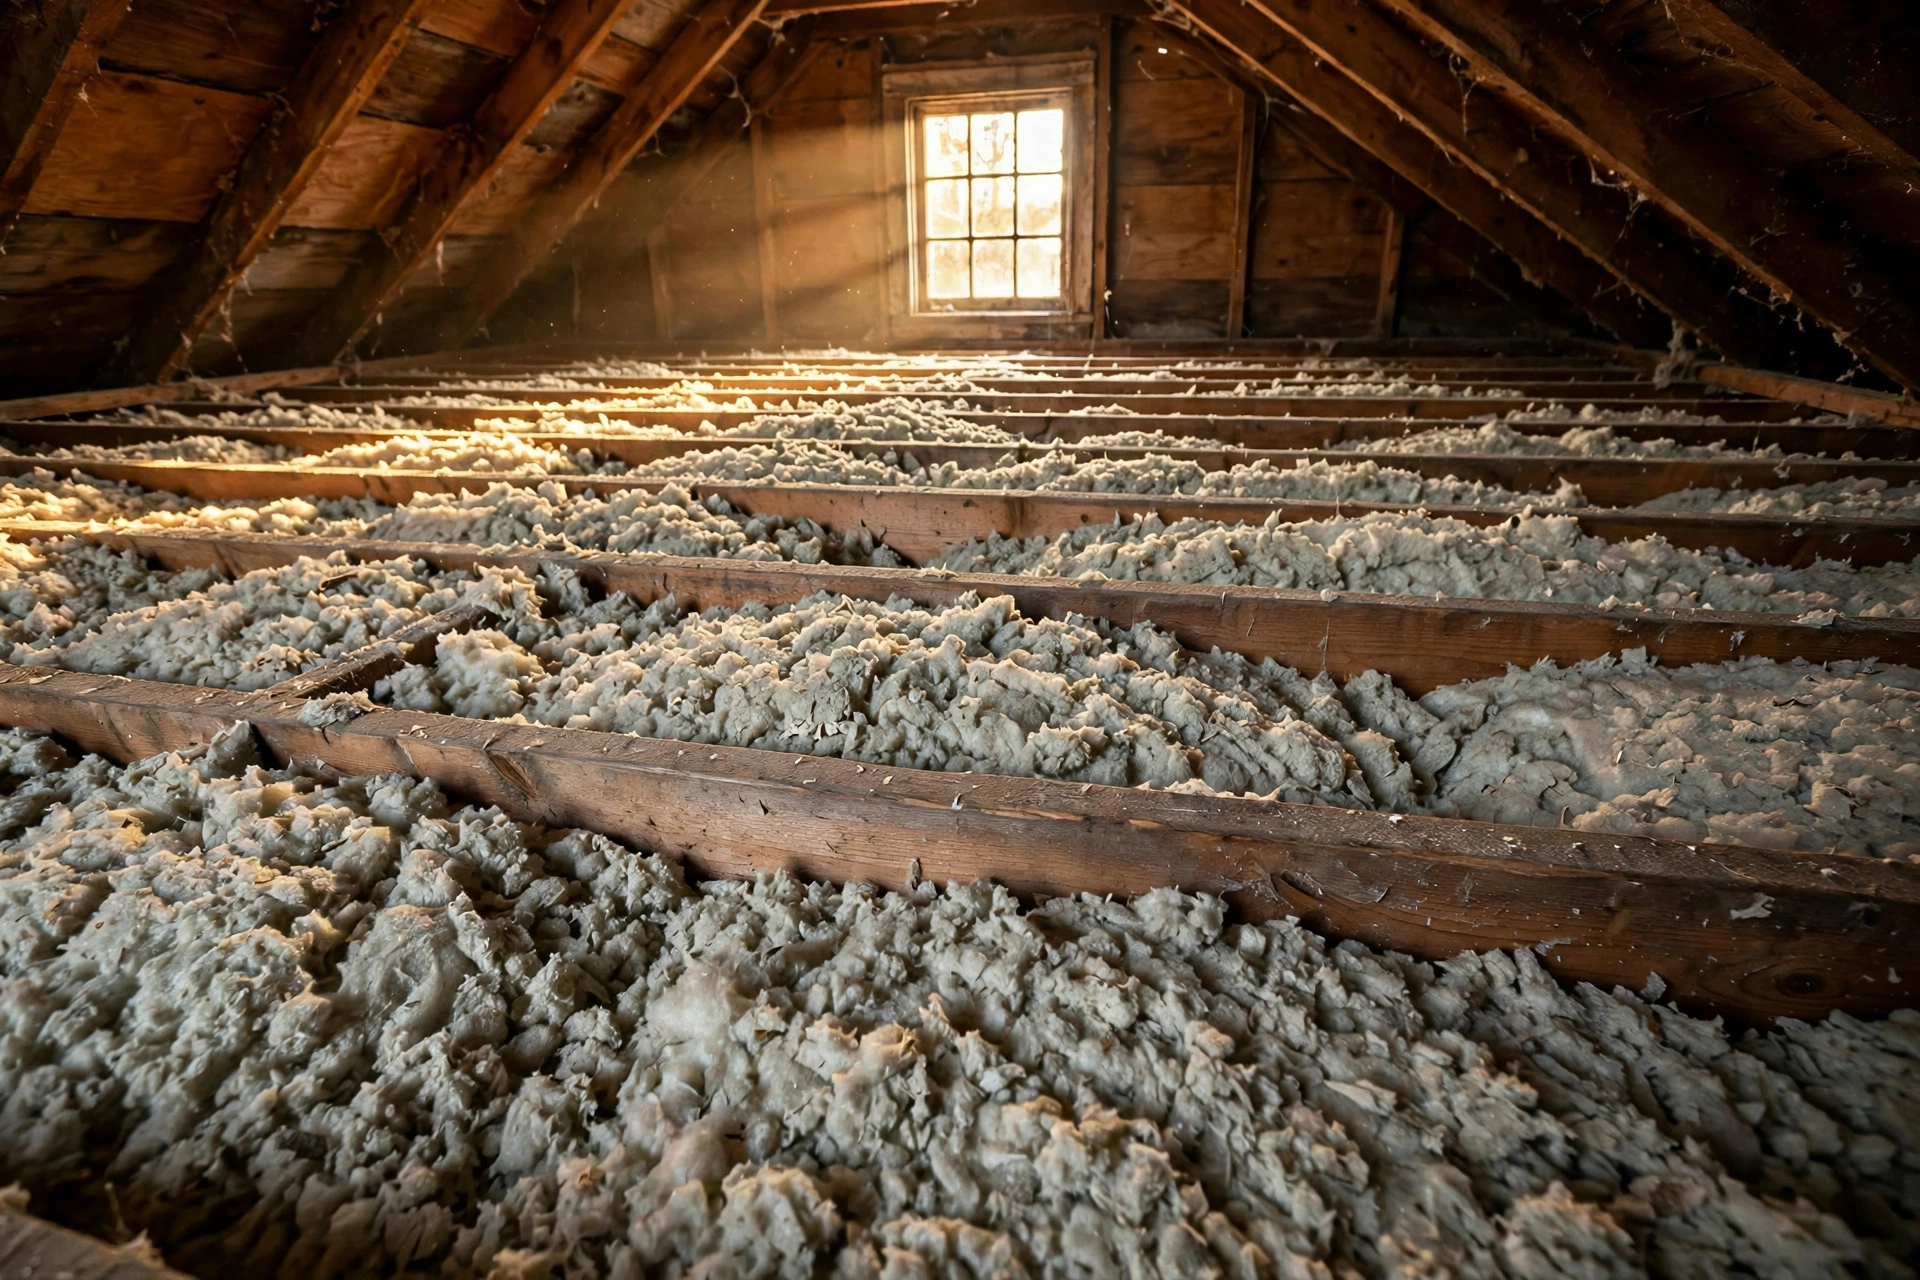
Your Attic Is Where Your Money Escapes
Here’s a number that surprises most homeowners: up to 25% of a home’s heating and cooling energy can be lost through an under-insulated attic. Warm air rises — it’s physics — and in winter it rises straight through a thin layer of old insulation into the cold attic and out through the roof. In summer, the process reverses: a superheated attic radiates warmth down into your living space, forcing the AC to work overtime. Proper attic insulation is one of the highest-ROI upgrades in homeownership, often paying for itself in 2–4 years through lower energy bills.
R-Value Explained (The Only Spec That Matters)
Insulation is rated by R-value: resistance to heat flow. Higher is better. An R-38 batt resists roughly twice as much heat transfer as R-19. But R-value is only meaningful at the installed thickness — compressing a fluffy batt into a tight cavity crushes its air pockets and destroys its rating. Depth matters as much as material: most attics need 12–15 inches of blown insulation or equivalent to hit modern targets.
How Much Insulation Do You Need? (By Climate Zone)
The Department of Energy recommends attic R-values based on your climate zone:
- Zones 1–2 (hot climates — Florida, Southern Texas, Arizona): R-30 to R-49
- Zones 3–4 (mixed climates — much of the Southeast, Mid-Atlantic): R-38 to R-60
- Zones 5–7 (cold climates — Northeast, Midwest, Mountain states): R-49 to R-60
- Zone 8 (extreme cold — Alaska): R-49 to R-60
Not sure of your zone? The DOE’s climate zone map is searchable by ZIP code. When in doubt, insulate to the higher end — extra R-value never hurts, and energy prices only go one direction.
Insulation Types Compared
Fiberglass Batts
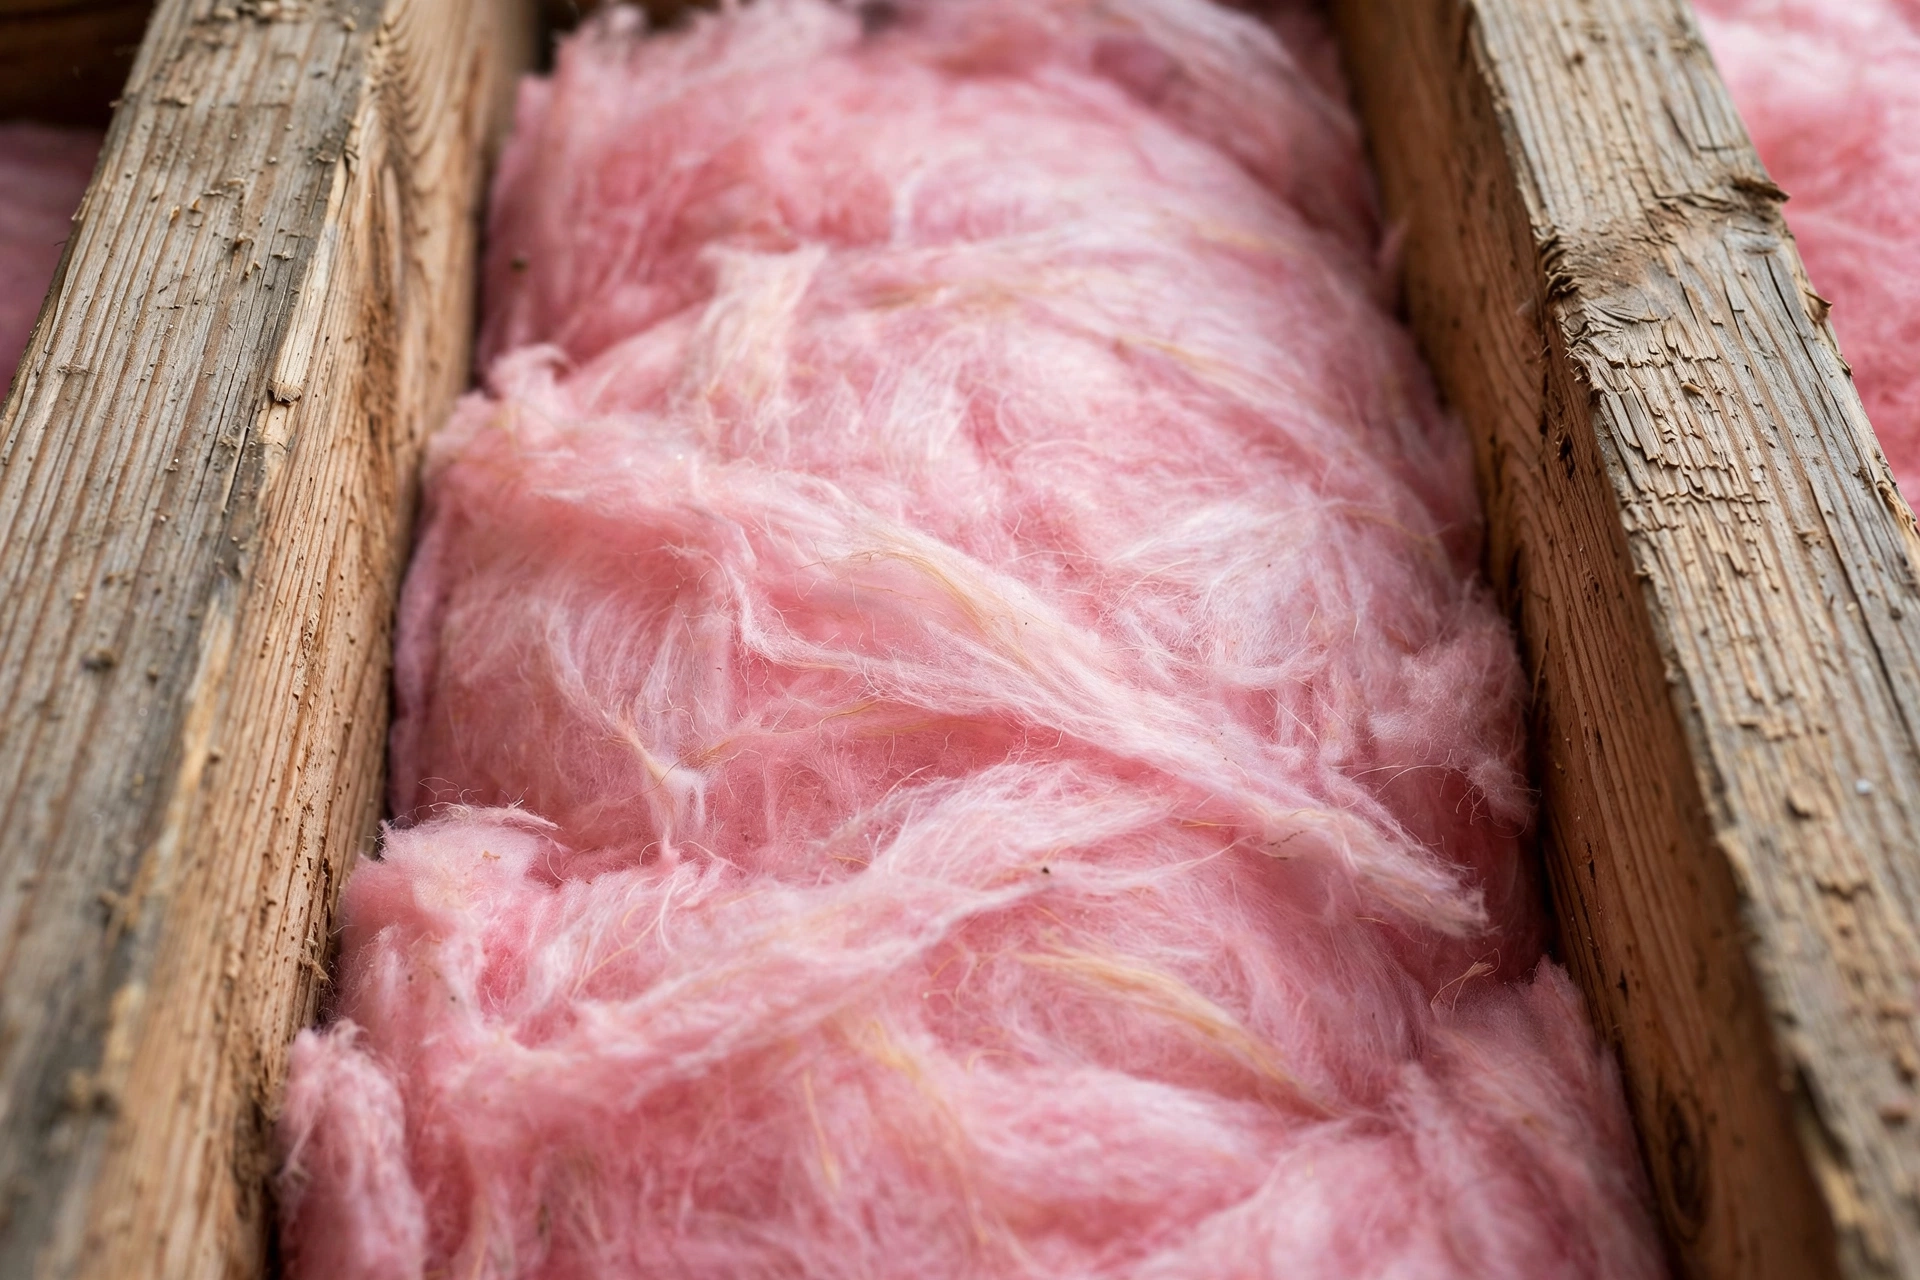
The familiar pink rolls. R-3.2 per inch. Cheapest material ($0.50–$1 per sq ft installed DIY), easy for homeowners to lay between joists. Downsides: gaps and compression kill performance, and it irritates skin and lungs during install — full protective gear is non-negotiable. Best for: accessible attics with standard joist spacing, DIY projects.
Blown-In Fiberglass
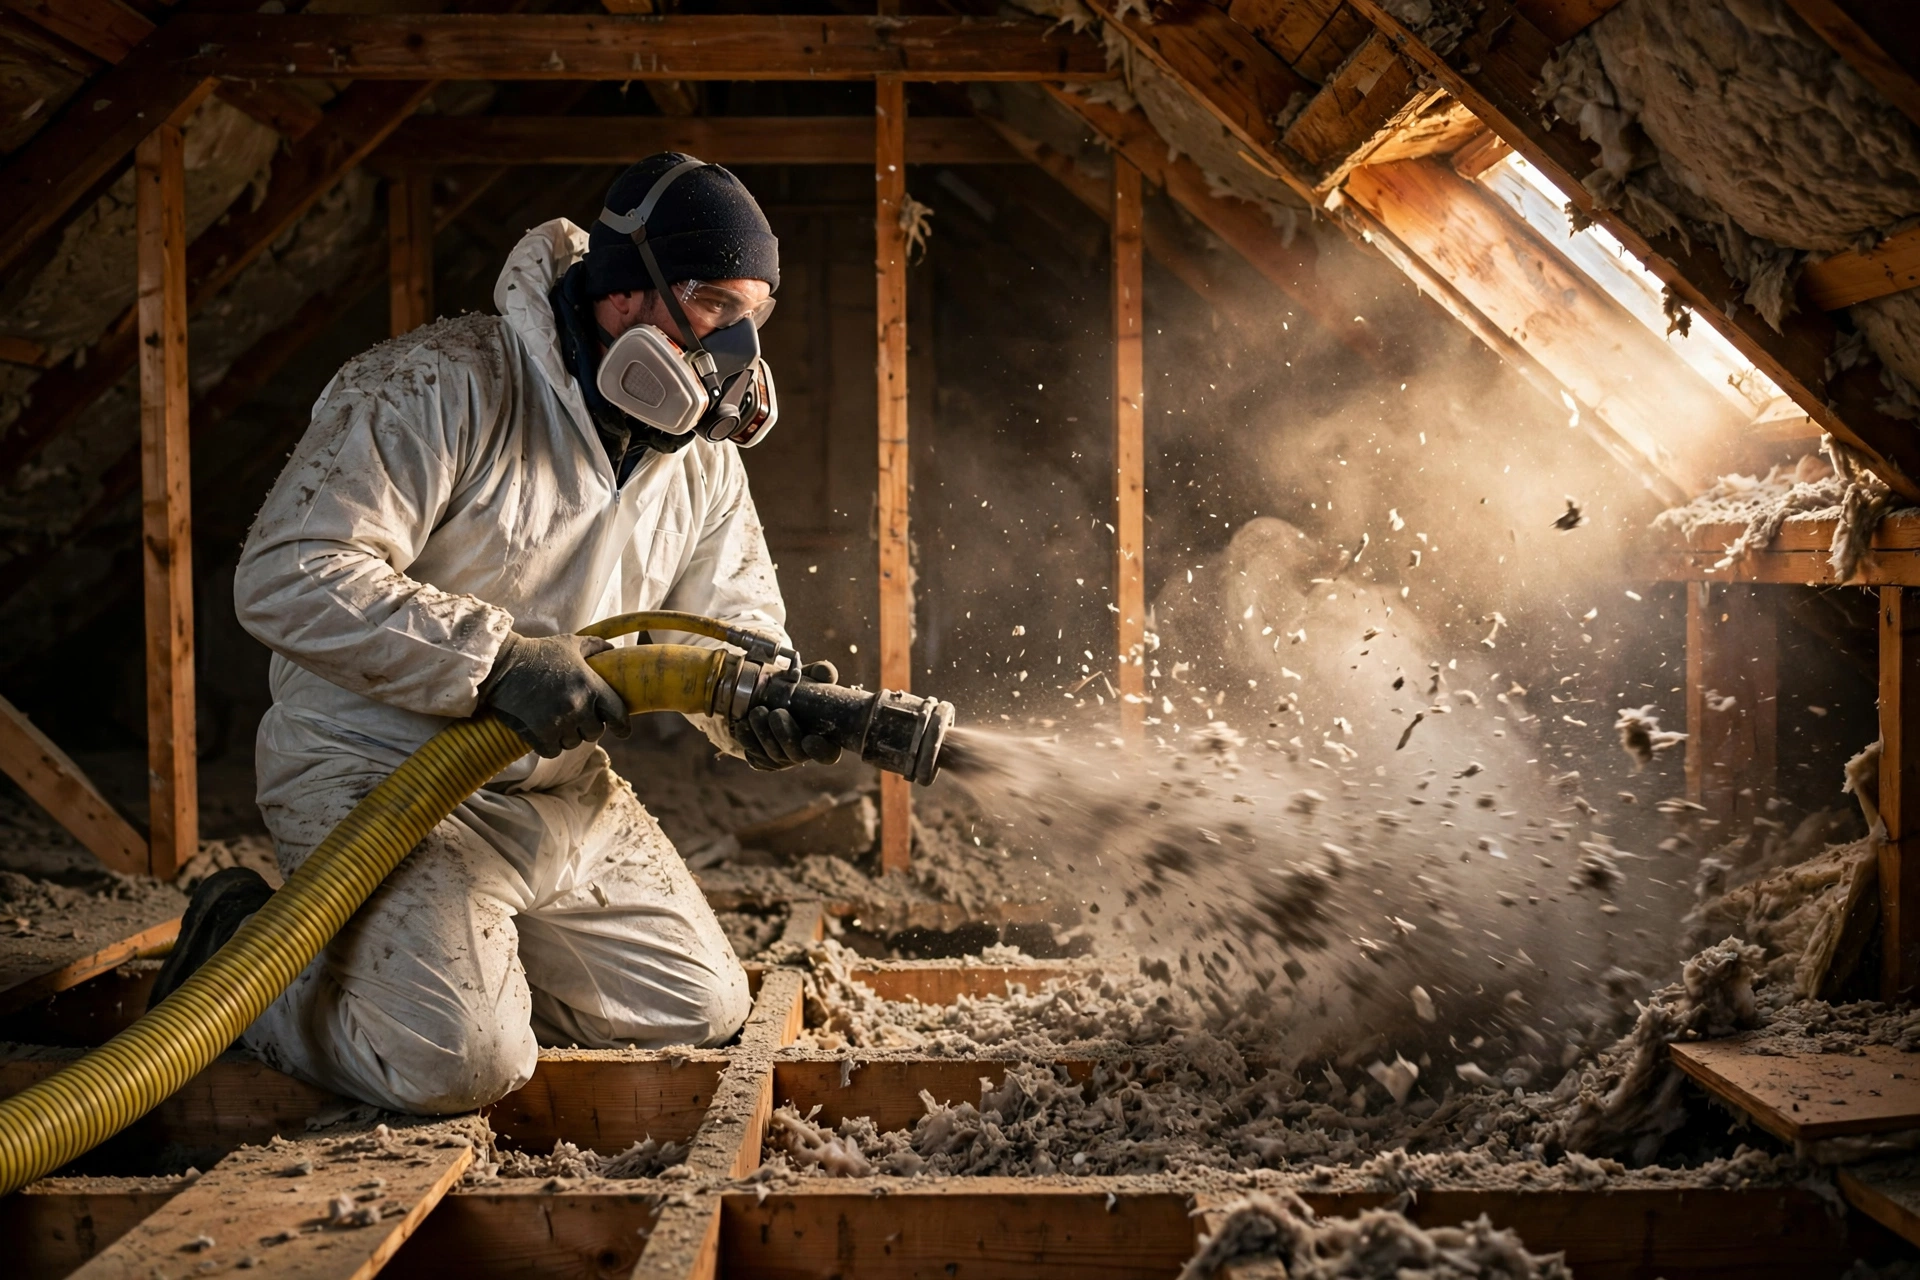
Loose fibers blown through a hose to a fluffy, seamless blanket. R-2.5 per inch. Around $1–$2 per sq ft professionally installed. Fills every nook and cranny with no gaps — the most common professional attic upgrade in America. Best for: topping up existing insulation, irregular attics.
Blown-In Cellulose
Recycled newspaper treated with fire retardant, blown in like fiberglass. R-3.5 per inch — denser, so it resists air movement better. $1–$2 per sq ft installed. Excellent eco-credentials. Watch for: it settles slightly over time (pros account for this by over-blowing), and it must stay dry — roof leaks turn it into a soggy mat.
Spray Foam (Open-Cell and Closed-Cell)
The premium option. Open-cell: R-3.5 per inch, $1.50–$3 per sq ft. Closed-cell: R-6.5 per inch, $3–$5+ per sq ft, and it adds structural rigidity plus a vapor barrier. Both air-seal and insulate in one step — nothing else does that. Downsides: cost, and it must be installed by trained pros with proper ventilation. Best for: attics being converted to conditioned space, rim joists, hard-to-reach cavities.
Mineral Wool (Rockwool)
Spun volcanic rock. R-3 to R-4.2 per inch, naturally fire-resistant to over 2,000°F, water-repellent, and excellent at sound dampening. $1.50–$3 per sq ft. Heavier and pricier than fiberglass, but arguably the best all-around batt material. Best for: homeowners who want premium batts without spray foam’s cost.
How to Check What You Have Now
Grab a flashlight, a tape measure, and a dust mask, and head up:
- Measure the depth of insulation in several spots. Less than 10–11 inches of older material almost certainly means you’re under-insulated.
- Identify the type: fluffy gray-white (blown fiberglass), dense gray (cellulose), pink rolls (batts), yellowish rigid boards (foam).
- Look for gaps, compressed areas, and spots where you can see joists or drywall — every bare patch is a thermal hole.
- Check for moisture, mold, or pest damage — wet insulation insulates poorly and must be removed, not covered.
The Step Everyone Skips: Air Sealing First
This is the most important section of this guide. Insulation slows heat flow; it does not stop air flow. Warm air leaking through gaps around light fixtures, plumbing vents, chimneys, and the attic hatch bypasses insulation entirely — like wearing a down jacket left unzipped. Before adding a single inch of insulation:
- Seal gaps around penetrations with caulk (small gaps) or expanding foam (larger ones).
- Build or buy an insulated attic hatch cover — the hatch is often the leakiest square foot in the house.
- Keep insulation 3 inches from recessed lights unless they’re IC-rated; use metal flashing + caulk around chimneys (never foam against a hot flue).
Pros consider air sealing half the job. Skip it and your expensive new insulation underperforms from day one. Our home energy audit guide shows how to find these leaks systematically.
Don’t Suffocate Your Attic: Ventilation Rules
More insulation without proper ventilation causes moisture problems. Soffit vents (under the eaves) must stay clear — install baffles/rafter vents before blowing insulation so airflow from soffit to ridge vent isn’t blocked. A good rule of thumb: 1 sq ft of net free vent area per 150 sq ft of attic floor (1:300 with a vapor barrier). Blocked soffits + new insulation = condensation, mold, and rotted roof decking.
Insulate the Floor or the Roof? (Vented vs. Unvented Attics)
Most homes have vented attics: insulation lies on the attic floor, and the attic itself stays cold and ventilated. This is the standard, cheapest approach and what this guide assumes. But some homes — especially with HVAC equipment or finished rooms in the attic — use unvented (conditioned) attics, where spray foam goes directly under the roof deck and the attic becomes part of the home’s thermal envelope.
Converting a vented attic to unvented is a bigger project (it changes how the roof assembly handles moisture and usually requires closed-cell foam plus careful detailing), so don’t mix the approaches casually. If your attic holds ductwork or an air handler, though, it’s worth pricing: ducts in a 130°F vented attic lose enormous energy, and bringing them inside the envelope via an unvented assembly can be the single biggest efficiency win in the house.
What About Radiant Barriers?
In hot, sunny climates you may hear about radiant barriers — reflective foil stapled under the roof deck that reflects radiant heat rather than slowing conductive heat like insulation does. They can shave a few percent off cooling costs in places like Arizona or Texas, especially stapled to rafters in a vented attic. But they’re a supplement, not a substitute: a radiant barrier with thin insulation underperforms plain thick insulation in almost every climate. Do the insulation first; consider a radiant barrier only after you’ve hit your R-value target and still want more.
DIY vs. Hiring a Pro
- DIY batts: very doable — $500–$1,000 in materials for an average attic. Wear a respirator, gloves, long sleeves, and eye protection.
- DIY blown-in: home centers often lend the blower free with a minimum insulation purchase. A two-person job (one feeding the machine, one in the attic). $700–$1,500.
- Pro blown-in: $1,500–$3,500 for a typical 1,000 sq ft attic — done in half a day, includes air sealing if you ask.
- Spray foam: pro-only, $3,000–$8,000+.
2026 Cost Guide and Payback
For a 1,000 sq ft attic brought up to R-49: DIY batts or blown-in run $700–$1,500; professional blown-in runs $1,500–$3,500; spray foam runs $3,000–$8,000. The DOE estimates proper attic insulation and air sealing can cut heating and cooling costs by 15%. On a $2,400 annual energy bill, that’s $360/year — a DIY job pays for itself in about 2–3 years, a pro job in 4–8. Few home upgrades beat that math.
Rebates and Tax Credits (Don’t Leave Money on the Table)
Check three places before you buy: your utility company (many offer $200–$500 insulation rebates), your state’s energy office, and federal tax credits under the Inflation Reduction Act (the Energy Efficient Home Improvement Credit covers 30% of insulation costs up to annual caps — verify current rules at energystar.gov/rebates, as programs evolve). A quick call to your utility can shave hundreds off the project.
Bonus: Insulation Prevents Ice Dams
If you get icicles and ice ridges at your roof edge in winter, poor attic insulation is a prime suspect — heat escaping melts roof snow, which refreezes at the cold eaves. Fixing insulation plus air sealing is the permanent cure; see our guide to preventing ice dams for the full picture.
Common Mistakes to Avoid
- Insulating over knob-and-tube wiring. If your older home still has active knob-and-tube, insulation must not cover it — it’s a fire hazard. Get an electrician’s sign-off first.
- Blocking soffit vents with blown insulation (use baffles, as covered above).
- Forgetting the attic hatch. An uninsulated hatch is a 2-square-foot hole in your thermal envelope.
- Mixing faced and unfaced batts incorrectly. The vapor retarder (paper facing) always goes toward the warm side — facing down toward the living space. Double vapor barriers trap moisture.
- Walking on the drywall ceiling between joists — step only on joists or laid plywood, or you’ll be repairing a ceiling too.
The Bottom Line
Measure what you have, air-seal every gap, keep the soffits breathing, then blow or lay insulation to your zone’s R-value. It’s unglamorous work in a hot, cramped attic — and one of the smartest dollars-per-dollar upgrades a homeowner can make.
