

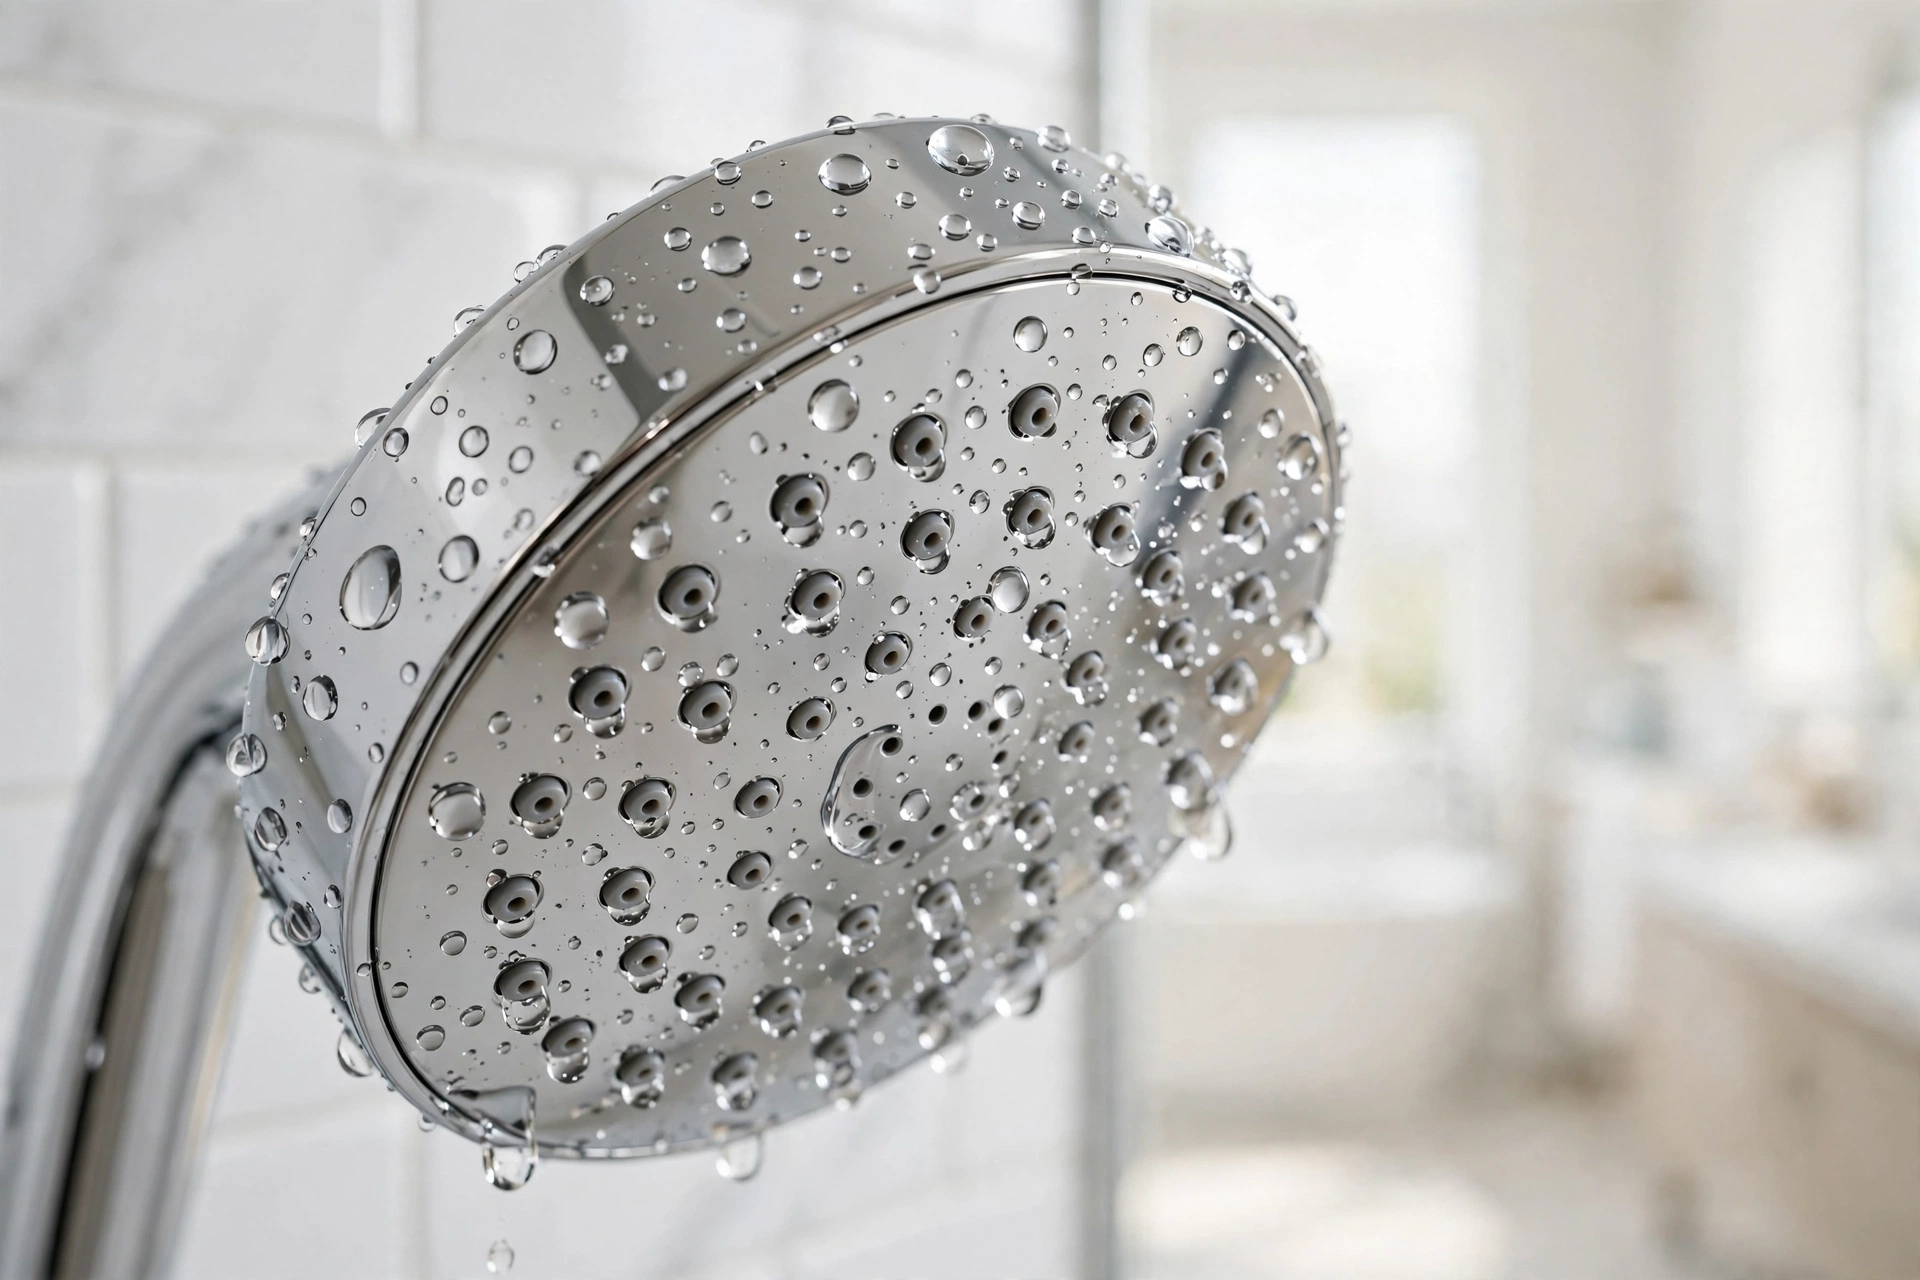
That Drip Is Costing You More Than Sleep
A shower head that drips constantly isn’t just annoying — it wastes water and money. A shower head dripping at one drip per second wastes over 3,000 gallons a year, and if it’s leaking from the connection while the shower runs, you’re losing hot water you paid to heat. The good news: most shower head leaks are fixed in under 30 minutes with a wrench, some Teflon tape, and maybe a $3 washer. Here’s how to diagnose and fix yours.
First: Find Exactly Where It’s Leaking
The fix depends on the leak’s location. Run the shower, then turn it off and watch:
- Drips from the shower head face after shutoff: usually residual water draining (normal for a minute or two) — but if it continues for 10+ minutes, the shower valve (not the head) may be letting water through.
- Leak at the connection between head and shower arm: the most common fixable leak — loose connection, worn washer, or missing Teflon tape.
- Leak where the shower arm meets the wall: the arm’s threads need resealing — slightly more involved but still DIY.
- Spraying from cracks in the head body: the head itself is cracked — replacement time.
What You’ll Need
- Adjustable wrench or slip-joint pliers
- Teflon (PTFE) thread-seal tape
- Replacement rubber washers/O-rings ($2–$5 for a multi-pack)
- White vinegar and a plastic bag (for descaling)
- Old towel or rag (to protect the finish from wrench marks)
- Toothbrush or small wire brush
Fix 1: Tighten and Reseal the Connection (Start Here)
- Unscrew the shower head by hand (or with a wrench padded with a rag — never bare metal on chrome).
- Remove the old washer inside the head’s connector and inspect it. If it’s flattened, cracked, or missing — that’s likely your whole problem.
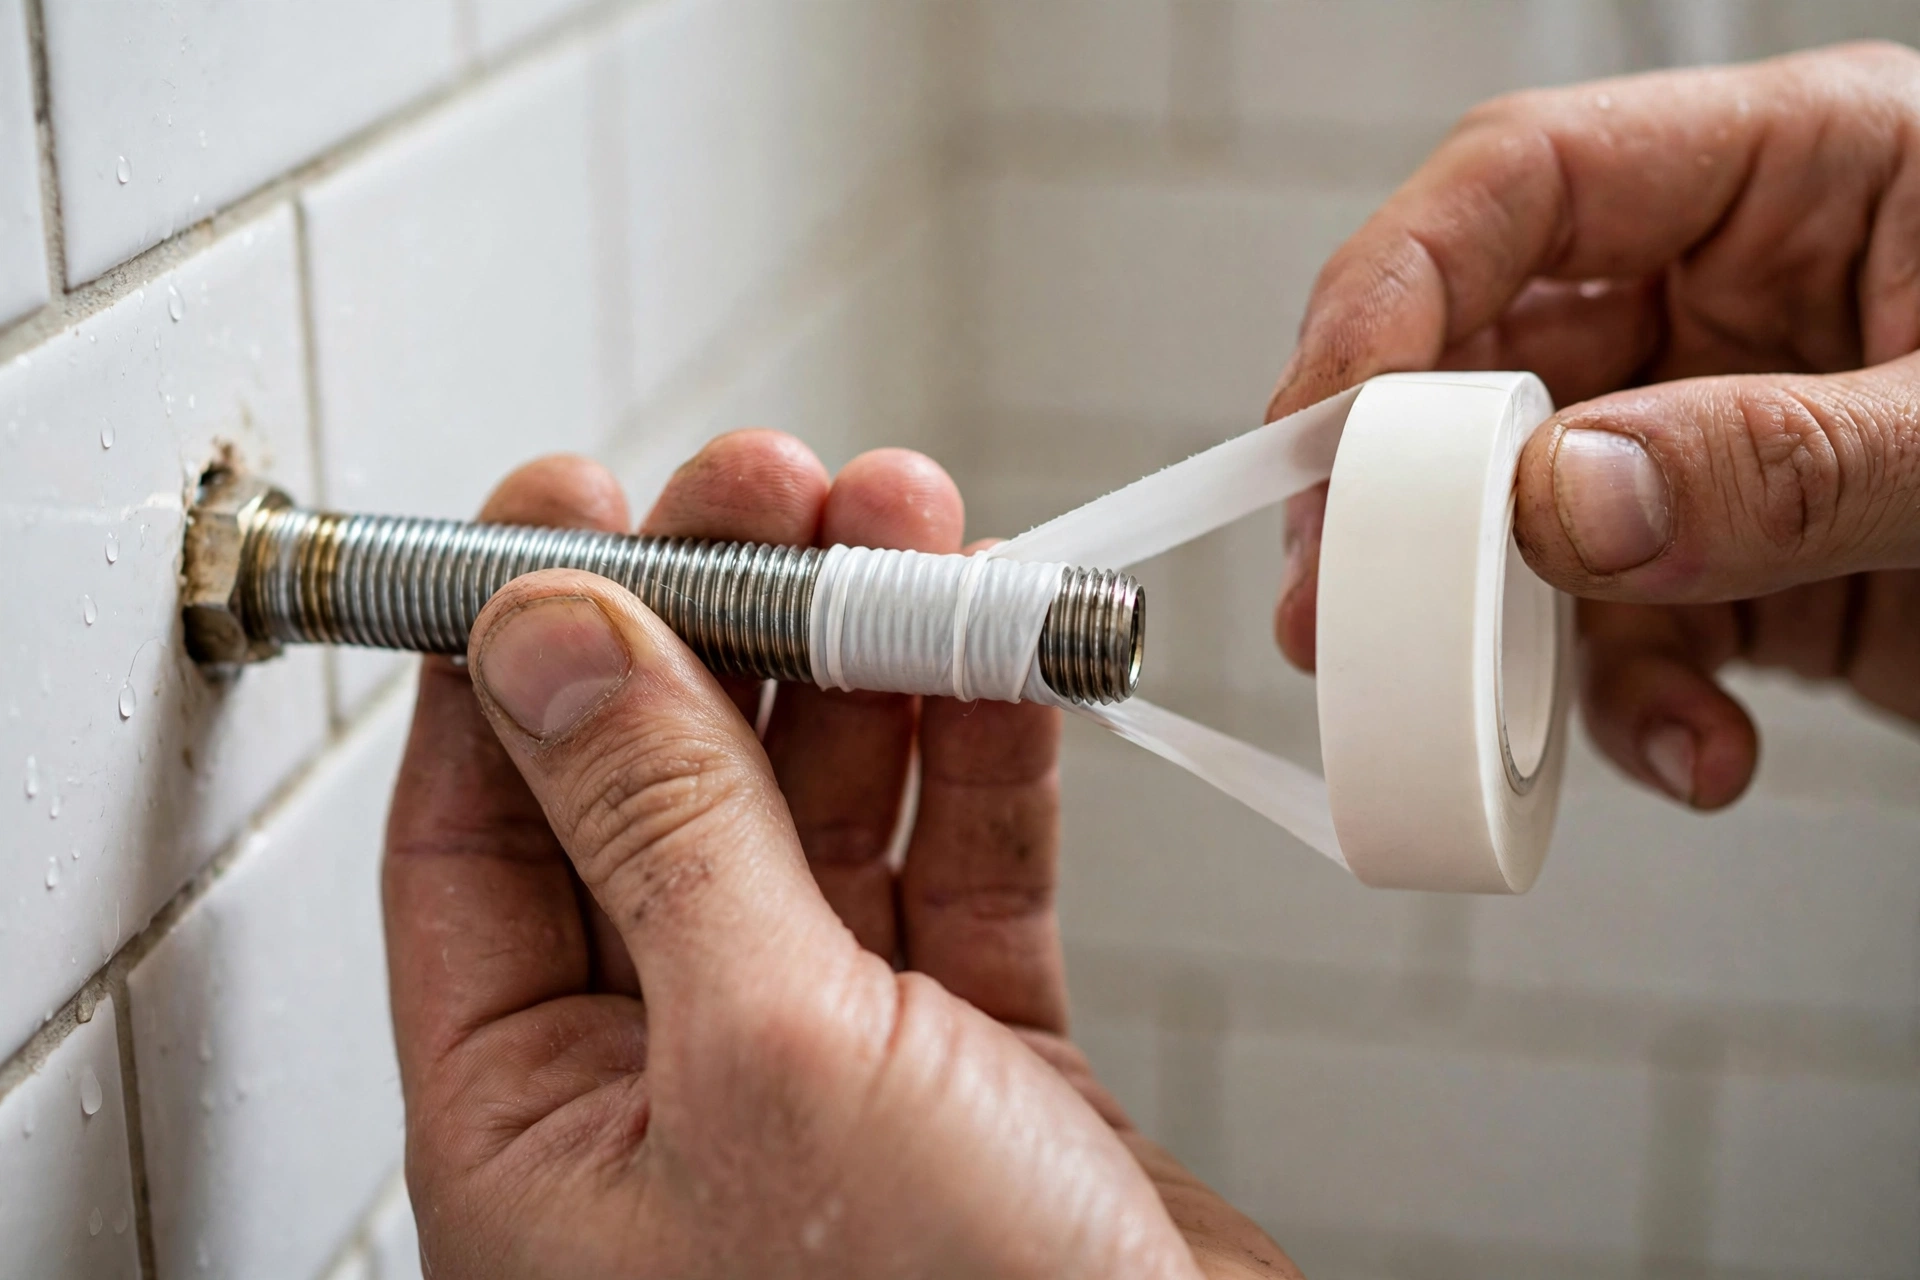
- Clean the shower arm threads with the brush, removing old tape and mineral crust.
- Wrap Teflon tape clockwise around the arm threads (3–5 wraps, same direction the head screws on — this matters).
- Press a new washer into the head, thread it on by hand, then snug it 1/4 turn with the wrench. Don’t overtighten — that’s how washers get crushed and threads crack.
- Run the shower and check. This fixes the majority of connection leaks.
Fix 2: Replace the Washer or O-Ring
If tightening didn’t stop it, the washer is the prime suspect even if it “looks okay.” Rubber hardens with age and hot water. Take the old washer to the hardware store to match size and thickness — a washer that’s slightly too thin won’t seal. While you’re at it, check the O-ring on handheld shower hoses and the flow restrictor screen for debris.
Fix 3: Dissolve Mineral Buildup
In hard-water areas, scale builds up inside the head, blocking nozzles and forcing water out through weak points:
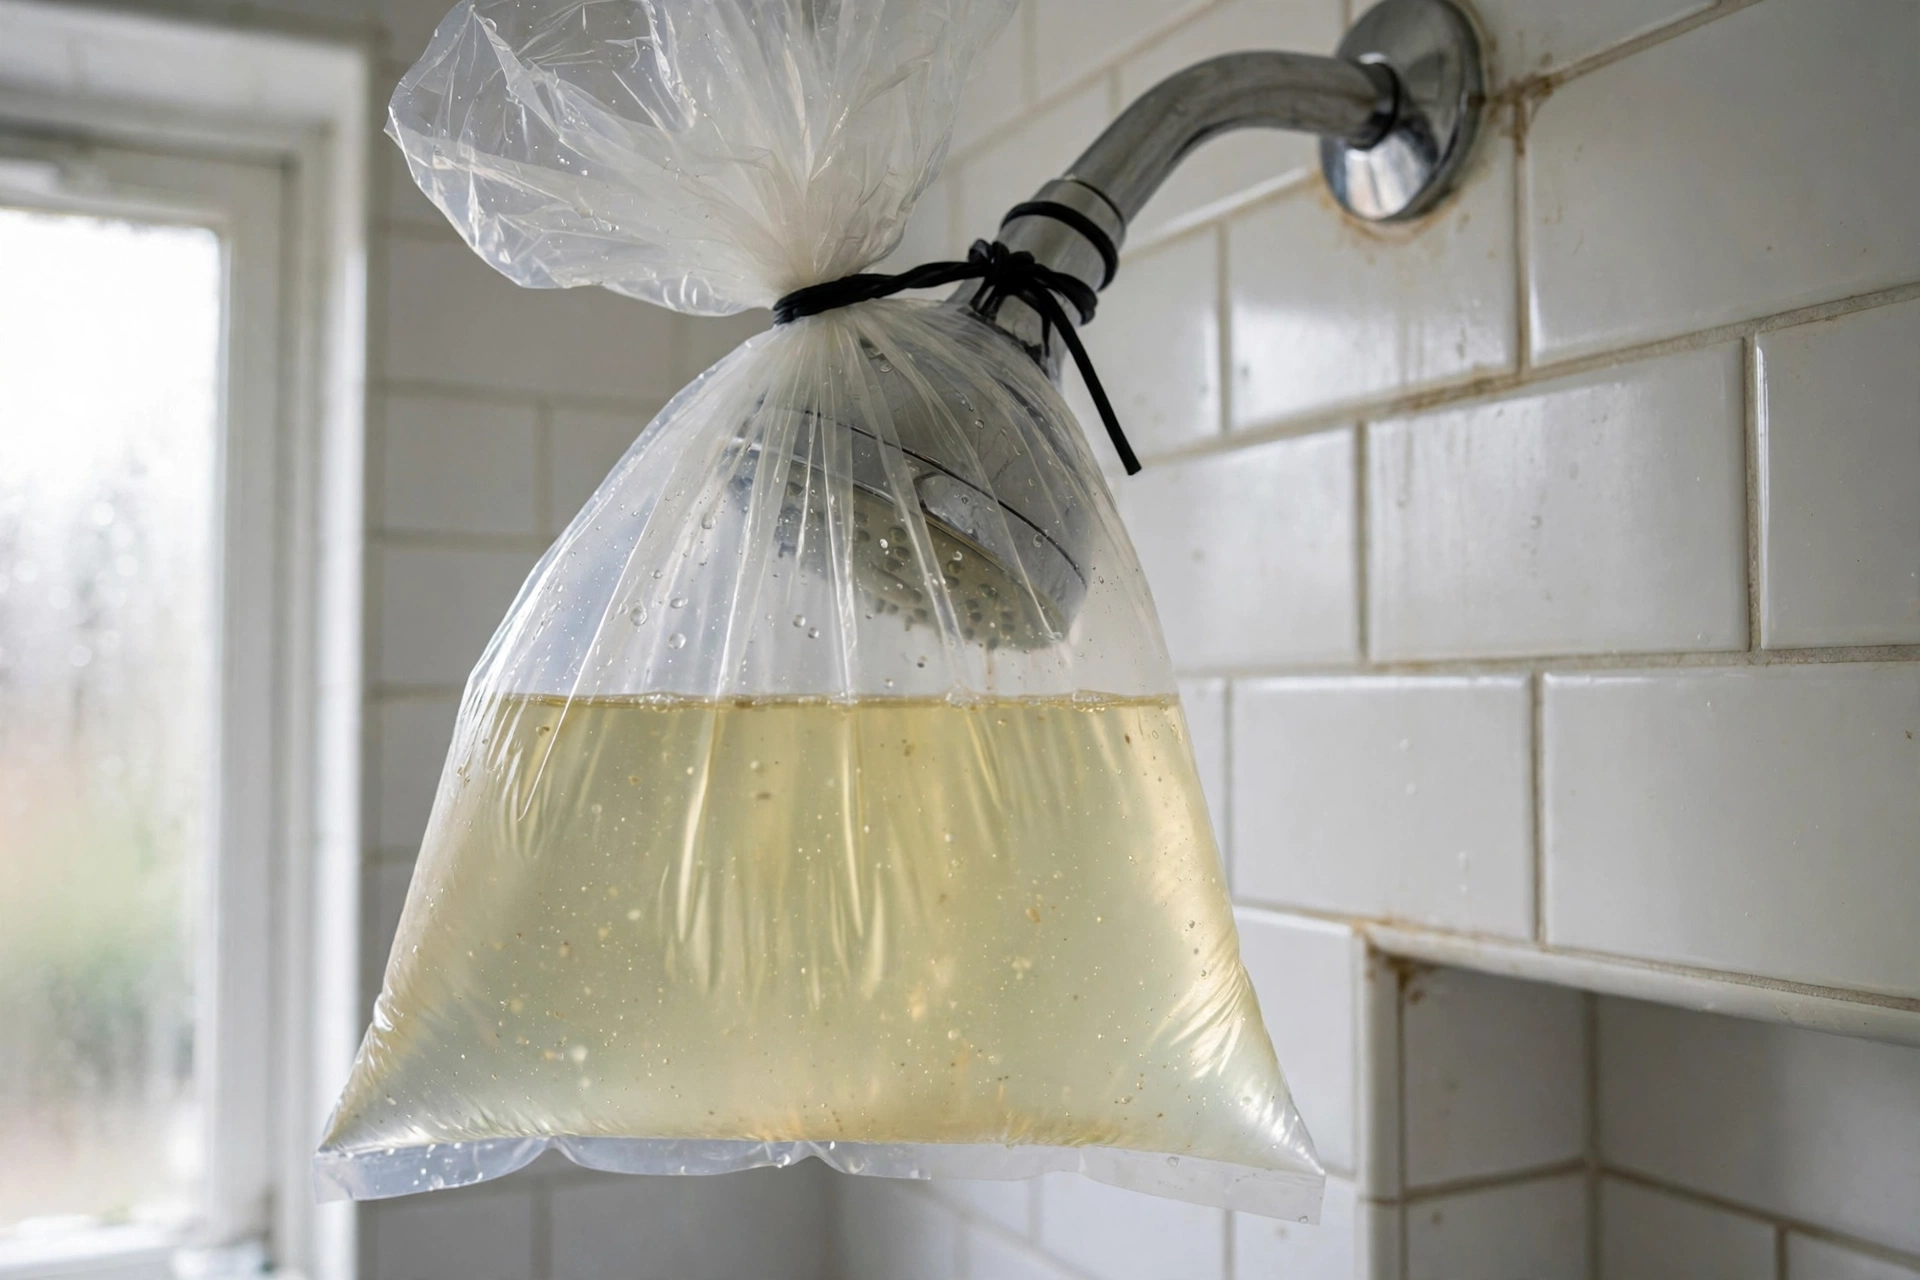
- Fill a plastic bag with white vinegar (enough to submerge the head).
- Secure it over the shower head with a rubber band or zip tie — no need to remove the head.
- Soak for 1–2 hours (overnight for heavy buildup).
- Remove the bag, scrub nozzles with a toothbrush, and run hot water for a minute.
If individual nozzles stay clogged, poke them clear with a toothpick or pin. This same mineral battle shows up across your plumbing — our dripping faucet guide and low water pressure guide cover the same culprits at other fixtures.
Fix 4: Replace the Shower Head
Sometimes the head is simply done — cracked body, stripped threads, or internal failure. Replacement is a 10-minute job:
- Buy a new head ($20–$80 covers most quality options; WaterSense-labeled heads use ≤2.0 GPM and save water without weak pressure).
- Remove the old head, clean the arm threads, apply fresh Teflon tape.
- Install the new washer, thread on the new head, snug with a padded wrench.
Choosing a type: fixed heads are simplest; handhelds on a slide bar add flexibility (great for cleaning the shower and bathing kids/pets); rain heads need sufficient water pressure and ceiling height to feel right. For the rest of the bathroom, our DIY bathroom cleaner keeps new fixtures sparkling, and a properly sized exhaust fan protects them from moisture damage.
Shower Arm Replacement: When Threads Are Stripped
If the shower head won’t tighten no matter what — spinning freely or wobbling — the shower arm’s threads may be stripped or corroded. Replacing the arm is straightforward:
- Unscrew the old arm counterclockwise (it threads into a fitting inside the wall). Use a wrench padded with a rag.
- Clean the in-wall fitting threads and check for damage — if the fitting itself is stripped, that’s plumber territory.
- Apply Teflon tape plus a thin layer of pipe thread sealant (“pipe dope”) to the new arm’s wall-end threads.
- Thread it in by hand, then snug with a wrench. Don’t overtighten — cracking the in-wall fitting means opening the wall.
- Seal the wall opening with a small bead of silicone to prevent water getting behind the tile.
While the arm is off, it’s the perfect time to upgrade: longer arms, adjustable height arms, and S-shaped arms that raise rain heads are all $15–$40.
Weak Flow? Diagnosing Pressure Problems at the Head
Sometimes the complaint isn’t dripping but a sad trickle. Before blaming the head:
- Check the flow restrictor: a small plastic disk inside the head’s connector limits flow to 2.5 GPM (or 2.0 for WaterSense). It clogs with sediment — remove, rinse, and reinstall. (Don’t permanently remove it; it’s there for water conservation and often required by code.)
- Clean the inlet screen: a fine mesh screen where the head meets the arm traps debris — rinse it clean.
- Test pressure at the arm: remove the head and run water into a bucket. Strong flow means the head is the restriction; weak flow means the problem is upstream (valve, pipes, or whole-house pressure — see our low water pressure guide).
- Check for kinked supply lines if you have a handheld on a hose.
When the Problem Is the Shower Valve
If water leaks from where the arm enters the wall, you’ll need to unscrew the arm (it threads into a fitting inside the wall), apply Teflon tape + pipe dope to its threads, and reinstall. If the shower drips from the head long after shutoff even with a new head and washers, the shower valve cartridge inside the wall is worn and letting water seep through — that’s a valve repair (similar in spirit to a faucet cartridge fix), doable DIY if you can identify the brand, or a $150–$300 plumber visit.
Water-Saving Bonus
While you’re at it, check your flow rate: time how long it takes to fill a 1-gallon bucket. If it’s under 30 seconds, you’re over 2 GPM — a WaterSense shower head cuts that nearly in half with no noticeable pressure loss. For a 10-minute daily shower, that’s roughly 5,000+ gallons saved per person per year.
How Long Should a Shower Head Last?
A quality shower head lasts 8–10 years; cheap ones 3–5. Hard water shortens life everywhere. Replace when: the finish is flaking (it’ll clog nozzles downstream), internal parts rattle, flow stays weak after descaling, or the connection threads are visibly worn. Pro tip: when you replace the head, replace the washer and tape at the same time — the $3 in parts prevents the callback leak that brings most people back to this guide.
Do You Need a Shower Filter?
Walk any hardware aisle and you’ll see $25–$80 shower filters promising softer skin, healthier hair, and cleaner water. The honest breakdown:
- Chlorine: legitimate filters (KDF or vitamin C based) do reduce chlorine, which can help sensitive skin — though a whole-house filter does it better.
- Hard water (calcium/magnesium): most shower filters barely dent true hardness — that’s a water softener’s job. If scale is your problem, save the $50.
- Flow restriction: cheap filters noticeably reduce pressure. Buy from reputable brands with published test data.
- Maintenance: cartridges need replacing every 2–3 months ($10–$20 each) — a neglected filter is worse than none.
Verdict: worth trying for chlorine sensitivity or city-water smell; skip it for hard-water scale, and never expect it to fix a leak or pressure problem caused by plumbing.
Preventing Future Leaks
- Never overtighten — hand-tight plus a quarter turn is enough.
- Replace washers every few years proactively; keep spares in a drawer.
- Descale with vinegar annually in hard-water areas.
- Don’t hang heavy caddies from the shower head — the weight stresses the connection.
- Use Teflon tape on every threaded plumbing connection, wrapped in the correct direction.
The Bottom Line
Washer, tape, snug fit — in that order. Nine times out of ten, a leaky shower head surrenders to a $3 washer and five minutes with a wrench.
