

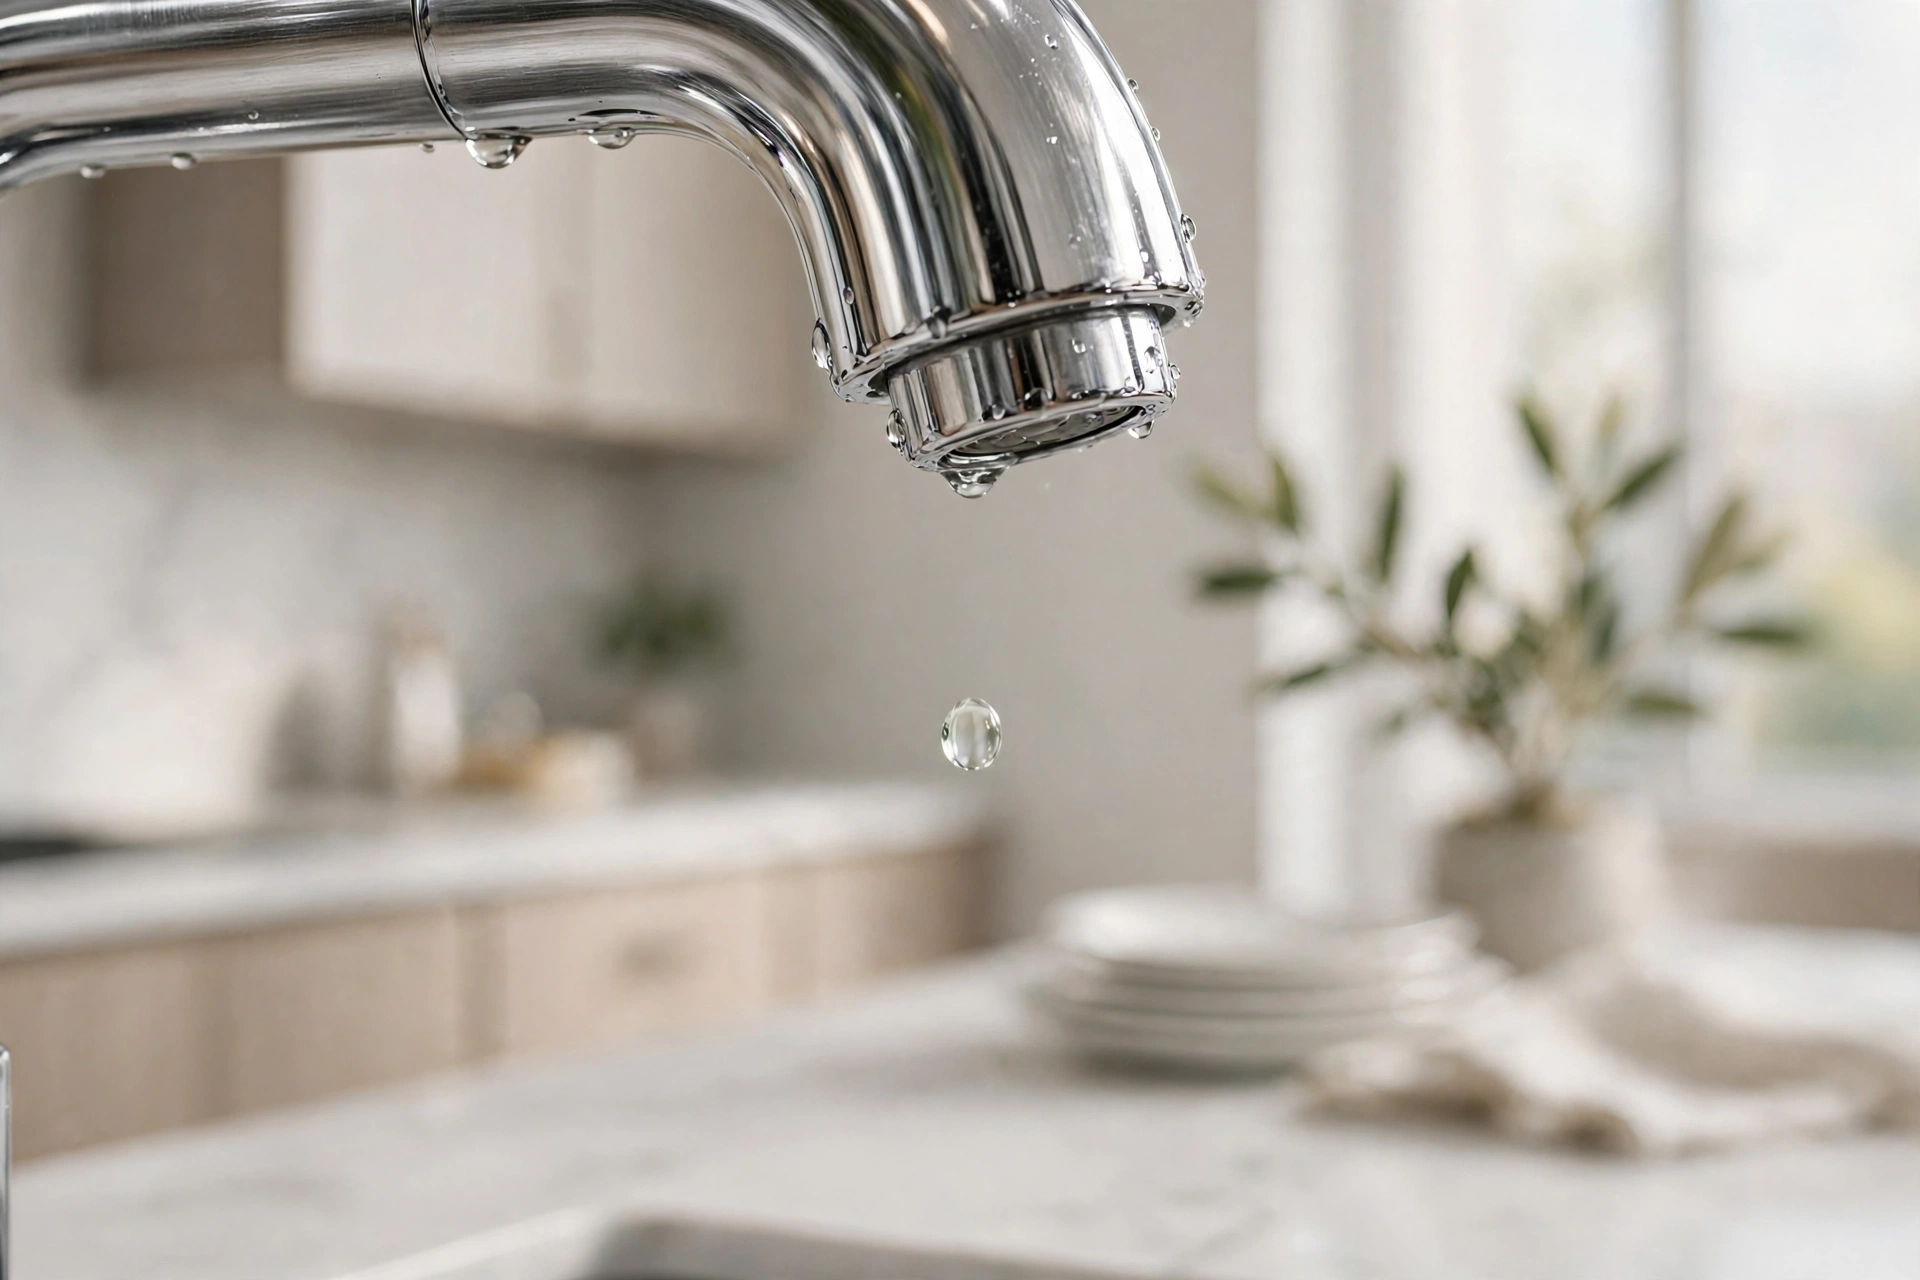
Why a Dripping Faucet Is Worth Fixing Today
That steady drip… drip… drip from your faucet isn’t just annoying — it’s expensive. A faucet dripping once per second wastes over 3,000 gallons of water a year, enough to fill a small swimming pool. The good news: most dripping faucets are caused by a single worn-out part that costs a few dollars and takes under an hour to replace. This guide walks you through the whole job, no plumbing experience required.
What Causes a Faucet to Drip?
Almost every drip traces back to one of these culprits:
- Worn cartridge or stem — the internal mechanism that controls water flow wears out over years of use. This is the #1 cause in modern faucets.
- Degraded O-rings and washers — small rubber seals harden and crack with age, letting water seep through.
- Corroded valve seat — mineral deposits from hard water eat away at the metal seat the washer presses against.
- Loose parts — sometimes the packing nut or adjusting ring just needs tightening.
If your faucet also has weak flow along with the drip, you may be dealing with sediment buildup — our guide on how to fix low water pressure covers that in detail.
Tools and Parts You’ll Need
- Adjustable wrench and/or basin wrench
- Phillips and flat-head screwdrivers
- Allen wrench set (many handles use hex screws)
- Replacement cartridge, O-rings, or washers (take the old ones to the hardware store to match)
- Plumber’s grease (silicone-based)
- White vinegar and an old toothbrush (for mineral deposits)
- A towel or rag to plug the drain — don’t skip this, or you’ll be fishing screws out of the P-trap
Step 1: Shut Off the Water and Prep
Turn off the hot and cold supply valves under the sink (turn clockwise). Open the faucet to release pressure and confirm the water is off. Plug the drain with a towel. Take a photo of the faucet assembly before disassembly — you’ll thank yourself later.
Step 2: Identify Your Faucet Type
The repair differs by type, so figure out which you have:
- Compression (two handles, twist to close) — oldest style; uses rubber washers that wear out. Most common drip culprit.
- Cartridge (single or double handle) — a replaceable cartridge controls flow. Very common in modern faucets.
- Ball (single handle, often Delta brand) — uses a rotating ball with spring-loaded seals.
- Ceramic disc (single lever, wide body) — two ceramic discs slide against each other; extremely durable but the seals can still fail.
If you’re unsure, remove the handle (Step 3) and compare what you see to the diagrams on the replacement part packaging.
Step 3: Disassemble the Faucet
Pry off the decorative cap on the handle (a flat screwdriver works) and remove the handle screw. Lift off the handle. You’ll see a dome-shaped cap or retaining nut — unscrew it with your adjustable wrench. Underneath sits the cartridge, stem, or ball assembly. Note the orientation of every part as you remove it; laying pieces out in order on a towel helps.
Step 4: Replace the Worn Parts
Inspect what you removed. Cracked O-rings, flattened washers, or a scored cartridge are your smoking guns. Take the old parts to the hardware store to get exact matches — faucet parts are brand- and model-specific, and “close enough” usually leaks.
Before installing new parts, clean any mineral buildup on the valve seat with vinegar and a toothbrush. Apply a thin coat of plumber’s grease to new O-rings — it extends their life significantly. Then reassemble in reverse order.
Step 5: Reassemble and Test
Put everything back, hand-tightening plus a quarter turn with the wrench — overtightening cracks ceramic discs and deforms washers. Turn the supply valves back on slowly, then test the faucet. Run both hot and cold for a minute and check under the sink for leaks at the supply connections.
When to Call a Plumber Instead
DIY has limits. Call a professional if: the shut-off valves under the sink are frozen or broken, you see corrosion so bad the faucet body is crumbling, the drip persists after replacing the cartridge (possible cracked valve body), or water is leaking inside the wall or cabinet. A plumber visit for a faucet issue typically runs $150–$300 — still cheaper than water damage.
And remember, faucets aren’t the only household leaks worth chasing. A leaking toilet can waste even more water silently, and outdoor spigots drip away money every summer.
Preventing Future Drips
Turn faucets off gently — cranking them shut wears washers faster. If you have hard water, consider a water softener; mineral-heavy water is brutal on internal seals. And address small drips early: a $5 washer today beats a $200 valve replacement next year.
The Bottom Line
A dripping faucet is one of the highest-ROI repairs in your home: a few dollars in parts, under an hour of work, and thousands of gallons of water saved every year. Shut off the water, swap the worn seal, and enjoy the silence.
