

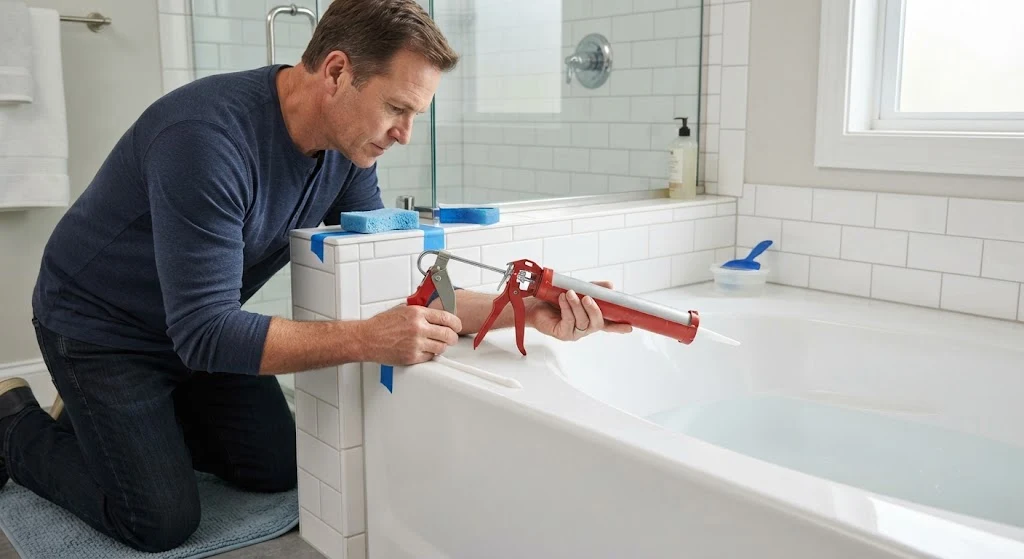
A cracked or peeling caulk line around your bathtub isn’t just an eyesore — it’s an open invitation for water to sneak behind your walls and cause serious damage. Once water gets past that seal, it can rot wood, feed mold colonies, and turn a simple weekend fix into a costly repair job.
The good news? Re-caulking a bathtub is one of the easiest home upgrades you can tackle yourself. With a few basic tools, the right caulk, and about an hour of your time, you can give your bathroom a fresh, watertight seal that looks like a professional did it.
This guide walks you through everything, from picking the right caulk to removing the old stuff and applying a clean, even bead that will hold up for years.
Why Caulking Your Bathtub Matters
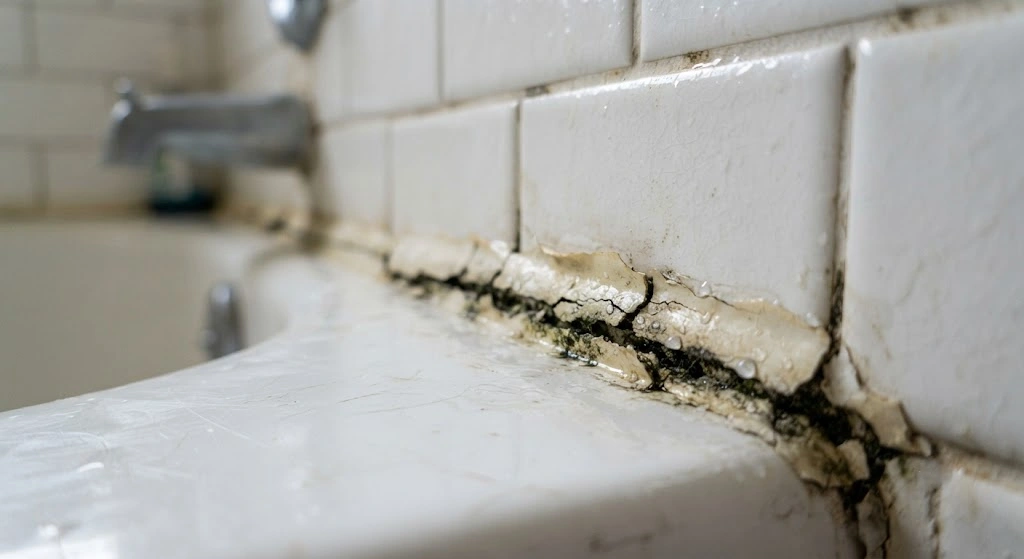
The caulk line where your tub meets the wall or tile isn’t just decorative. It’s a flexible barrier that stops water from seeping into gaps and cracks. Over time, caulk naturally shrinks, hardens, and pulls away from surfaces due to constant exposure to moisture, temperature changes, and everyday use.
When that happens, water finds its way behind the tub surround, where it can:
- Soak into drywall and subflooring
- Encourage mold and mildew growth
- Weaken structural framing
- Lead to expensive repairs down the road
Re-caulking every one to two years — or as soon as you spot cracks, gaps, or discoloration — is one of the simplest ways to protect your bathroom investment.
Tools and Materials You’ll Need
Before you start, gather these supplies so you’re not hunting for tools mid-project:
- Caulk (silicone or acrylic latex, depending on your needs)
- Caulk gun
- Razor blade or scraper (plastic blade for plastic/acrylic tubs)
- Utility knife
- Corner-grooving tool (optional, for a smooth finish)
- Painter’s tape
- Rubbing alcohol
- Clean rags or paper towels
- Needle-nose pliers (helpful for stubborn old caulk)
Having everything on hand before you begin makes the whole process faster and less frustrating.
Choosing the Right Caulk for Your Bathtub
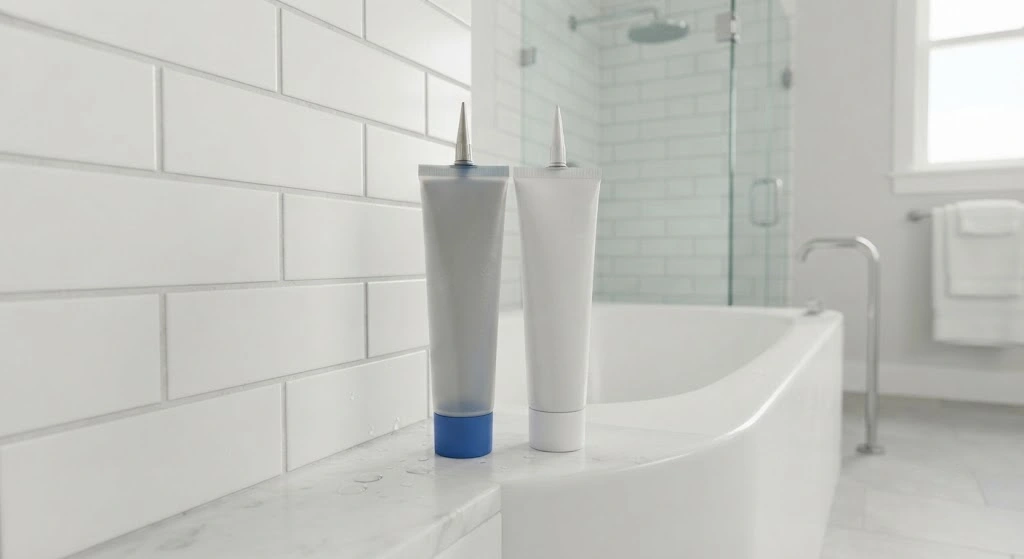
Not all caulk is created equal, and picking the wrong type can mean redoing the job sooner than you’d like. Look for products labeled “Tub and Tile” or “Kitchen and Bath” — these are specially formulated to resist mildew and bond well to smooth, nonporous surfaces like porcelain, fiberglass, and tile.
There are two main types to choose from:
Silicone Caulk
Silicone is tough, waterproof, and stays flexible even after it cures, which makes it excellent at handling the constant expansion and contraction around a tub. That said, it comes with a few downsides:
- Harder to smooth out neatly
- Requires mineral spirits (not water) for cleanup
- Has a strong odor while curing
- Leaves behind a residue that even new silicone won’t stick to well
If you’re recaulking over an old silicone line, you’ll need to scrub the area with an abrasive pad and mineral spirits to get a clean surface. Color options are also limited — usually just clear, white, and almond.
Acrylic Latex Caulk
Acrylic latex is the more beginner-friendly option. It’s easy to smooth with just a wet finger, cleans up with water, and has little to no odor. The trade-off is that it shrinks more as it dries and becomes harder over time, so it may need replacing sooner than silicone. On the upside, replacing it later is a quicker, simpler job. It also comes in a wider range of colors to match your tub or sink finish.
Pro Tip: Many bathroom renovation experts recommend a mildew-resistant acrylic latex sealant for most bathroom jobs, mainly because it’s so much easier to remove and replace when the time comes compared to silicone. And if you’re working around a plastic or acrylic tub, always use a plastic razor blade — metal blades can leave permanent scratches.
How to Remove Old Caulk
Getting rid of old caulk properly is just as important as applying the new bead. Skipping this step or doing it carelessly is the #1 reason DIY caulking jobs fail early.
- Protect the tub. Lay down a towel or drop cloth to catch debris and prevent scratches.
- Cut away the old caulk. Use a razor scraper or utility knife held at a low angle. This reduces the risk of gouging the tub or tile surface. If you’re working on plastic or acrylic surfaces, switch to a plastic blade — and skip chemical caulk removers, since they can damage these materials too.
- Pull out stubborn silicone. Cut into the center of the bead with a sharp utility knife, then grip the cut end with needle-nose pliers and pull steadily to remove it in one piece. If it won’t budge, slide a razor blade under one edge, then the other, to break its grip on the surface.
- Clean the joint thoroughly. Wipe away any leftover residue with WD-40 to dissolve stubborn silicone traces, then follow up with a diluted bleach-and-detergent solution to kill any lingering mold or mildew spores. Rinse well.
- Disinfect and dry. Wipe the area down with rubbing alcohol to remove any remaining residue and oils, then dry it completely with a clean rag. Let the joint air-dry for at least 30 minutes — caulk won’t bond properly to a damp surface.
Bonus Tip: If your bathroom walls have absorbed moisture over the years from small leaks, run a fan pointed at the tub for 24 hours before caulking. This helps dry out any dampness trapped behind the tile, which leads to a much stronger, longer-lasting seal.
How to Apply New Caulk (Step-by-Step)
Once the old caulk is gone and the area is completely dry, you’re ready to apply the new bead.
Step 1: Prep the Caulk Gun
Snip the tip of the caulk tube at a 45-degree angle, aiming for an opening roughly 3/16 inch wide — small enough for control, large enough for a steady flow. Use the wire tool built into most caulk guns to puncture the inner seal, then load the tube and squeeze the trigger gently until caulk starts flowing evenly.
Pro Tip: A dripless caulk gun is worth the small upgrade in price. It uses a ratcheting mechanism that instantly stops the caulk flow the moment you release the trigger, so you won’t end up with unwanted drips or blobs.
Step 2: Tape the Area
Run two strips of painter’s tape along the tub and wall, spaced about 3/8 inch apart. This creates a clean guide for your bead and keeps caulk from smearing onto the tile or tub surface, saving you cleanup time later.
Step 3: Lay the Caulk Bead
Hold the caulk gun at a 45-degree angle to the seam. Squeeze the trigger with steady, even pressure while moving the gun smoothly along the joint. Try to complete each section in one continuous pass for the most consistent bead — stopping and starting tends to create lumps and gaps.
Step 4: Smooth It Out
Dampen a lint-free rag or your fingertip, then run it along the bead in one smooth, continuous motion to press the caulk into the joint and create a neat, slightly concave finish. Wipe away excess caulk as you go so it doesn’t dry on the surrounding surfaces.
Step 5: Pull the Tape
Remove the painter’s tape right away, pulling it back at a 45-degree angle before the caulk has a chance to set. Be careful not to touch the fresh bead. If any part of the line looks uneven, smooth it again quickly with a damp finger.
Step 6: Let It Cure
Give the caulk at least 30 minutes before it’s exposed to any water, and avoid using the tub for a full 24 hours to let it cure completely. Rushing this step is one of the most common reasons new caulk fails prematurely.
Troubleshooting Common Caulking Problems
Even a careful job can run into a few hiccups. Here’s how to fix the most common ones.
Gaps or Voids in the Line
If you spot a gap after the caulk has cured, don’t just caulk over it. Cut out the affected section with a utility knife, clean the area, and apply a fresh bead that fully covers the joint. Patching directly over a flawed section rarely holds up.
Mold and Mildew Returning
If mildew keeps creeping back, it usually means moisture is getting trapped somewhere. To fight this:
- Always use a mold-resistant caulk formulated for bathrooms
- Run a fan or open a window during and after showers to improve ventilation
- Wipe down the caulk line regularly with a mildew-resistant cleaner
- Squeegee the tub walls after each shower to cut down on standing moisture
How to Maintain Your Caulked Bathtub
A fresh caulk job can last for years if you take care of it. Here’s how to keep it in good shape.
Clean It the Right Way
- Stick to non-abrasive bathroom cleaners — harsh scrubbing pads and strong chemicals can break down caulk over time.
- Dry the tub and caulk line after cleaning to prevent moisture from sitting on the surface.
- Keep the bathroom well-ventilated with a fan or open window to reduce humidity buildup.
Inspect It Regularly
Every few months, take a close look at your caulk lines. Watch for cracking, peeling, discoloration, or small gaps forming between the caulk and the tub or tile. Catching these early means a quick touch-up instead of a full re-caulking job.
Know When to Re-Caulk
Even the best caulking job has a lifespan. Once you notice consistent cracking, shrinking, or separation, it’s time to redo it. Follow the same removal and application steps above, and your bathtub will stay protected for another few years.
Final Thoughts
Caulking a bathtub might seem like a small, unglamorous task, but it plays a big role in protecting your bathroom from water damage, mold, and costly repairs. With the right caulk, a little patience, and the steps outlined above, you can achieve a clean, professional-looking seal without hiring a contractor.
Take your time during the removal and drying stages — they matter just as much as the application itself. Do it right once, and you won’t need to think about it again for years.
