

The Sound of Money Going Down the Drain
A toilet that runs constantly isn’t just annoying — it’s expensive. A running toilet can waste up to 200 gallons of water per day, which can add $50–$100+ to a monthly water bill. The irony is that the fix is usually a $5–$15 part and about 30 minutes of work. Before calling a plumber, run through these five causes in order — one of them is almost certainly your culprit.
How a Toilet Tank Works (60-Second Version)
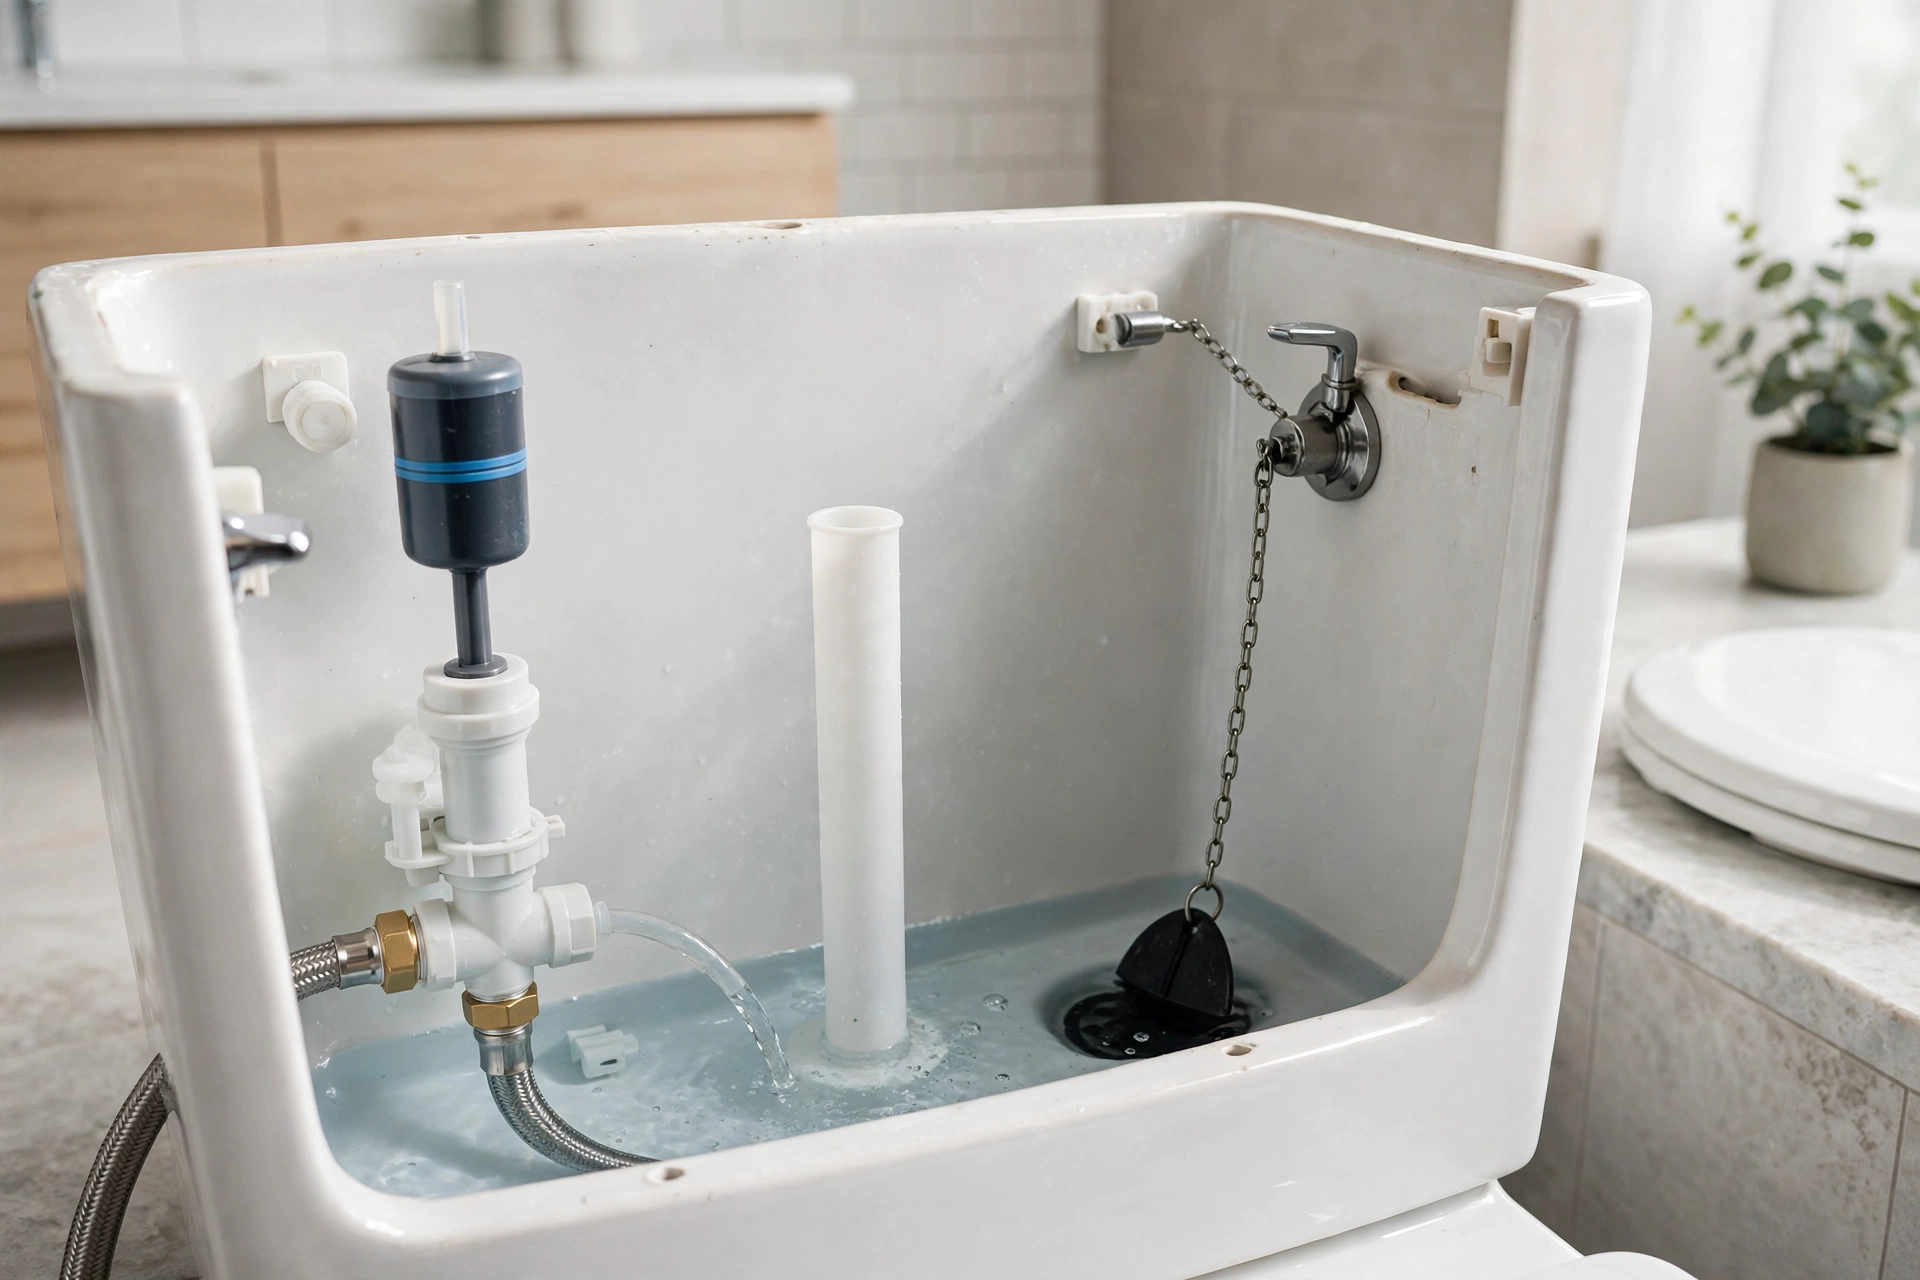
Understanding the parts makes diagnosis easy. Inside every standard tank: the fill valve (tall column on the left) refills the tank after a flush; the float (a cup or ball attached to the fill valve) rises with the water and shuts the valve off at the right level; the flapper (rubber seal at the bottom) holds water in the tank until you flush; the flush valve is the drain the flapper covers; and the overflow tube (open pipe in the middle) safely drains excess water into the bowl if the level gets too high. A running toilet means water is escaping somewhere in this system — your job is to find where.
Step 0: Shut Off the Water and Look Inside
Turn the supply valve behind the toilet clockwise to stop the flow, then flush to empty the tank and lift the lid. (Put the lid somewhere safe — porcelain lids crack easily and are expensive to replace.) With the tank open, turn the water back on and watch what happens. The failure will usually reveal itself within a minute.
Cause 1: A Worn-Out Flapper (The #1 Culprit)
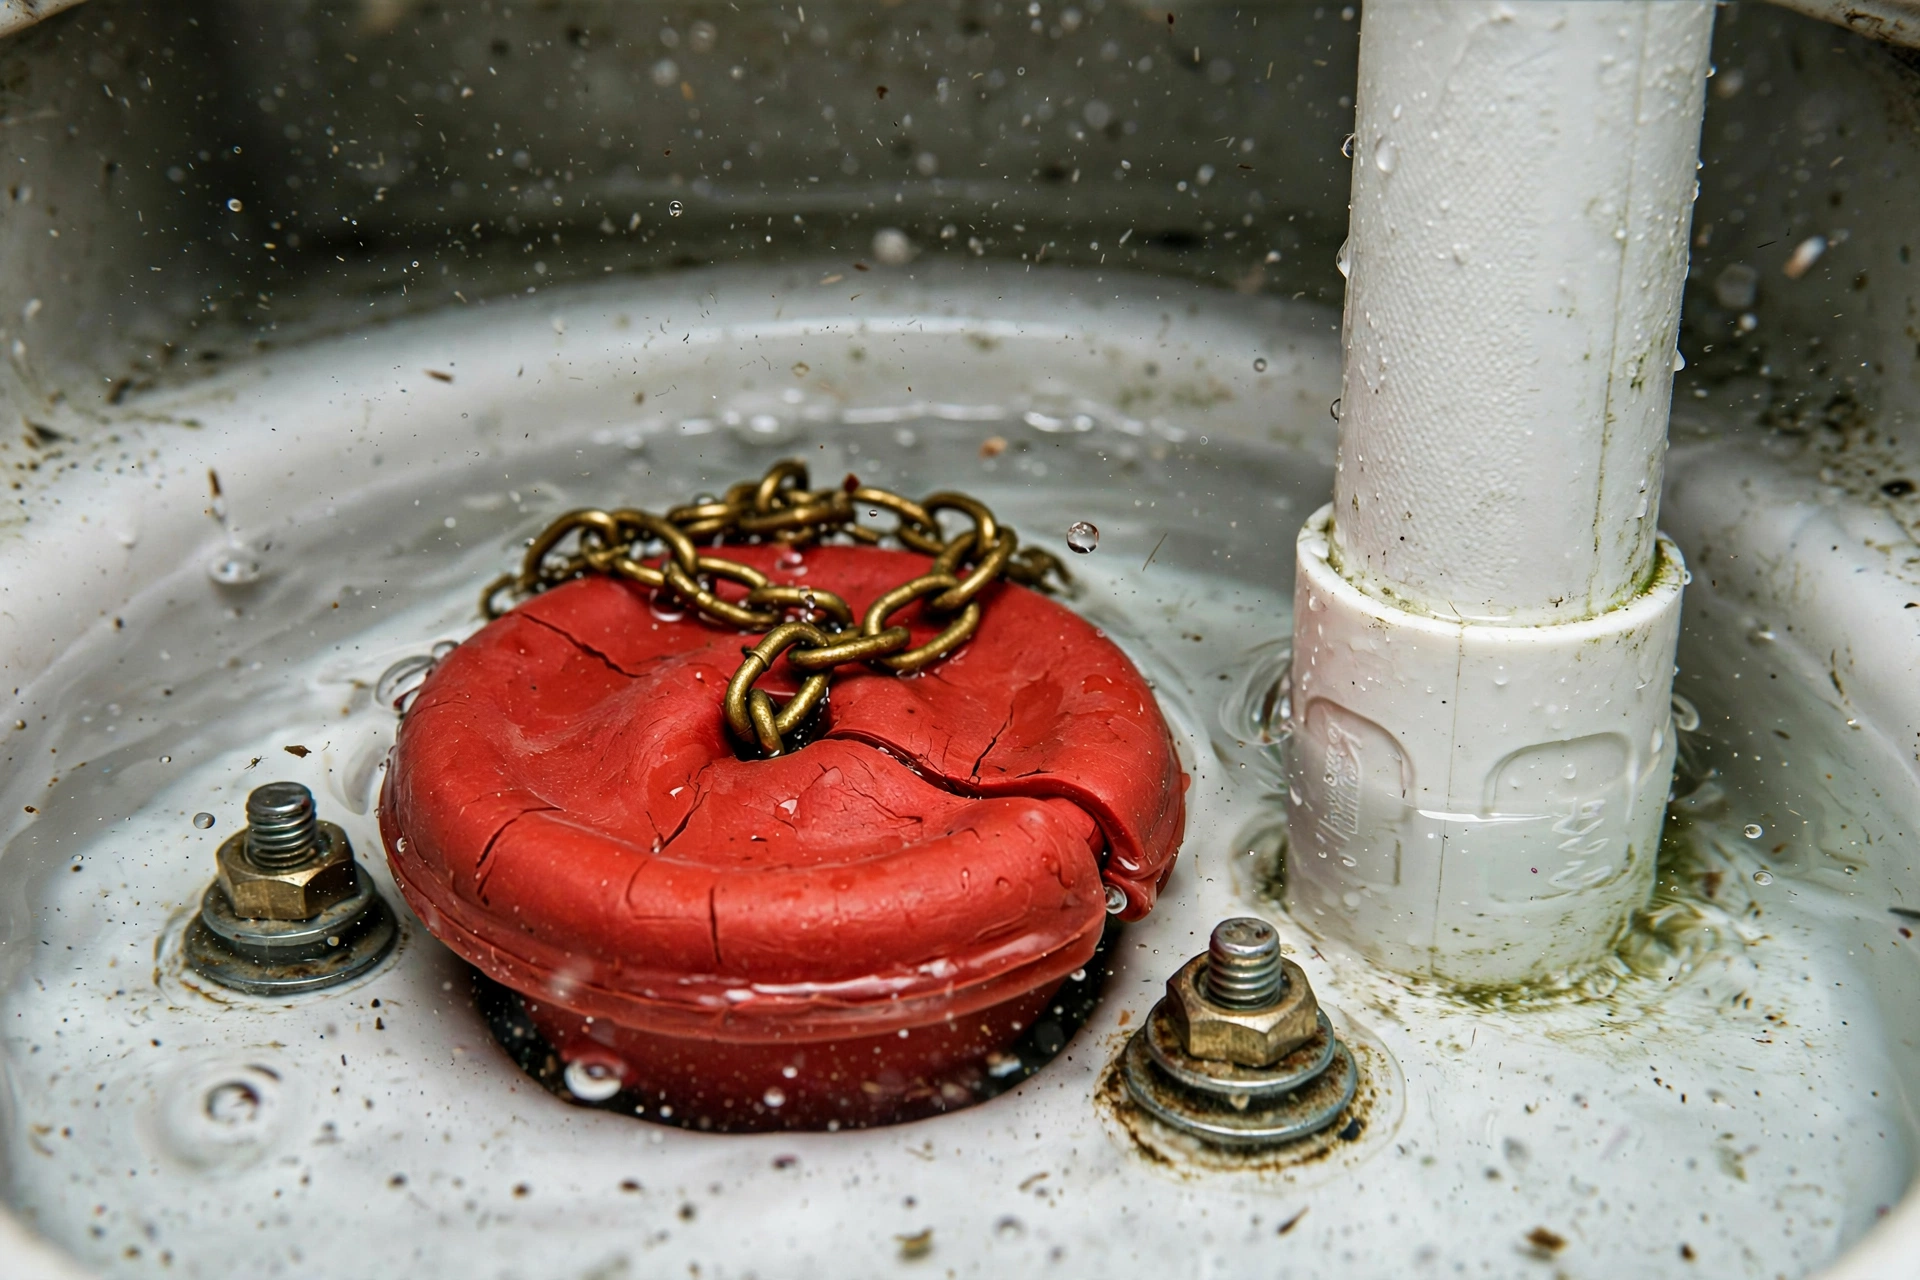
The flapper is a rubber seal that takes a chemical beating from tank water for years. When it warps, cracks, or gets coated in mineral scale, water leaks silently into the bowl — and the fill valve keeps topping the tank off forever.
Diagnose it: put a few drops of food coloring in the tank (don’t flush). Wait 15 minutes. If color appears in the bowl, the flapper is leaking.
Fix it:
- Shut off the water and flush to empty the tank.
- Unhook the old flapper from the flush valve pegs and detach the chain.
- Take it to the hardware store to match the size (2-inch and 3-inch are standard).
- Install the new flapper, reconnect the chain with about 1/2 inch of slack, and turn the water back on.
Cost: $5–$12. Time: 15 minutes. This single fix resolves the majority of running toilets.
Cause 2: A Faulty Fill Valve
If the tank fills but the water never shuts off — or the valve hisses, sputters, or takes forever — the fill valve itself is failing. Modern fill valves are one-piece units that are cheap and easy to swap.
- Shut off the water, flush, and sponge out the remaining tank water.
- Disconnect the supply line and unscrew the locknut under the tank holding the old valve.
- Insert the new fill valve, adjust its height so the critical-level mark sits about 1 inch above the overflow tube, and tighten the locknut.
- Reconnect the supply line and the refill tube (it should clip onto the overflow tube, not shove down inside it).
- Turn the water on and set the water level to about 1 inch below the top of the overflow tube.
Cost: $10–$20. While you’re in there, this is also the fix for a toilet that fills slowly or noisily.
Cause 3: Float Set Too High or Chain Problems
Sometimes the parts are fine but the adjustments are wrong. If water flows into the overflow tube constantly, the water level is simply set too high:
- Cup floats (slide on the fill valve): squeeze the clip and slide the cup down until the water level sits 1 inch below the overflow tube top.
- Ball floats (on a metal arm): gently bend the arm downward, or turn the adjustment screw at the top of the fill valve.
Also check the flapper chain: if it’s too short, it holds the flapper slightly open; if it’s too long, it can tangle under the flapper. You want about 1/2 inch of slack when the flapper is closed. A kinked or corroded chain is worth replacing for a couple of dollars.
Cause 4: Cracked or Mispositioned Overflow Tube
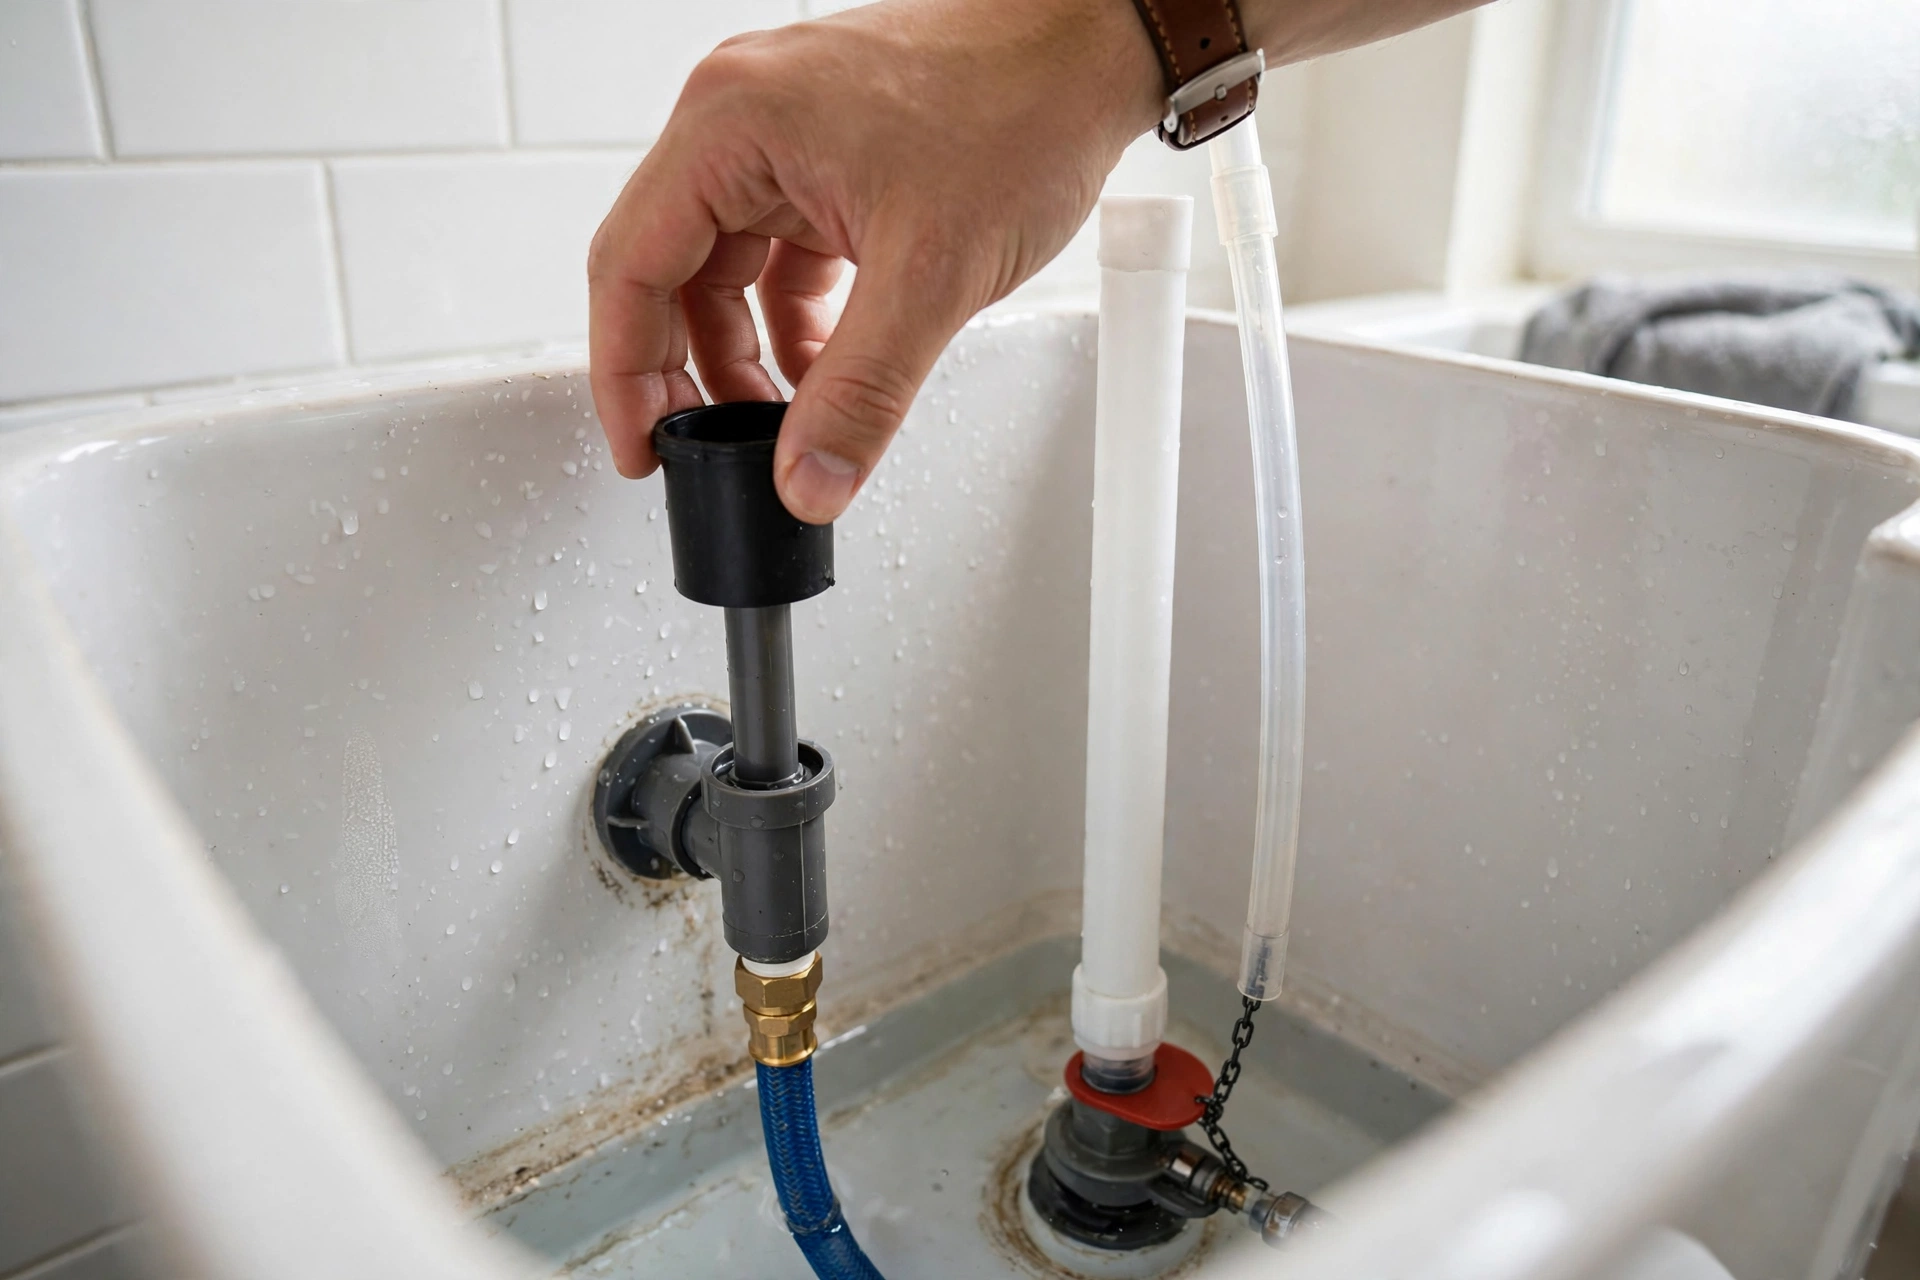
Less common, but worth checking: if the overflow tube itself is cracked below the water line, water drains into it continuously. Similarly, if the refill tube from the fill valve is jammed deep inside the overflow tube instead of clipped above it, it can siphon tank water straight into the bowl. Both are fixed in seconds once spotted — reposition the refill tube, or replace the flush valve assembly if the overflow tube is cracked.
Cause 5: Sediment and Mineral Buildup
In hard-water areas, mineral scale builds up on the flapper seat, the fill valve seals, and the tank walls. A flapper that won’t seal because of grit isn’t a bad flapper — it’s a dirty seat. Shut off the water, drain the tank, and scrub the flush valve seat with a non-abrasive pad or fine steel wool. For heavy scale, white vinegar soaked on the affected parts for an hour dissolves most deposits. If your whole house fights hard-water issues, our guides to low water pressure causes and fixing a dripping faucet cover the same mineral culprits elsewhere in your plumbing.
The Dye Test: Confirm Your Fix Worked
After any repair, repeat the food-coloring test: color in the tank, wait 15 minutes without flushing, check the bowl. No color in the bowl and a silent tank means you’ve won. Also verify the water level is correct and the toilet flushes with full power — an over-adjusted float can cause weak flushes.
What About Dual-Flush and Modern Toilets?
If you have a dual-flush toilet (two buttons on top), the mechanism differs — instead of a flapper, there’s usually a canister-style flush valve with silicone seals. The same principles apply: seals wear out, water levels drift, and chains (or cables) misadjust. Canister seals are replaced by lifting the canister out, swapping the gasket, and dropping it back in — often easier than a flapper swap. Tower-style and pressure-assisted toilets have their own quirks, but the dye test diagnoses them all identically: color in the bowl means water is escaping the tank.
Preventing the Next Running Toilet
A few habits extend the life of every tank component:
- Don’t use drop-in tank tablets. The chlorine tablets that turn your water blue are notorious for eating flappers, gaskets, and fill valve seals. Use in-bowl cleaners instead.
- Check the flapper yearly. Run your finger along it — if it feels sticky, slimy, or warped, replace it proactively for a few dollars.
- Keep the tank lid on. It prevents evaporation, keeps dust out, and stops anything from falling in and jamming the mechanism.
- Fix small leaks fast. A faint hiss or a tank that refills on its own every few hours (“phantom flushing”) is an early warning — a $8 flapper today prevents a $80 water bill next month.
- Know your water. Very hard or chlorinated municipal water shortens rubber part life. If you’re replacing flappers every year or two, consider it normal wear and keep a spare on hand.
Repair vs. Replace: When a New Toilet Makes Sense
Keep repairing if the toilet is under 15 years old and the porcelain is sound. Consider replacement if: the tank or bowl is cracked, you see water pooling at the base (possible wax-ring or base failure — see our leaking toilet guide), the toilet needs plunging constantly, or it’s a pre-1994 water-guzzler using 3.5+ gallons per flush. A modern WaterSense toilet uses 1.28 gallons and pays for itself in water savings.
DIY vs. Plumber: What It Costs
- DIY flapper or chain: $5–$15 in parts, 15–30 minutes.
- DIY fill valve: $10–$25 in parts, 30–45 minutes.
- Plumber visit: $150–$300+ for the same repairs.
These are among the most beginner-friendly plumbing repairs in existence — no soldering, no special tools beyond an adjustable wrench and a sponge.
What If Nothing Above Fixes It?
Rarely, a running toilet defeats all five fixes. Check these last resorts: a hairline crack in the overflow tube or flush valve seat (replace the flush valve assembly, about $20–$30), a fill valve installed at the wrong height with the critical-level mark below the overflow tube (reposition it), or water pressure so high (above 80 PSI) that valves can’t seat properly — in which case a pressure-reducing valve on the main line protects your whole plumbing system, not just the toilet. If you’ve replaced every tank component and it still runs, the porcelain itself may have an internal crack leaking into the bowl — at that point, replacement is the honest answer.
The Bottom Line
Start with the dye test, suspect the flapper first, check the float level second, and replace the fill valve third. One of those fixes your running toilet 95% of the time — and your water bill will thank you next month.
